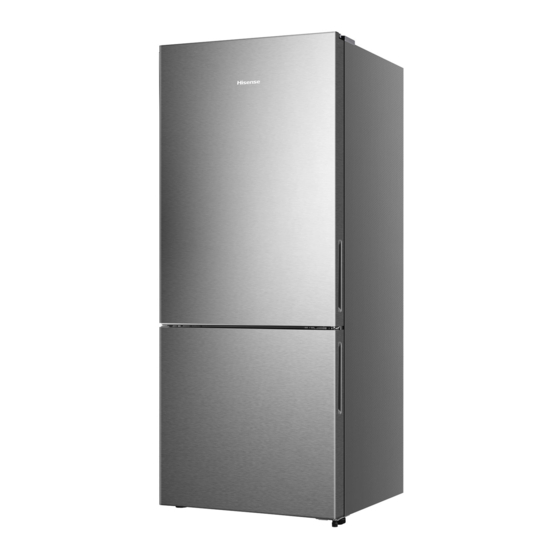
Hisense HRBM417S User's Operation Manual

Hisense HRBM417S User's Operation Manual

Hide thumbs Also See for HRBM417S:

Advertisement

HRBM417S
HRBM417C
HRBM418D

Advertisement

Table of Contents
loading

Summary of Contents for Hisense HRBM417S

  • Page 1 HRBM417S HRBM417C HRBM418D...
  • Page 2: Safety And Warning Information

    Contents Safety and warning information ..2 Cleaning and care Installing your new appliance Helpful hints and tips Description of the appliance Troubleshooting Display controls Disposal of the appliance Using your appliance Safety and warning information For your safety and correct usage, before installing and first using the appliance, read this user manual carefully, including its hints and warnings.
  • Page 3: General Safety

    General safety WARNING —This appliance is intended to be used in household and similar applications such as -staff kitchen areas in shops, offices and other working environments; -farm houses and hotels, motels and other residential type environments; -bed and breakfast type environments; -catering and similar non-retail applications.
  • Page 4: Electrical Safety

    WARNING — Refrigerators contain refrigerant and gases in the insulation. Refrigerant and gases must be disposed of professionally as they may cause eye injuries or ignition. Ensure that tubing of the refrigerant circuit is not damage prior to proper disposal. It is hazardous for anyone other than an Authorized Service Person to service this appliance.
  • Page 5 Do not place food products directly against the air outlet on the rear wall. Store pre-packed frozen food in accordance with the frozen food manufacture’s instructions. The appliances manufactures storage recommendations should be strictly adhered to relevant instructions for storage. Do not place carbonated or fizzy drinks in the freezer compartment as it creates pressure on the container, which may cause it to explode, resulting in damage to the appliance.
  • Page 6 relevant to installation. Wherever possible, the back of the product should not be too close to a wall to avoid touching or catching warm parts (compressor, condenser) to prevent the risk of a fire, follow the instructions relevant to installation. The appliance must not be located close to radiators or cookers.
  • Page 7: Installing Your New Appliance

    Installing your new appliance Before using the appliance for the first time, you should be informed of the following tips. Warning! For proper installation, this refrigerator must be placed on a level surface of hard material that is the same height as the rest of the flooring.
  • Page 8 Leveling of appliance For sufficient leveling and air circulating in the lower rear section of the appliance, the bottom feet may need to be adjusted. You can adjust them manually by hand or by using a suitable spanner. To allow the doors to self-close, tilt the top backwards by 10-15mm.
  • Page 9 Note: If required, you may lay the refrigerator on its back in order to gain access to the base, you should rest it on soft foam packaging or similar material to avoid damaging the backboard of the refrigerator. To reverse the door, following steps...
  • Page 10 5. Use the Allen wrench (provided in the plastic accessory bag) to unscrew the screws used to fix the middle hinge-right and remove middle hinge-right. Then remove the lower door. 7. Install screw hole cover-right ① (provided in the plastic accessory bag) to the right-top corner of cabinet.
  • Page 11 install it on the reverse hole site, and tighten into position (change it into lower hinge-left) . Remove the lower hinge-left to the left-bottom corner of cabinet, Then fix it with 3 screws, finally install part ④ the left-bottom corner and right-bottom corner of cabinet.
  • Page 12: Description Of The Appliance

    Description of the appliance Note ! ! ! ! Due to unceasing modification of our products, your refrigerator may be slightly different from this instruction manual, but its functions and using methods remain the same. To get the best energy efficiency of this product, please place all shelves, drawers and baskets on their original position as the illustration above.
  • Page 13: Display Controls

    Display Controls Use your appliance according to the following control regulations, your appliance has the corresponding functions and modes as the display panels showed in the pictures below. When the appliance is powered on for the first time, the backlighting of the icons on display panel starts working.
  • Page 14 inside each compartment may vary from Release the TEMP. Control when ③ the temperature displayed on the panel, the desired temperature setting depending on how much food you store appears. and where you place them. Ambient 3. Super Cool temperature may also affect the actual temperature inside the appliance.
  • Page 15 to -24°C to freeze food faster. Press MODE repeatedly until the ① Super Freeze icon appears. NOTE: When Super Freeze is on, is illuminated and -24°C appears in the temperature display. Press MODE or adjust freezer ② compartment temperature according to the step 2 to turn off Super Freeze manually and the freezer temperature will return to the previous...
  • Page 16: Using Your Appliance

    Using your appliance Your appliance has the accessories as the D escription of the appliance showed in “ ” general, with this part instruction you can have the right way to use them.. We recommend that you read through them carefully before using the appliance Door rack Freezer chamber It is suitable for the storage of canned...
  • Page 17: Cleaning And Care

    Cleaning and care hygienic reasons appliance You should clean the appliance interior (including exterior and interior accessories) regularly. It will be easier to clean when food should be cleaned regularly (at least every stocks are low. Wipe the inside of the fridge two months.
  • Page 18 Do not use sharp objects to remove frost from the freezer compartment. Only after the interior is completely dry should the appliance be switched back on and plugged back into the mains socket. Door seals cleaning Take care to keep door seals clean. Sticky food and drinks can cause seals to stick to the cabinet and tear when you open the door.
  • Page 19: Helpful Hints And Tips

    Helpful hints and tips Energy saving tips drawer provided. We recommend that you follow the tips Butter and cheese: below to save energy. Should be wrapped in airtight foil or plastic Try to avoid keeping the door open for film wrap. long periods in order to conserve energy.
  • Page 20 2. Remove the power plug from the mains socket. 3. Clean and dry the interior thoroughly. 4. Ensure that all the doors are wedged open slightly to allow air to circulate.
  • Page 21: Troubleshooting

    Troubleshooting If you experience a problem with your appliance or are concerned that the appliance is not functioning correctly, you can carry out some easy checks before calling for service, please see below. Warning! Don’t try to repair the appliance yourself. If the problem persists after you have made the checks mentioned below, contact a qualified electrician, authorized service engineer or the shop where you purchased the product.
  • Page 22: Disposal Of The Appliance

    Check that the air outlets are not blocked by food and ensure A layer of frost occurs in food is placed within the appliance to allow sufficient the compartment ventilation. Ensure that door is fully closed. To remove the frost, please refer to the C leaning and care chapter.
  • Page 23 To avoid contamination of food, please respect the following instructions - Opening the door for long periods can cause a significant in crease of the temperature in the compartments of the appliance. - Clean regularly surfaces that can come in contact with food and accessible drainage systems.
  • Page 24 for consumption within that day, preferably no more than 2 days). Seafood(less than 0 for 15 days, it is not recommended to store above 0°C). Fresh pork, beef, fish, chicken, cooked food, Fresh Food 0~+4 etc.(Recommended to eat within the same day, preferably no more than 3 days).

This manual is also suitable for:

Hrbm417cHrbm418d

Table of Contents