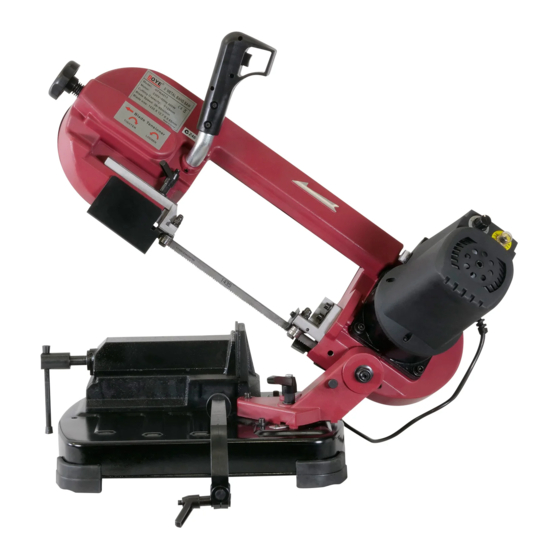
Summary of Contents for TOPMAQ GFW4013
- Page 1 Operator’s Manual Metal Band Saw MODEL:GFW4013 CAUTION : Read and follow all Safety Rules and Operating Instructions before First Use of this Product. Keep this manual with tools.
-
Page 2: Technical Specification
Technical Specification Attention: Please choose proper power source, voltage and frequency that are shown in the label for your metal band saw. Metal band saw GFW4013 Motor Power 400 W S6 30% Saw Blade 1435 X 12.7 X 0.65 mm... -
Page 3: Electrical Requirements
14. NEVER STAND ON TOOL. Serious injury could occur if the tool is tipped or if the cutting tool is unintentionally contacted. 15. CHECK FOR DAMAGED PARTS. Before further use of the tool, a guard or other part that is damaged should be carefully checked to determine that it will operate properly and perform its intended function –... -
Page 4: Accessories And Attachments
CHECK with a qualified electrician or service person if you do not completely understand the grounding instructions, or if you are not sure the tool is properly grounded. Refer to nether picture: Properly Ground Outlet Grounding Prong 3-Prong Plug WARNING: Improper connection of equipment grounding conductor can result in the risk of electrical shock. -
Page 5: Carton Contents
CARTON CONTENTS UNPACKING AND CHECKING CONTENTS Carefully unpack the machine and all its parts, and compare against the illustration following. WARNING: • To avoid injury from unexpected starting, do not plug the power cord into a power source receptacle during unpacking and assembly. -
Page 6: Cutting Angle Adjustment
ADJUSTMENTS 1. Positioning the work stop Use the work stop supplied if you have to do several cuts on pieces of the same length. Loosen the lock handle A, place the work stop at the desired distance from the blade. Tighten the lock handle A again. -
Page 7: Operation
OPERATION 1. Pull out the pin from the hole in the body and tilt the saw body to upper position. Use the vice clamping the workpiece, Adjust the cutting speed. Vice 2. Push the green button to turn on the main switch, using the index finger of your right hand, press the run button. -
Page 8: Maintenance
MAINTENANCE Warning: Turn off the machine and disconnect from the power supply before conducting maintenance work or settings. Change the saw blade Caution! Always wear protective gauntlets before changing saw blade. Remove the protective casing unscrewing the six screw ... -
Page 9: Troubleshoothing
TROUBLESHOOTHING PROBLEM CAUSE SOLUTION The motor does not work Defective motor, power cable or Specialized personnel should plug check the machine The overload cutout has tripped Reset the overload cutout. Overload cutout tripped Motor overload caused by ... -
Page 10: Assembly Diagram
ASSEMBLY DIAGRAM...


Need help?
Do you have a question about the GFW4013 and is the answer not in the manual?
Questions and answers