Advertisement
Quick Links
Advertisement

Related Manuals for Vestfrost FUNCTION


Summary of Contents for Vestfrost FUNCTION
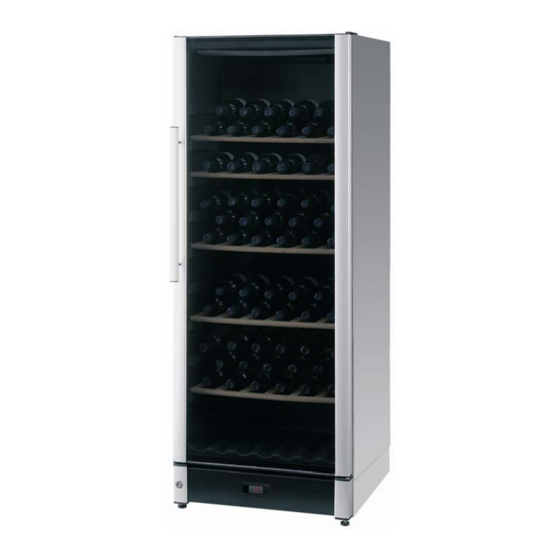
- Page 1 Service manual Service manual FUNCTION wine cooler FUNCTION wine cooler Version A – November 2005...
- Page 2 Service manual FUNCTION wine cooler Access to evaporator, ventilator and heating element Location of top and bottom sensor and sensor for frost protection thermostat Access to hinge with adjustable foot, lock and control panel. Dismounting of control panel ”Remote control”.
- Page 3 1. Access to evaporator, ventilator and heating element. 1. Pull front plate from evaporator clips 2. Dismount 2 screws in front of the box 3. Dismount 2 screws at the bottom of the box Clips...
- Page 4 1. Access to evaporator, ventilator and heating element. 1. Ventilator box 2. Heating element mounted with 4 screws Back side, ventilator shield mounted with 4 screws Back side of heating element 16-01-2006...
- Page 5 2. Location of top and bottom sensor and sensor for frost protection thermostat Top sensor Sensor for frost protection thermostat and bottom sensor Lead-in from engine room. Must be isolated! Top sensor mounted in retainer Sensor for frost protection Bottom thermostat fitted in container sensor fitted...
- Page 6 3. Access to hinge with adjustable foot, lock and control panel 5. Unscrew 2 cross slot screws 1. Tip outwards with straight slot screwdriver 3. Unscrew catch for lock 6. Dismount 4mm Allen screws and remove the column. Hereafter, the base plate can be dismounted from the cabinet.
- Page 7 4. Dismounting of control panel “Remote control” 1. Unscrew screws in control panel Back side of operating panel. 2. Hereafter, the control panel can be pulled free from the base plate The control panel consists of: Remote control ETC1H, thermostat ON/OFF print If this (control panel) is defect, it is recommended that the...
- Page 8 5. Dismounting of cover for terminal box in engine room. Location of frost protection thermostat ”Black” lead from control panel comes from the front along and under the 1. Place a straight slot screwdriver bottom and plug fitted in terminal box. in the cover Terminal box Frost protection thermostat...
- Page 9 6. Door magnet switches off the light when the door is opening If the ventilator is operating when the door is being opened, this is switched off. Magnet Retainer Micro switch (light) The magnet is placed under the door Magnet in retainer fastened with On/off switch On/off light switch clips up under the door...
- Page 10 7. Location of type plate and description of date on type plate Placed in the right side of the inner container Model Model. Serial number Serie nummer. Produktnummer. Product number Kølemiddel – fyldemængde. Cooling agent – filling quantity 16-01-2006...
- Page 11 8. Resistance values of temperature sensor The sensors are the same and the resistance values are as follows: Temperature Resistance 30°C 4.029ohm 25°C 5.000 ohm 20°C 6.246 ohm 15°C 7.855 ohm 10°C 9.951 ohm 5°C 12.696 ohm 0°C 16.330 ohm -15°C 36.503 ohm -18°C...
- Page 12 9. Replacement of bottom sensor Scotchlok UY2 connector. Defect sensor is cut app. 100 mm from the box New sensor is fitted and assembled with Scotchlok UY2 connector! Sensor kit ”service” FUNTION. 0-A97038764 consists of Spare part number 1 x 0-7038764 Sensor 3.0m 2 x 0-7038676 Scotchlok UY2 connector.
-
Page 13: Reversible Door
10. Reversible door The door can be changed from right-hinged to left-hinged and vice versa as follows: 4. Carefully remove the 3. Rotate the glass door 1. Lay the appliance on 2. Remove the upper 5. Pull up the hinge pin… covers on the side of the through 180˚. - Page 14 11. Replacement of light bulb/light fitting Push lightly, and the glass can be removed from the fitting Light fitting PL-S 11 watt tube Phillips. Pull out PL-S tube Fitting can be dismounted by unscrewing the screws...
Need help?
Do you have a question about the FUNCTION and is the answer not in the manual?
Questions and answers