Table of Contents
Advertisement
Quick Links
Advertisement
Table of Contents

Related Manuals for Mamiya 645


Summary of Contents for Mamiya 645
- Page 1 120 MACRO A F4 M Lens English Instructions...
- Page 2 (∞) to life-size reproductions (1:1) without any accessories. The lens barrel design shields the front lens element from extraneous light sufficiently without requiring a lens hood; however, if desired, you may use the Mamiya screw-in hood M67-No. 4. Names of Parts...
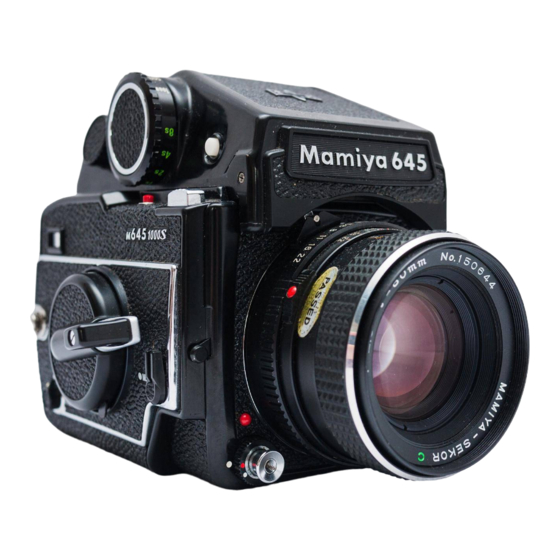
- Page 3 Attaching the Lens to the Camera Body Rotate the Front Lens Cap counterclockwise to remove it. Align the lens’ Attachment Dot (1) with the Alignment Mark on the Camera Mount (2). Insert the lens into the camera body. Rotate the lens clockwise making sure that the Exposure Meter Coupler (3) links securely with the Aperture Pin (4) of the camera body.
- Page 4 Exposure Compensation May be Applied Using the Close-up Table Reading the Close-up Table The ‘Distance to object’ in the table is the distance from the front frame of the lens to the subject. With close-up photography, the lens’ extension is large and the amount of light reaching the film is reduced.
- Page 5 Checking the Depth-of-Field Move the A/M Lever (1) so that the Letter ‘M’ is visible. This closes the diaphragm of the lens to the working aperture, enabling the depth-of-field to be seen through the lens. You can also use the Depth-of-Field Scale (2).
- Page 6 have trouble cleaning the lens surface, if you discover mold forming on it, contact your nearest Mamiya service provider. Be sure to carefully read all of the precautions contained this manual before using this lens.
Need help?
Do you have a question about the 645 and is the answer not in the manual?
Questions and answers