
Related Manuals for Sylvac S25


Summary of Contents for Sylvac S25
- Page 1 Quickstart SYLVAC-SCAN S25/S25T Optical measuring machines Original version drafted in French...
-
Page 2: Table Of Contents
1.2 Unpacking the machine 1.3. Depalletising methods 1.4. Electrical connections 2. Safety advice 3. Overview and configuration 4. Quickstart of the Sylvac-Reflex SCAN+ Software 4.1 Software 4.2. Touch panel 5. Maintenance and servicing 6. Packing up the machine (moving or sending the machine) 6.1 Secure the moving parts... -
Page 3: Unpacking And Installation Of The Machine
QUICKSTART 1. UNPACKING AND INSTALLATION OF THE MACHINE The procedures of this quickstart are valid for the machines Sylvac SCAN S25(T). 1.1. Necessary material for the installation - Allen key 3mm - Allen key 4mm - Combination wrench 13mm 1.2.Unpacking the machine To unpack the machine, follow the steps below : 1) Remove the box. -
Page 4: Depalletising Methods
14mm loop 1.3.1.1 Commissioning Example of loops to lift the machine : The SYLVAC-SCAN S25(T) can be lifted with the dedicated loops and a strap device. Ensure that general and local accident prevention regula- tions are complied with. Sylvac declines all responsibility in case of accident or ma- chine damage due to a wrong utilisation of lifting device and accessories. - Page 5 QUICKSTART 1.3.3. Procedure for levelling the machine There are no specific requirements for levelling the S25T machine independently. The machine sits on 3 padded feet on the underside of the machine. When installing on to a suitable bench, its is recommended to check the level of the stand and adjust as required for a correct installation.
- Page 6 QUICKSTART 1.3.4.2. Tilt unlocking 1. Launch ReflexScan+ software and head to the Diagnostics of the controller. 2. Check if the motor is free and not controlled by the drive: status bar is red. (blue square on the image). Do not mani- pulate the pins if the status bar is green, click on the «servo»...
-
Page 7: Electrical Connections
Check the voltage of the computer and the monitor before plugging them into the mains! Do not attempt to alter the mains supply voltage of the computer/controller. Contact your SYLVAC agent if the voltage indicated does not match your mains supply. -
Page 8: Safety Advice
QUICKSTART 2. SAFETY ADVICE Sylvac machines have been developed with state of the art technology. However, it is important to understand and comply with a few safety rules. Read the manual carefully. Only use the machine in the manner described. -
Page 9: Overview And Configuration
QUICKSTART 3. OVERVIEW AND CONFIGURATION A - Motorised tailstock: supports the upper part of the measured part can be moved automatically along the calliper according to the size of the piece through the jog on the touchpad. B - Part to be measured: for the user to affix the piece to be measured between the stocks. C - Headstock: supports the bottom part of the measured part. -
Page 10: Quickstart Of The Sylvac-Reflex Scan Software
1 - Turn on the machine using the ON/OFF button 2 - Start up the computer 3 - Launch the Sylvac-Reflex Scan+ software by clicking on the icon 4 - The below window will be displayed on your screen. Log in as a supervisor using the password “123”. - Page 11 QUICKSTART 4.2.2 Part loading Double click to select program Turn page to find Open measurement program program 4.2.3 Operator panel/run & results Results summary/ select to filter Part global classification Play Scroll page to view results Print...
-
Page 12: Maintenance And Servicing
Clamp / down 5. MAINTENANCE AND SERVICING The maintenance and servicing of the machines must be performed by people trained and qualified by Sylvac SA or its official agents. During servicing or maintenance, switch off the machine completely using the main ON/OFF switch (D). -
Page 13: Packing Up The Machine (Moving Or Sending The Machine)
6. PACKING UP THE MACHINE (MOVING OR SENDING THE MACHINE) 6.1.Secure the moving parts Connect the machine to the computer. In the Sylvac-Reflex Scan+ software, set the mobile part (optical carriages) in position : ’’Park axes for transport’. The machine will move into the correct position. When it is in the correct position, a warning message will tell you to fit the correct accessory to hold the mobile elements in place. -
Page 14: Packing The Machine
QUICKSTART 6.3. Packing the machine 1) Prepare the original pallet. (ref : M104-000-090) Remark : It is mandatory to pack the machine on a plastic film to protect the machine from moisture. 2) Screw on the locking parts (see chapter 1.3.4.) 3) Place the machine in front of the pal- let screw and couple the machine to the pallet with 2 M8 lock nuts. -
Page 15: Technical Data
QUICKSTART 7. TECHNICAL DATA 7.1. Machine S25/S25T SPECIFICATIONS Metric Inches Overall Dimensions Machine (H x L x P) 590 x 460 x 521 mm 23.2 x 18.11 x 20.51 inch Mass, without table Machine with centres ≈ 73 kg ≈ 160.93 lbs... -
Page 16: Drawings Of The Machines S25T (In Mm)
Ref. Nr: Available for: SV 104.000.071 CH-1400 Yverdon-les-Bains (Suisse) QUICKSTART Rev. Date Visa e-mail : vente @ sylvac.ch 04-Jan-21 sav @ sylvac.ch web site : www.sylvac.ch Ref. Nr: Available for: SV 104.000.071 Encombrement S25 7.2. Drawings of the machines S25T (in mm) CH-1400 Yverdon-les-Bains (Suisse) Rev. -
Page 17: Attaching The Machine On The Workbench
X = dépends de la configuration du clien depends on customer configuration QUICKSTART Montage des vis pour fixation de la machine / 7.3. Attaching the machine on the workbench Screw mounting direction for machine fixation (2x M8 max.) If needed e.g. in case of loading the machine with a robot, it is possible to attach the machine on a workbench. DETAIL base machine / machine base support client / customer support... -
Page 18: Pictures Of The Machines S25T
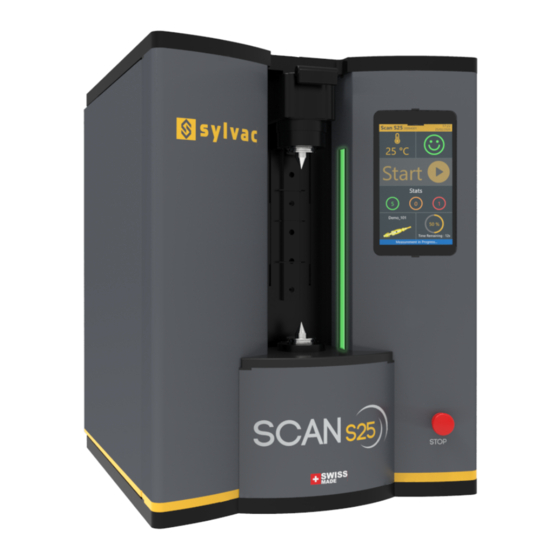
QUICKSTART 7.4. Pictures of the machines S25T... -
Page 19: Certificates Of Conformity And Calibration
Swiss Federal Office of Metrology. CERTIFICAT DE CONFORMITE Sylvac certifie que cet instrument a été fabriqué et contrôlé selon ses normes de Qualité et en référence avec des étalons dont la traçabilité est reconnue par l’office fédéral suisse de métrologie. - Page 20 Changes without prior notice Sous réserve de toute modification Änderungen vorbehalten Edition : 2021.07/ 681-104-01-110...
Need help?
Do you have a question about the S25 and is the answer not in the manual?
Questions and answers