Table of Contents
Advertisement
IB528001EN
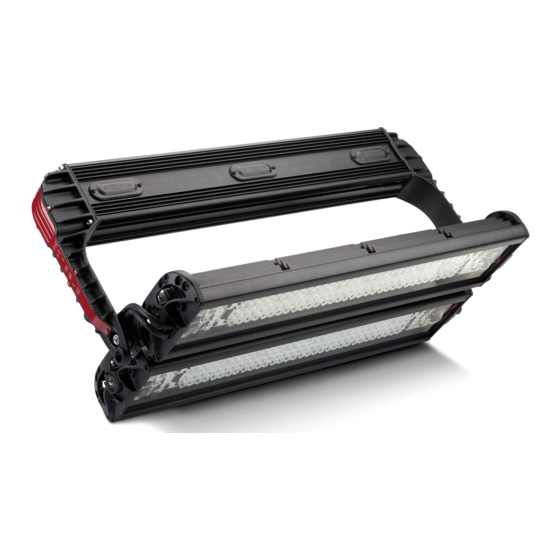
Installation Instructions - Arena Series
This manual applies to the following models:
1.
Arena Pro 600/300/190
2.
Arena 600/300/190
3.
Prism 256/128/64
4.
Visium 600/300/190
SAFETY INSTRUCTIONS
Read and understand this entire manual before attempting to assemble, operate, or install the LED Luminaire. If you
have any questions regarding the product, please call Ephesus Customer Service at (800) 573-3600.
1.
All electrical work must conform to the National Electric Code (NEC) and all applicable local codes and ordinances.
2.
Only qualified personnel shall install and maintain the luminaires. Ephesus recommends that a licensed electrician
install and maintain the luminaire. Verify the safety of existing power distribution system before beginning
installation. FAILURE TO FOLLOW OPERATING INSTRUCTIONS MAY LEAD TO DEATH, SEVERE INJURY, OR
PROPERTY DAMAGE.
Turn off power before performing any electrical or control work. FAILURE TO FOLLOW THIS WARNING MAY LEAD
TO DEATH, SEVERE INJURY, OR PROPERTY DAMAGE.
DO NOT make or alter any open holes in the luminaire. Do not modify the luminaire.
Follow all applicable safety procedures and use Personal Protective Equipment such as hardhats, safety glasses,
reflective vests, electrical safety gloves, fall protection equipment and safety toe boots during the installation,
operation, and maintenance of the luminaire. FAILURE TO FOLLOW THIS WARNING MAY LEAD TO DEATH,
SEVERE INJURY, OR PROPERTY DAMAGE.
Risk of eye injury! Eye protection is required at all times during the installation, operation, and maintenance of
the luminaire. The high intensity light produced by the luminaire can cause severe damage to the eye if viewed
directly at close range. Avoid being in front of a luminaire that is on or wear suitable light blocking protective
eyewear such as welding goggles.
WARNING
WARNING
WARNING
Brand Logo
reversed out of
black
INS #
INS #
Advertisement
Table of Contents

Related Manuals for Eaton ephesus Arena Series


Summary of Contents for Eaton ephesus Arena Series
-
Page 1: Safety Instructions
Brand Logo reversed out of black IB528001EN INS # INS # Installation Instructions - Arena Series This manual applies to the following models: Arena Pro 600/300/190 Arena 600/300/190 Prism 256/128/64 Visium 600/300/190 SAFETY INSTRUCTIONS Read and understand this entire manual before attempting to assemble, operate, or install the LED Luminaire. If you have any questions regarding the product, please call Ephesus Customer Service at (800) 573-3600. -
Page 2: Table Of Contents
35 in-lbs Calibrated light meter Step 4 – Aim the Luminaire Tools Provided by Ephesus: For more information refer to Section: Aiming Laser Step 4 – Aim the Luminaire Aiming Mount Step 4 – Aim the Luminaire EATON IB528001EN Installation instructions... -
Page 3: Supply Power Specifications
FAILURE TO FOLLOW THIS WARNING MAY LEAD TO DEATH, SEVERE INJURY, OR PROPERTY DAMAGE. Circuit Voltage Branch power circuits feeding Arena Luminaires shall be: Acceptable Lighting Circuit Voltages (Volts AC) Low Voltage High Voltage EATON IB528001EN Installation instructions... -
Page 4: Installation
The voltage on the lighting circuits must stay within 3% of nominal at 60Hz. Voltage that is consistently too high or low shall be corrected before LED luminaires are installed. If you require assistance in checking your power system or designing or implementing solutions, contact Eaton’s Electrical Engineering Services and Systems. Find more information at www.eaton.com. - Page 5 Do not over-tighten. Use of thread locking compound is recommended. Hex Nut Thru Bolt Lock Washer Top Rail Bracket Set Screws Bottom Rail Bracket Safety Cable Figure 2. Catwalk EATON IB528001EN Installation instructions...
-
Page 6: Step 2 - Label The Luminaires (If Required)
Label each Luminaire with Luminaire Number as indicated on the schedules in the photometrics or project Installation drawings. Labels shall be white background with black lettering. Text shall be at least 1/4” tall. Affix the label to the mounting bracket in a prominent location, avoiding manufacturer labels. EATON IB528001EN Installation instructions... -
Page 7: Step 3 - Make Electrical Connections
When power is turned on, the sports luminaires (Arena, Arena Pro) default to 100% on unless a different control signal is present. Prism fixtures remain off until they detect a DMX signal. Control Cable (if applicable) Power Cable Figure 5. Electrical EATON IB528001EN Installation instructions... - Page 8 XLR as the DMX input and the female as the DMX output to reduce the risk of injury and poor connection. Use an RDM controller to set the DMX start channel(s) of the fixture. Female DMX Male DMX In Figure 6. XLR Cables EATON IB528001EN Installation instructions...
-
Page 9: Step 4 - Aim The Luminaires
Refers to the direction the luminaire faces in the Z-plane. In other words, mount the luminaire to the structure but leave the mounting nut slightly loosened to allow the entire Luminaire to spin about the mounting bolt. Set the luminaire Orient by rotating the luminaire mounting bracket relative to the mounting structure. EATON IB528001EN Installation instructions... - Page 10 Set the luminaire Tilt angle by rotating the Luminaire housing relative to the luminaire mounting bracket. If aiming by Orient-Tilt, use an inclinometer and protractor or similar tools to set the luminaires to the correct angles otee: and skip to Final Aiming. Tilt Angle Figure 8. Tilt EATON IB528001EN Installation instructions...
- Page 11 Mount to snap in – just press in gently and align it perpendicular to the face of the light. If the fit is too loose and the Mount wobbles, hold it in place during aiming by pressing down. This will hold it flat against the fins and ensure alignment. EATON IB528001EN Installation instructions...
- Page 12 Repeat the procedure for each luminaire. Paper Plate Grid a. This technique is helpful for larger layouts such as hockey rinks or to allow multiple Luminaires to be aimed simultaneously. EATON IB528001EN Installation instructions...
- Page 13 Making too many significant aiming changes may result in failure to meet specified levels or introducing unwanted results such as glare. Re-measure light levels in areas where adjustments were made and compare new results to project specifications. Repeat steps 5-6 as necessary to meet light level requirements. EATON IB528001EN Installation instructions...
-
Page 14: Step 5 - Finishing Touches
Control signal set to 0 Verify control signal Fuse blows or circuit breaker trips Crossed wires or a supply wire is grounding Check wiring connections. out. Improperly sized fuse or breaker Refer to Table 5 Troubleshooting Guide EATON IB528001EN Installation instructions... - Page 15 Installation Instructions - Arena Series EATON IB528001EN Installation instructions...
- Page 16 Warranties and Limitation of Liability Please refer to www.eaton.com/LightingWarrantyTerms for our terms and conditions. Garanties et limitation de responsabilité Veuillez consulter le site www.eaton.com/LightingWarrantyTerms pour obtenir les conditions générales. Garantías y Limitación de Responsabilidad Visite www.eaton.com/LightingWarrantyTerms para conocer nuestros términos y condiciones.
Need help?
Do you have a question about the ephesus Arena Series and is the answer not in the manual?
Questions and answers