Table of Contents
Advertisement
Quick Links
Advertisement
Table of Contents

Summary of Contents for XESS XSUSB
- Page 1 How to install and use your new XSUSB Board RELEASE DATE: 9/28/2007...
- Page 2 Copyright © 2007 by X Engineering Software Systems Corporation. All XS-prefix product designations are trademarks of XESS Corp. All XC-prefix product designations are trademarks of XILINX. All rights reserved. No part of this publication may be reproduced, stored in a retrieval system, or transmitted, in any form or by any means, electronic, mechanical, photocopying, recording, or otherwise, without the prior written permission of the publisher.
-
Page 3: Table Of Contents
Installation ......................4 Installing the XSTOOLS Utilities and Documentation ........4 Setting the Jumpers on Your XSUSB Board..........4 Connecting the XSUSB Board to Your XSA or XSB Board ......5 Connecting a PC to Your XSUSB Board............5 Applying Power ....................8 Testing Your XSUSB Board ................8 Programming ....................10... -
Page 4: Preliminaries
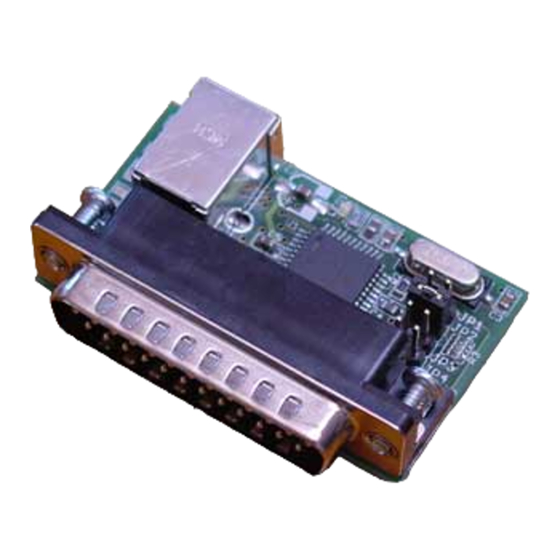
XSV Boards! ̈ The XSUSB Board gets its power through the USB cable. It does not require an external power supply! However, the XSUSB Board does not supply power to the XS Board it is attached to; you still need an external power supply for the XS Board. -
Page 5: Installation
Setting the Jumpers on Your XSUSB Board There are four jumpers on the XSUSB Board and shunts should be set on them as shown below. A shunt should be on jumper JP2. There should not be any shunts on jumpers JP1, JP3 or JP4. -
Page 6: Connecting The Xsusb Board To Your Xsa Or Xsb Board
Connecting a PC to Your XSUSB Board Attach the USBA plug of a USB 1.1 or USB 2.0 cable to a USB port on your PC. Then attach the USBB plug on the other end of the cable to the USBB port of the XSUSB Board. - Page 7 The PC will need to install a USB driver if this is the first time you have connected an XSUSB Board to this particular USB port. Just select the option and click on the indicated button shown in each of the following screenshots and the driver will be installed.
- Page 8 The LED on the XSUSB Board will turn on once the driver has been installed and the USB port is activated. XSUSB INTERFACE BOARD V1.0 USER MANUAL...
-
Page 9: Applying Power
XS Board. Testing Your XSUSB Board The easiest way to test your XSUSB Board is to try testing the XS Board it is attached to using the GUI-based GXSTEST utility as follows. - Page 10 Next, select the USB port that your XSUSB Board is connected to from the Port pulldown list. If you only have one XSUSB Board connected, then it will probably be USB0. (If no USB ports appear in the pulldown list, then either the XSUSB Board is not working or there was a problem installing the driver software.)
-
Page 11: Programming
XSUSB Board. Steps for doing this are given in the XILINX documentation, but there is one detail that is specific to using the XSUSB Board. The XSUSB Board loads the bitstream into the FPGA through its JTAG port. In order for your FPGA designs to startup correctly, you need to change the FPGA Start-Up Clock from CCLK to JTAG Clock. -
Page 12: Fpga Bitstream Generation Options When Using The Flash
FPGA Start-Up Clock to JTAG Clock. Then click on the OK button. After this option is set, you can generate your bitstream and download it to the FPGA through the XSUSB Board. FPGA Bitstream Generation Options When Using the Flash... -
Page 13: Xsusb Schematics
XSUSB Schematics The detailed schematic for the XSUSB Board is shown below. XSUSB INTERFACE BOARD V1.0 USER MANUAL...


Need help?
Do you have a question about the XSUSB and is the answer not in the manual?
Questions and answers