Table of Contents
Advertisement
Quick Links
Advertisement
Table of Contents

Subscribe to Our Youtube Channel
Related Manuals for Triplett BR500


Summary of Contents for Triplett BR500
- Page 1 User Manual BR500 High Definition Videoscope...
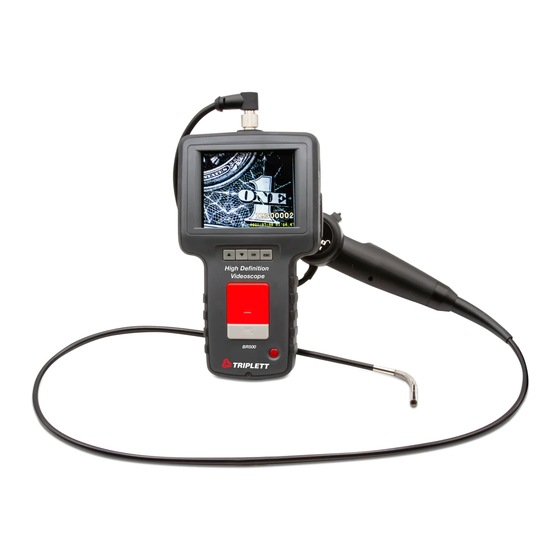
- Page 2 Introduction BR500 Video Congratulations on your purchase of the Triplett Model Scope. This compact handheld instrument allows user to view applications in restricted spaces that could not normally be seen with the naked eye. It is supplied in a sturdy carrying case and consists of a display unit, insertion tube, main adapter and side view adapter.
- Page 3 Do not remove the SD Memory Card while data is being saved to the card. This may cause the data to be lost or the card to be damaged. Warning Notice for Insert Tube DO NOT bend the tube over 30°angle.
- Page 4 Prohibited of high temperature access for the tubes, the maximum working temperature shall not exceed 65°C. Prohibited of collision or any impacts on the front tips. DO NOT immerse Insert Tube deeper than 1M depth and over 30 minutes. DO NOT immerse Insert Tube deeper than 10cm depth and over 10 minutes besides water.
-
Page 5: Meter Description
Meter Description A. POWER button H. LED intensity adjustment B. PHOTO button I. SD slot C. REC button J. TV OUT jack D. UP button K. USB jack E. DOWN button L. DC IN jack F. OK button M. Display unit G. -
Page 6: Preparation For Use
Preparation for Use On first use it is important that the SD card is inserted as shown. Connect the insertion tube to the display Unit as shown in the figure and tighten the locking collar: Press the POWER button for 3-5 seconds to turn the display unit on. -
Page 7: Operation
The status screen shows the capacity of the SD card and the internal battery If the Video Scope has been stored for a long time then the display might not turn on. The most likely cause is that the battery has run out. Please use power adapter to re-charge the battery. - Page 8 Navigate to DELETE ALL in the menu, press the OK button. Select YES or NO using the UP or DOWN buttons. Confirm with the OK button. Video Output This function allows live pictures or recorded photos and videos to be displayed on a TV screen or beamer.
- Page 9 Language Navigate to LANGUAGE in the menu, press the OK button. Select the required language using the UP or DOWN buttons and confirm with the OK button. Video Format Navigate to VIDEO FORMAT in the menu, press the OK button. Select the required video format (NTSC or PAL) using the UP or DOWN buttons.
- Page 10 Recording In Camera mode, press the REC button to take a video. The video icon is shown in the top right corner. To stop recording, press the REC button again. The video icon disappears. The display reverts to preview mode. The video is automatically stored to the SD card in asf format with a file name of running number.
- Page 11 button to confirm. Transferring Photos and Videos to a PC The computer must be running MS Windows™ 2000 or later. Turn the Video scope on. Connect the USB cable to the scope unit and the computer. Look for the drive with the SD card files, this should look similar to the following figure: The files can then transferred and viewed on the PC.
- Page 12 Q: Unable to take photos or record video, what should I do? A: SD card not present, wrongly inserted, full or faulty. Check SD card is present, check SD card insertion, check SD capacity, check if SD card is faulty (check if SD card works in other devices).
-
Page 13: Specifications
Specifications Display Unit Display 3.5” TFT LCD Monitor 320x240 pixels Interface Mini USB 1.1/AV Out Battery ( not user Rechargeable Li-polymer Battery serviceable) (3.7V) Power Adapter 100-240V AC in / 5.5V DC out Video Out Format NTSC & PAL Storage SD Card (UP to 16GB) Compression Format MPEG4... -
Page 14: Warranty
Triplett / Jewell Instruments extends the following warranty to the original purchaser of these goods for use. Triplett warrants to the original purchaser for use that the products sold by it will be free from defects in workmanship and material for a period of (1) one year from the date of purchase.
Need help?
Do you have a question about the BR500 and is the answer not in the manual?
Questions and answers