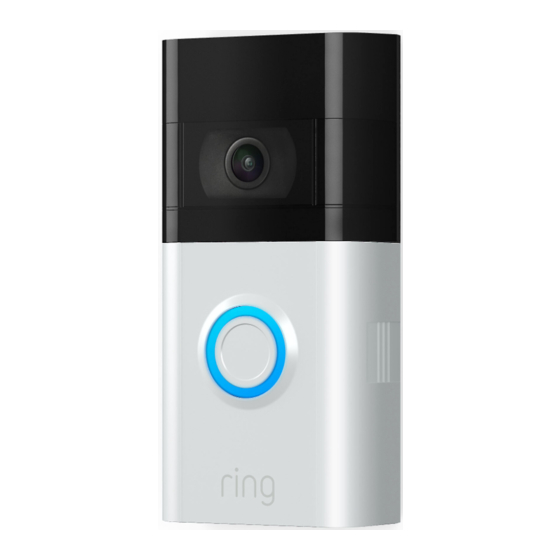
ring Video Doorbell 3 Manual
Hide thumbs
Also See for Video Doorbell 3:
- Setup and installation manual (12 pages) ,
- Manual (35 pages) ,
- User manual
Advertisement
Table of Contents
- 1 Step One: Charge the Provided Battery
- 2 Step Three: Line up Your Ring Video Doorbell 3
- 3 Step Five (Optional): Attach the Wire Extensions.
- 4 Step Six: Connect the Wires
- 5 Step Seven: Place Your Ring Video Doorbell 3 over the Holes.
- 6 Step Eight: Screw in the Ring Doorbell 3
- 7 Step Nine: Install the Faceplate
- 8 Step Ten: Secure the Faceplate
- Download this manual
Physically installing your Ring Video Doorbell 3 with an existing doorbell is a simple process. Simply scroll down for a step-by-step guide.
Note that you should set up your Ring Video Doorbell 3 in your Ring App before mounting it to your home.
Click here for information on setting up your Ring Video Doorbell 3 in the Ring app.
Click here to see the full installation video.
Step One: Charge the provided battery
Fully charge the battery by plugging it into a USB power source using the provided orange cable.
When only one of the two LEDs on the battery is lit, the battery is fully charged.
Insert the battery into the bottom of your Ring Doorbell 3 until it clicks into place.
Click here for more information on charging your Ring battery.
Note: You may see an incorrect battery discharge/reporting when setting up your Ring Video Doorbell 3 if the device is not fully charged before use.
Please charge the battery completely before setting up your device.
Step Two (If installing without an existing doorbell): Select your install height
Install Video Doorbell approximately 1.2 metres above the ground for optimal performance. If you're connecting to existing doorbell wiring that's higher
than 1.2 metres, thus limiting where you can install your new Doorbell, use the provided wedge mount to angle your Doorbell down.
Skip to Step Three.
Step Two (If installing with an existing doorbell): Remove your existing doorbell
If replacing an existing doorbell, shut off power to your doorbell system at the breaker. Then remove the doorbell button from the wall and disconnect the
wires.
Note: If wiring your Ring Doorbell 3 to an existing doorbell, a transformer with a voltage of 8-24 VAC, 40VA max, 50/60Hz is required.
Advertisement
Table of Contents

Summary of Contents for ring Video Doorbell 3
- Page 1 Click here for more information on charging your Ring battery. Note: You may see an incorrect battery discharge/reporting when setting up your Ring Video Doorbell 3 if the device is not fully charged before use. Please charge the battery completely before setting up your device.
- Page 2 Step Five (optional): Attach the wire extensions. If you have trouble connecting the wires coming out of the wall to the back of your Ring Doorbell 3, use the provided wire extensions and wire nuts. Step Six: Connect the wires Connect the wires coming out of your wall to the screws on the unit.
- Page 3 Feed all the wires (and the wire nuts if you used them) into your wall and secure your Ring Doorbell 3 on the wall. Be sure you use all four included screws. Step Nine: Install the Faceplate Place one of the provided faceplates on your Ring Doorbell by slotting it in at the top and clicking it into place.
- Page 4 >...


Need help?
Do you have a question about the Video Doorbell 3 and is the answer not in the manual?
Questions and answers