Advertisement
Available languages
Available languages
Quick Links
Advertisement

Related Manuals for Candy CBT6RGX


Summary of Contents for Candy CBT6RGX
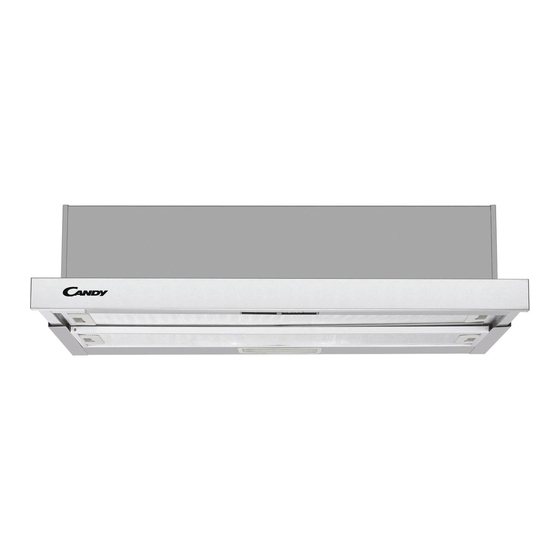
- Page 1 CBT6RGX Cooker Hood Instruction Manual...
-
Page 2: Table Of Contents
Content 1…………………………………..………………………………Safety instructions 2…………………………………..………………………………Installation 3…………………………………..………………………………Start using your cooker hood 4…………………………………..………………………………Troubleshooting 5…………………………………..………………………………Maintenance and cleaning 6…………………………………..………………………………Environment protection... -
Page 3: Safety Instructions
SAFETY INSTRUCTIONS his manual explains the proper installation and use of your cooker hood, please read it carefully before using even if you are familiar with the product. The manual should be kept in a safe place for future reference. of a range hood or other cooking fume Never to do: extractor, the operation of open flued... - Page 4 Always to do: Always to do: ● ● lways put lids on pots and pans aution: The appliance and its when cooking on a gas cooker. accessible parts can become hot during operation. Be careful to avoid ● hen in extraction mode, air in the touching the heating elements.
- Page 5 INSTALLATION (VENT OUTSIDE) MOUNTING OF THE V-FLAP If the cooker hood does not have an assembled V-flap 1, you should mount the half- parts to its body. The images only show an example of how to mount the V-flap, because the outlet may vary according to different models and configurations. To mount the V-flap 1 you should: •...
- Page 6 3. To install onto the wall, drill 4 holes of Ø 8mm on a suitable place according with the centre distance of hole in the back of the cooker hood. See Pic below. 4. Insert the nut into the holes. 5.
- Page 7 3. Install the adjusted board on the bottom of the hood in order to keep out the gap between hood back and cupboard. 4. Lay the expansion pipe on the valve. Lift up the expansion pipe till it out of the wall through the hole on the wall.
-
Page 8: Start Using Your Cooker Hood
Start Using Your Cooker Hood Toggle switch There are 3 speeds for the motor and on/off switch for the lamp. 1.Lamp – Turn on/off light “O” – to switch off light “I” – to switch on light Power – Slide out drawer, power on; slide in drawer, power off. 2 .Speed –select speed to suit cooking conditions “O”... -
Page 9: Maintenance And Cleaning
NOTE: Any electrical repairs to this appliance must conform to your local, state and federal laws. Please contact the service centre if in any doubt before undertaking any of the above. Always disconnect the unit from the power source when opening the unit. - Page 10 Filters should be washed separately to crockery and kitchen utensils. It is advisable not to use rinse aid. INSTALLING GREASE MESH FILTERS • To install filters for the following four steps: - Angle the filter into the slots at the back of the hood. - Push the button on the handle of the filter.
- Page 11 BULB REPLACEMENT The bulb must be replaced by the manufacturer, Important : its service agent or similarly qualified persons. Always switch off the electricity supply before carrying out any operations on the appliance. When handling bulb, make sure it has completely cooled down before any direct contact with hands.
-
Page 12: Environment Protection
ENVIRONMENTAL PROTECTION: This product is marked with the symbol on the selective sorting of waste electronic equipment. This means that this product must not be disposed of with household waste but must be supported by a system of selective collection in accordance with Directive 2012/19/EU. - Page 13 CBT6RGX Exaustor Manual de instruções...
- Page 14 Conteúdo 1…………………………………..………………………………Instruções de segurança 2…………………………………..………………………………Instalação 3…………………………………..………………………………Começar a usar o seu exaustor 4………………………………..…………………………………Resolução de problemas 5………………………………..……………………………Manutenção e limpeza 6………………………………..………………………………… Proteção do ambiente...
- Page 15 INSTRUÇÕES DE SEGURANÇA Este manual explica a instalação e utilização correta do seu exaustor e deve ser lido atentamente antes de usar o aparelhos, mesmo quando já conhece o produto. O manual deve ser mantido num local seguro para referência futura. Nunca: ●...
- Page 16 óleos superaquecidos podem Deve: incendiar. ● Importante ● Nunca ! Desligue sempre o deixe chamas livres debaixo fornecimento de energia elétrica do exaustor. durante a instalação e manutenção como é o caso da substituição de lâmpadas. ● exaustor deve ser instalado de acordo com as instruções de instalação e todas as medições ●...
- Page 17 quando permanentemente supervisionadas. ● Existe um risco de incêndio se a limpeza não for realizada de acordo ● com as instruções. o cabo de alimentação estiver danificado, deve ser substituído pelo ● regulamentos relativos à fabricante, pelo seu agente de serviço eliminação de ar devem ser ou por pessoas qualificadas, para cumpridos.
- Page 18 Se o exaustor não tiver uma V-flap 1 montada, deve montar as meias partes na sua estrutura. As imagens mostram apenas um exemplo de como montar a V-flap, porque a saída pode variar de acordo com diferentes modelos e configurações. Para montar a V-flap 1 deve: Montar duas meias partes 2 na estrutura 6 •...
- Page 19 4. Insira a porca nos orifícios. 5. Insira os parafusos nas porcas e aperte. 6. Pendure o exaustor nos parafusos fixos. 7. Ligue a válvula unidirecional no exaustor. Coloque o tubo de expansão na válvula. Levante o tubo de expansão até que saia da parede através do orifício na parede. D.
- Page 20 O aparelho deve ser ligado diretamente à rede elétrica utilizando um disjuntor omnipolar com uma abertura mínima de 3 mm entre os contactos. O instalador deve garantir que foi efetuada uma ligação elétrica correta e em conformidade com o esquema de cablagem. O cabo não deve ser dobrado ou comprimido.
- Page 21 Começar a usar o seu exaustor Chave seletora Existem 3 velocidades para o motor e interruptor de ligar/desligar a lâmpada. 1.Lâmpada - Ligar/desligar a lâmpada “O” - para desligar a lâmpada “I” - para ligar a lâmpada Energia – Para ligar: deslize a gaveta para fora; Para desligar, deslize a gaveta para dentro.
- Page 22 Sucção insuficiente A distância entre o exaustor e a Coloque novamente o exaustor à placa de gás é muito grande distância correta. O exaustor está O parafuso de fixação não está Aperte o parafuso de suspensão inclinado suficientemente apertado e coloque-o na horizontal. NOTA: Todas as reparações elétricos neste aparelho devem estar de acordo com as leis locais, estatais e federais.
- Page 23 FILTROS DE GORDURA EM MALHA Os filtros de malha podem ser limpos manualmente. Mergulhe-os durante 3 minutos em água com um detergente suave e, em seguida, escove-o suavemente com uma escova macia. Não aplique demasiada pressão para evitar danos. (Deixe secar naturalmente protegidos da lâmpada direta do sol) Os filtros devem ser lavados separadamente das louças e utensílios de cozinha.
- Page 24 inferior.
- Page 25 SUBSTITUIÇÃO DA LÂMPADA A lâmpada deve ser substituída pelo fabricante, Importante: agente de serviço ou pessoa com qualificação similar. Desligue sempre a alimentação elétrica antes de realizar qualquer operação aparelho. manusear a lâmpada, certifique-se de que arrefeceu completamente antes de qualquer contacto direto com as mãos.
- Page 26 PROTEÇÃO AMBIENTAL Este produto está marcado com o símbolo de triagem seletiva de resíduos de equipamentos eletrónicos. Isto significa que este produto não deve ser eliminado junto com o lixo doméstico, mas deve ser suportado por um sistema de recolha seletiva de acordo com a Diretiva 2012/19/EU.
Need help?
Do you have a question about the CBT6RGX and is the answer not in the manual?
Questions and answers