MikroTik hEX lite Quick Start Manual
Hide thumbs
Also See for hEX lite:
- User manual ,
- Quick start manual (21 pages) ,
- Quick manual (57 pages)
Table of Contents
Advertisement
Quick Links
hEX lite
hEX lite
First use
Choose your powering solution, please see the
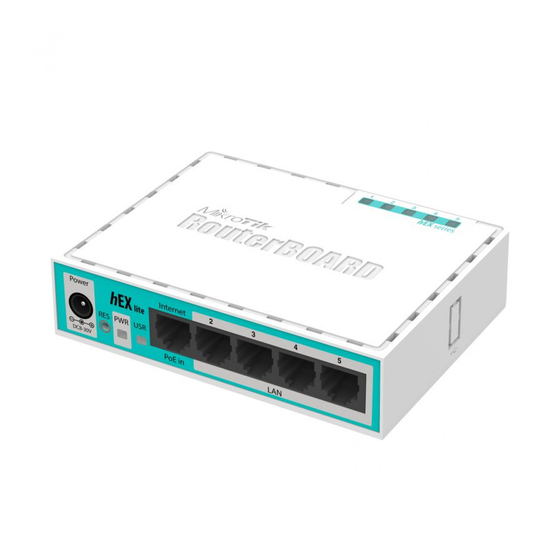
Connect your Internet cable to port 1 (labeled "Internet"), and local network computers to ports 2-5.
Connect your direct input power jack if not using POE, to start up the device.
The device will boot up and after the short beep, the network will be available for connecting.
Set your computer IP configuration to automatic (DHCP).
Once connected to the network, open
will be logged in automatically.
We recommend clicking the "Check for updates" button and updating your RouterOS software to the latest version to ensure the best
performance and stability.
Set up your password on the screen that loads.
Mounting
This device is designed for use indoors by placing it on the flat surface or mounting on the wall, mounting points are shown on the picture below, screws
are not included in the package. Screws with size 4x25 mm fit nicely, depending on your wall structure you can use dowels 6x30 mm and 6 mm drill bit if
needed.
When mounting on the wall, please ensure that the cable feed is pointing downwards. We recommend using Cat5/6 cable for our devices. The IP rating
scale for this device is IPX0.
Powering
The board accepts power from the power jack or from the first Ethernet port (Passive PoE):
Direct-input power jack (5.5 mm outside and 2 mm inside, female, pin positive plug) accepts 6-30 V DC;
First Ethernet port accepts passive Power over Ethernet accepts 6-30 V DC.
Normally the power consumption of this device is 2 W.
Powering
section for possibilities.
https://192.168.88.1
in your web browser to start configuration, since there is no password by default, you
Advertisement
Table of Contents

Related Manuals for MikroTik hEX lite


Summary of Contents for MikroTik hEX lite
- Page 1 First use Choose your powering solution, please see the Powering section for possibilities. Connect your Internet cable to port 1 (labeled "Internet"), and local network computers to ports 2-5. Connect your direct input power jack if not using POE, to start up the device.
- Page 2 Useful for RouterBOOT debugging and recovery. Specifications For more information about this product, specifications and pictures please visit our web page: https://mikrotik.com/product/RB750r2 Operating System Support The device supports RouterOS software version 6. The specific factory-installed version number is indicated in the RouterOS menu /system resource.
- Page 3 BG С настоящото Mikrotīkls SIA декларира, че този тип радиосъоръжение RouterBOARD е в съответствие с Директива 2014/30/ЕС. Цялостният текст на ЕС декларацията за съответствие може да се намери на следния интернет адрес: https://mikrotik.com/products CS Tímto Mikrotīkls SIA prohlašuje, že typ rádiového zařízení RouterBOARD je v souladu se směrnicí 2014/30/EU. Úplné znění EU prohlášení o shodě...
- Page 4 LV Ar šo Mikrotīkls SIA deklarē, ka radioiekārta RouterBOARD atbilst Direktīvai 2014/30/ES. Pilns ES atbilstības deklarācijas teksts ir pieejams šādā interneta vietnē: https://mikrotik.com/products MT B'dan, Mikrotīkls SIA , niddikjara li dan it-tip ta' tagħmir tar-radju RouterBOARD huwa konformi mad-Direttiva 2014/30/UE. It-test kollu tad- dikjarazzjoni ta' konformità...
Need help?
Do you have a question about the hEX lite and is the answer not in the manual?
Questions and answers