Table of Contents
Advertisement
Quick Links
Advertisement
Table of Contents

Related Manuals for Automation Dr. Nix QNix 5500


Summary of Contents for Automation Dr. Nix QNix 5500
- Page 1 OPERATION MANUAL QNix 5500 ® QUALITY „MADE IN GERMANY“...
-
Page 2: General Information
Note! Acetone can damage the display seal. Gerät: Vor der Reinigung Gerät ausschalten! www.q-nix.com/support com/support Verwenden Sie ein feuchtes, fusselfreies Tuch Automation Dr. Nix GmbH & Co KG Automation Dr. Nix GmbH & Co KG 1.6 Disposal und milde Reinigungsmittel, bei Verschmutzun- Robert-Perthel-Strasse 2... - Page 3 Automation Dr. Nix GmbH & Co KG Automation Dr. Nix GmbH & Co KG Automation Dr. Nix GmbH & Co KG 자동화 Dr. Nix GmbH & Co KG Robert-Perthel-Strasse 2...
-
Page 4: Table Of Contents
QNix 5500 ® Table of Contents 1. General Information 2. Device Overview 3. Initial Operation 3. 1 . Insert Battery 3.2. Insert Probe 4. Operation and Controls 4. 1 . About Operation 4.2. Calibration 4.3. Measurement Display 4.4. Measure 4.5. Substrate Switch 4.6. -
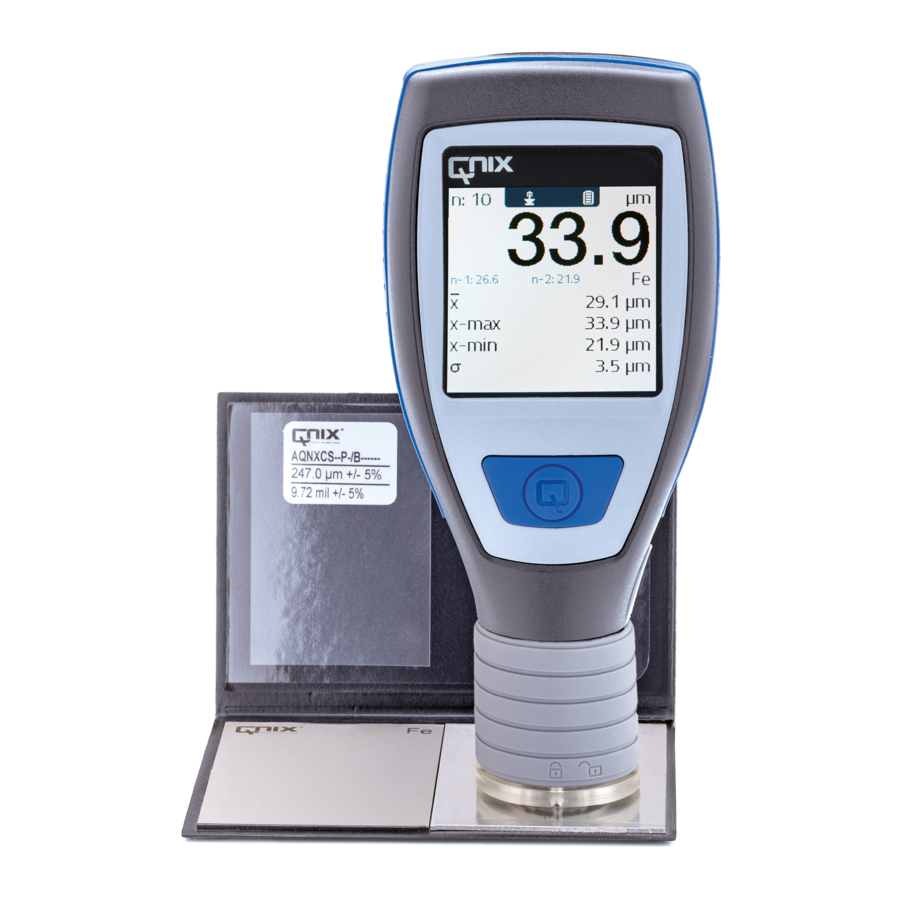
Page 5: Device Overview
2. Device Overview Battery compartment (back) Colour display Operation Key • Switch device on or off • Reset memory • Start adjustment • Switch substrate • Reset to factory status Probe port Probe holder with probe... -
Page 6: Initial Operation
QNix 5500 ® 3. Initial Operation 3.1. Insert Battery This device includes: 2 mignon batteries AA (LR6 / FR 6 / AM3) • To unlock the cover, turn the ring anti-clockwise. • Lift off cover. • Insert or replace battery. •... - Page 7 Connect the probe to the probe cable • Screw the probe together with the cable. For this purpose, always turn only the union nut of the cable. A turning movement of the angled cable connection can lead to permanent damage of the electrical contacts. This entails the loss of guarantee. •...
-
Page 8: Operation And Controls
QNix 5500 ® 4. Operation and Controls 4.1. About Operation Please note the following instructions to ensure conclusive results: • Hold the device by the probe holder. • Carefully place the device or the probe perpendicular on the surface. • Ensure the probe makes good contact with the surface and avoid the probe shaking. -
Page 9: Calibration
4.3. Measurement Display The measurement display contains the areas Status bar Measurement area Analysis area Depending on the context, the measurement display will show the following information: Section Symbol Description Status bar Calibration done Display of the actual substrate status Battery level 100 % / 50 % / 25 % / empty Note! When the batteries are below 50 %, a warning screen will appear. -
Page 10: Measure
QNix 5500 ® 4.4. Measurent with volatile memory Please note that it is not possible to display earlier measurements. Safing of data only is for rough statistics. • If necessary, start zero-adjustment. • Apply the probe and take a measurement. Sensor ring colours •... -
Page 11: Delete User's Adjustment
4.6. Delete User‘s Adjustment Pressing and holding the button until the countdown for switch-off starts will delete the last measure- ment results. If you repeat this three times within 5 seconds, the user‘s adjustment will be deleted also – the gauge goes back to factory status. When exceeding 5 seconds the counted repeats are set back to 0. In case of a user‘s adjustment, the according symbol is shown in the status bar. -
Page 12: Service And Repair
The equipment must be repaired by our service partners or by a manufacturer authorised technician. If you have any questions, please contact your local retailer or our support: www.q-nix.com/support Automation Dr. Nix GmbH & Co KG Robert-Perthel-Strasse 2 50739 Cologne – Germany... -
Page 13: Gauge Electrical Data
7.1.2. Gauge Electrical Data Electrical Data Protection rating Device power supply 2 x Batterys 1,5 V (type AA) Battery life without operation at min. 50 % > 1 year battery capacity Battery life at one measurement per second approx. 60 000 measurements 7.2. -
Page 14: Probe Electrical Data
QNix 5500 ® 7.2.2. Probe Electrical Data The probes may only be used with the gauges QNix® 9500 and QNix® 5500. 7.3. Measuring Data Measuring Data Principle of Measurement Magnetic field principal Magnetic field principal Magnetic field change, Eddy current Hall effect As per standard (varies by model) DIN EN ISO 2808,... - Page 16 Automation Dr. Nix GmbH & Co. KG Robert-Perthel-Str. 2 50739 Köln – Germany Phone +49 (0) 221 91 74 55-0 Fax +49 (0) 221 91 74 55-29 info@automation.de www.q-nix.com...
Need help?
Do you have a question about the QNix 5500 and is the answer not in the manual?
Questions and answers