
Related Manuals for Vello LED Profile 250


Summary of Contents for Vello LED Profile 250
- Page 1 LED Profile250(Zoom+CTO) USER MANUAL ------------------------------ 2018 Ver07.27-----------------------------------...
-
Page 2: Table Of Contents
TABLE OF CONTENTS INSTRUCTION..............................1 DESCRIPTION OF THE DEVICE.........................1 1. Profile................................1 2. Overview................................1 3. Specification..............................1 4.Safety Precautions............................1 INSTALLATION..............................2 1. Installation................................2 2. DMX512 connection............................3 3. Connection with mains..........................3 4. The use of gobo frame............................4 5. Use iris................................4 6. Replace fuse..............................4 7. Focus................................4 OPERATION.................................5 1. -
Page 3: Instruction
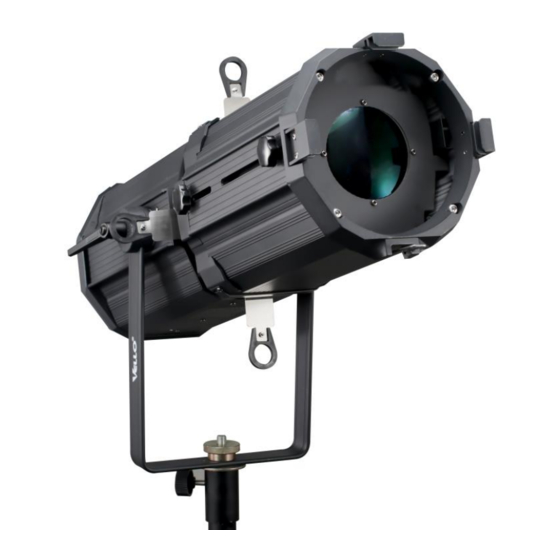
The product conforms to the international standard DMX512 agreement completely; the device can be controlled in signal, and also be controlled in many units. 2.Overview (758x343x305mm) 3.Specification Model: LED Profile 250( Zoom+ CTO) Lamp: TW high power 250W 2in1 LED WW 3000K 125W+CW 6000K 125W Power Supply: AC100V-250V, 50Hz/60Hz... -
Page 4: Installation
● Never operate this unit when its rear cover is removed. ● Never plug this unit into a dimmer pack. Always be sure to mount this unit in an area that will allow proper ventilation. Allow about 6” (15cm) between ●... -
Page 5: Dmx512 Connection
◼ Please use qualified safety-rope, which can hold at lease 10 times the weight of the fixture. You must only use safety-ropes with quick links with screw cap. Pull the safety-rope through the hole on the bottom of the base and over the trussing system etc. Insert the end in the quick link and tighten the fixation screw. A safety rope which already hold the strain of a crash or which is defective must not be used again. -
Page 6: Use Iris
5.Use iris The fixture delivers without Iris; user can purchase the iris if needed. Loose the screws and insert the iris. 6.Replace fuse ◼ Before replacing the fuse, unplug mains lead. ◼ Procedure: Step1: Unscrew the fuse holder on the rear panel with a fitting screwdriver from the housing (Anti-clockwise). -
Page 7: Operation
DMX Address. Press Enter to select the start address channel. The first display will let you know what operation mode you are in. Use the Up/Down keys to select the desired start address. Press Enter to confirm. Ch-Mode. This function allows you to select dmx channel mode. Press Enter to use Up/Down keys to select desired channel mode: 2 channels or 4 channels. -
Page 8: Dmx Chart
CW This function allows you adjust cool white intensity from 000-255,Press Enter to use Up/Down keys to select desired intensity settings. Press Enter to confirm the setting 3.DMX Chart (2 Channel Mode) CHANNEL VALUE FUNCTION 0-255 Dimmer 0-255 CTO(3000K-6000K) (4 Channel Mode) CHANNEL VALUE FUNCTION...
Need help?
Do you have a question about the LED Profile 250 and is the answer not in the manual?
Questions and answers