Table of Contents
Advertisement
Quick Links
Advertisement
Table of Contents

Subscribe to Our Youtube Channel
Related Manuals for Triton SQPS36


Summary of Contents for Triton SQPS36
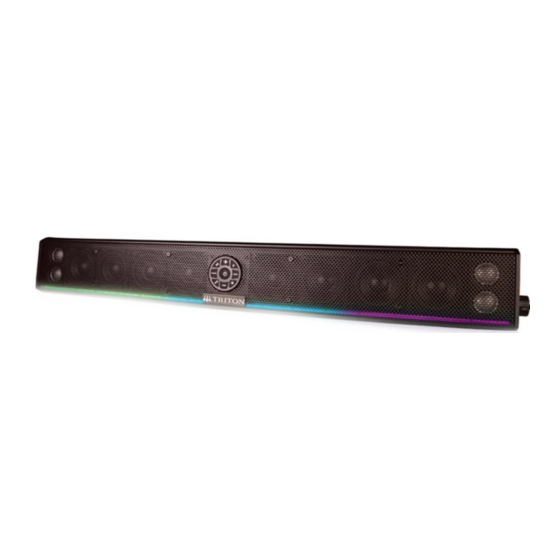
- Page 1 SQPS36 SQPS27 SQPS20 AMPLIFIED POWERBAR Application Guide Please read through this manual to familiarize yourself with your new Powerbar. Should your Triton Audio Powerbar ever require service, you will need to have the original dated receipt.
-
Page 2: Product Features
The onboard DSP was precision tuned by Triton Engineers to give you the best possible sound without sacrificing the volume you need while out on the trails. Triton Audio, Engineered for You! - Page 3 TRITON AUDIO POWERBAR SPECIFICATIONS Model SQPS36 SQPS27 SQPS20 RMS Power (watts) Peak Power (watts) Aux Input Sensitivity 250mV - 3 Volts 250mV - 3 Volts 250mV - 3 Volts Aux Output 1.5 Volts 1.5 Volts 1.5 Volts Frequency Response 50Hz - 22kHz...
-
Page 4: Preparing For Installation
Triton Audio dealer. This Owner’s Manual only provides general installation and operation instructions. If you have any reservations about your installation skills, please contact your local Triton dealer for assistance. IMPORTANT: This amplified Powerbar is designed for operation in vehicles with 12-volt Negative ground electrical systems only. - Page 5 MOUNTING THE POWERBAR L-brackets Use the supplied hardware to mount the L bracket to the Powerbar at the desired mounting angle. Securely tighten all hardware. The diameter of the hole in the L- bracket is .25 inches. NOTE: Hardware to mount the Powerbar to the vehicle when using L Brackets is not supplied. If using L brackets make sure the stainless-steel hardware is utilized.
-
Page 6: Mounting Location
FUSE REQUIREMENTS While the wiring harness of your Triton Audio Powerbar incorporates a fuse, this does nothing to protect the vehicle from a dangerous short circuit. It is absolutely vital that the main power lead to the amplified Powerbar in the system be fused within 18-inches (45cm) of the connection to the... -
Page 7: Aux Input
Bolt Ring Connector Fig.4 Recommended Ground Connection Star Washer Note: Remove any paint below ring connector Fig.5 Recommended Ground Connection for UTV’s, RV’s, Motorcycles and Boats AUX INPUT Connect the external audio input wire to your Powerbar. Turn the Powerbar on by the power button, background LED is powered on. - Page 8 CONTROLLER LAYOUT POWERBAR CONNECTION PORTS Main Connector Port...
-
Page 9: Onboard Controls
1) POWER BUTTON - Press the button to power unit on/off. The included RF wireless remote will control all Triton Powerbars. If you are using multiple bars on one installation, use the pairing feature to lock the remote to the main unit. To lock the external RF Remote, hold the power button for 3s until the LED flashes, then press any button on the wireless remote (except the power button). - Page 10 RF CONTROLLER OPERATION Same as "Controller Operation" RGB NO/OFF MUTE NO/OFF RGB Mode cycle switching. RGB Music Mode, RGB lights will flash dynamically with the ups and downs of music RGB Lights going to RED color RGB Lights going to GREEN color RGB Lights going to BLUE color Flicker frequency increase Flicker frequency reduction...
-
Page 11: Troubleshooting Tips
• Use RESET button to reset micro-processor LIMITED WARRANTY Triton Audio warrants any products purchased from an authorized Triton Audio dealer to be free from defects in material and workmanship under normal use for a period of ONE (1) YEAR from date of original purchase.
Need help?
Do you have a question about the SQPS36 and is the answer not in the manual?
Questions and answers