Table of Contents
Advertisement
Quick Links
Advertisement
Table of Contents

Related Manuals for Hauslane chef IS-500SS-30


Summary of Contents for Hauslane chef IS-500SS-30
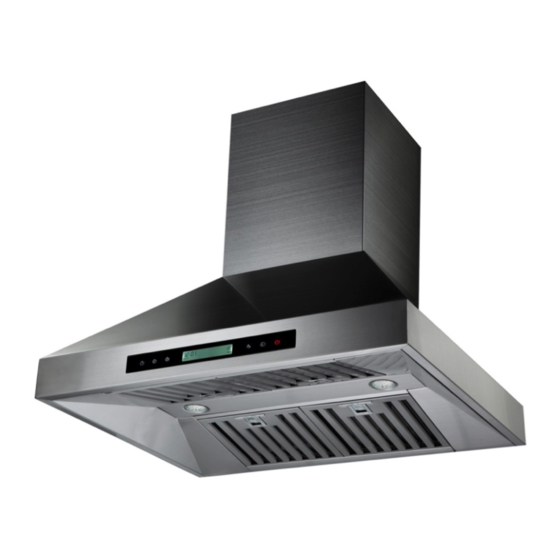
- Page 1 USER MANUAL Models IS-500SS-30 & IS-500SS-36...
-
Page 3: Table Of Contents
Table of Contents Important Safety Instructions Installation Preparations Duct Venting and Accessories Tools Needed Venting Requirements Venting System Setup Duct Run Calculation Chart Electrical Requirement Installation Test Before Installing Prepare the Location Installing the Range Hood Connecting the Vent System Electrical Connection Installing the Baffle Filters Completing the Installation... -
Page 4: Important Safety Instructions
6. Ducted fans must always be vented to the outdoors. any installation less than 24" may cause overheating and cause damage to the range hood, HAUSLANE 7. Do not use this unit with any solid-state speed does not warrant this improper installation. - Page 5 Read and Save These Instructions...
-
Page 6: Installation Preparations
INSTALLATION PREPARATIONS DUCT VENTING AND ACCESSORIES: Venting Requirements: • For new installation or your old range hood • This range hood requires a venting system doesn't have an exhaust duct, prepare to cut the leading to outdoors. openings through the bottom of the cabinet, wall, •... -
Page 7: Venting System Setup
INSTALLATION PREPARATIONS Venting System Setup: Measure and estimate the following figures before installation: • This range hood is 6" top venting through the roof or wall. • The distance between the countertop / stove to • Always use 6" round rigid or semi-rigid type the bottom of the range hood. -
Page 8: Duct Run Calculation Chart
INSTALLATION PREPARATIONS Minimum Duct Size: • The minimum mounting height should be no less than 24" and the maximum mounting height should be no more than 30". • Round: 6" minimum. • Also refer to the owner's manual of the stove top for the height clearance requirement and the recommended mounting height above the range. -
Page 9: Electrical Requirement
INSTALLATION PREPARATIONS IMPORTANT! Observe all governing codes and ordinances. It is the customer's responsibility: • To contact a qualified electrical installer; • To ensure that the electrical installation is in compliance with applicable codes and standards. Electrical Requirements: • A 120V, 60Hz., AC only, 15A fused electrical circuit is required. -
Page 10: Installation
INSTALLATION INSTALLATION INSTRUCTIONS NECESSARY TO INSTALL THE RANGE HOOD: • For electric ranges, unplug the power first before moving it. • For gas ranges, shut off the gas valve before moving it. CAUTION! Wear gloves to protect against sharp edges. Observe and prepare the location IMPORTANT! •... -
Page 11: Electrical Connection
INSTALLATION Installing the Baffle Filters not blocked by the ceiling. • Insert the screws into the holes and fasten them so that the mounting plate is securely mounted • Peel off the protective cover from the baffle filters to the ceiling. if there's any. -
Page 12: Range Hood Use
Range Hood Use Range Hood Control Panel Middle High Lamp Delay Power Power : To turn on/ off the cooker hood Timer : Delay-off timer set Lamp : To turn on/ off the LED Digital screen : To display the fan speed setting and delay timer and WARNING time High :... -
Page 13: Range Hood Care
Range Hood Care • Let the filters dry thoroughly. • Make sure the spring release handle is toward Cleaning the front, align and insert the filter. • Pull the spring release handle and push the filter WARNING into position. • To reduce the risk of electrical shock, DO NOT •... -
Page 14: Range Hood Troubleshooting
Range Hood Troubleshooting Before Calling for Service Issue Possible Cause / Solution • Check if the range hood is plugged in. Make sure that all power is turned ON, the fuse isn't blown and all electrical The range hood doesn't turn on wirings are properly connected. - Page 15 1-800-929-0168 (8 a.m. - 5 p.m., PST, Monday - Friday). or email us at info@hauslane.com Before you make your claim call, please ensure that you Any defects or damage to light bulbs...
- Page 16 Extended Warranties If you are interested in an extended warranty, sign up on our website at www.hauslane.com Parts and Accessories If you need replacement parts or accessories, visit www.hauslane.com Contact Us We’d be happy to answer your questions or resolve any issues you may have.
Need help?
Do you have a question about the chef IS-500SS-30 and is the answer not in the manual?
Questions and answers