Table of Contents
Advertisement
Quick Links
Advertisement
Table of Contents

Summary of Contents for FS AP-W6D1775C
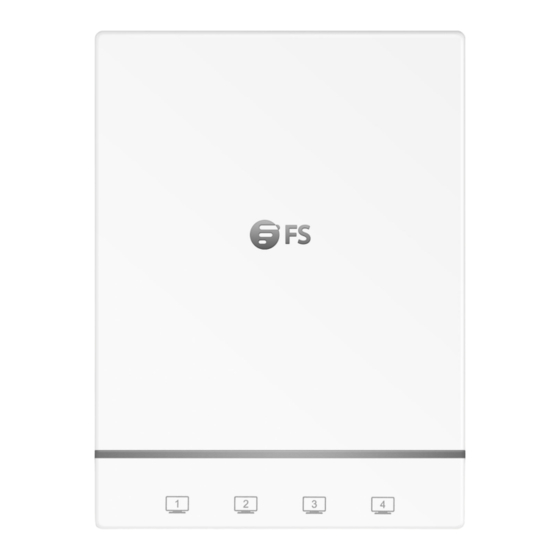
- Page 1 AP-W6D1775C ENTERPRISE WI-FI 6 WALL PLATE ACCESS POINT Quick Start Guide...
- Page 2 Thank you for choosing the enterprise Wi-Fi 6 access point. This guide is designed to familiarize you with the layout of the access point and describes how to deploy the access point in your network. AP-W6D1775C Accessories Screw x2 Optional (Not Included)
-
Page 3: Hardware Overview
Hardware Overview Ports... - Page 4 Ports Description 10/100/1000Base-T LAN port WAN/PoE 10/100/1000Base-T Ethernet WAN port, PoE and PoE+ capable Micro USB Micro USB management port (Console) Power Port for local power supply Button Button Description Restart: Press the Reset button for less than two seconds. Reset Restore to Factory Default Settings: Press and hold the Reset button for more than three seconds.
- Page 5 LEDs FAT AP: Status Frequency Description The AP is powered o , or the AP is in Silent mode, which can be disabled via software. Fast Blinking 2.5Hz (fast blinking Initialization is in progress. The AP is Green Before green) operational.
-
Page 6: Installation Requirements
FIT AP: Status Frequency Description The AP is powered o , or the AP is in Silent mode, which can be disabled via software. Fast Blinking 2.5Hz (fast blinking Initialization is in progress. The AP is Green Before green) operational. Solid Green Firmware upgrade in progress. -
Page 7: Mounting The Access Point
Mounting the Access Point Wall Plate Mounting 1. Use a athead screwdriver to remove the cover plate as constructed in the following gure. 2. Connect the uplink cable to the WAN/PoE port... - Page 8 3. Align screw holes on both sides of the device over those on the faceplate. And then tighten screws with a screwdriver. 4. Install the cover plate in the way as shown in the following gure.
- Page 9 5. Complete the installation.
- Page 10 Connecting the PoE Power Supply PoE Switch Use an Ethernet cable to connect the WAN/PoE port on the AP to the PoE port on a PoE switch. PoE Injector Intranet Use the power cord, power injector and Ethernet cable to connect the WAN/PoE port of the AP to the local power source.
- Page 11 Con guring the Access Point Con guring the AP Using the Web-based Interface Step 1: Connect the computer to the WAN/PoE port of the AP using the network cable. Step 2: Set the IP address of the computer to 192.168.1.x. (“x” is any number from 2 to 254.) I nter n e t Proto col Ve r s i o n 4 ( TC P / I P v 4) Pro pe r ti es General Yo u c a n g e t I P s e t t i n g s a s s i g n e d a u t o m a t i c a l l y i f y o u r n e t w o r k...
- Page 12 Step 5: Click the System Mode Switch to switch the FIT/FAP working mode. System Mode Current Mode: Fit AP Mode Internet Internet ROUTER POE SW POE SW CLLENT CLLENT Fit AP Mode Fit AP Mode NOTE: The device restarts after mode switch. please wait for a minute. NOTE: The access points work in Fit AP Mode by default.
-
Page 13: Troubleshooting
2. Verify that the AP is con gured correctly. 3. Adjust the transmit power. 4. Move the client device to adjust the distance between the client and the AP. Support and Other Resources Download https://www.fs.com/download.html Help Center https://www.fs.com/service/help_center.html Contact Us https://www.fs.com/contact_us.html... -
Page 14: Product Warranty
Product Warranty FS ensures our customers that any damage or faulty items due to our workmanship, we will o er a free return within 30 Days from the day you receive your goods. This excludes any custom made items or tailored solutions.


Need help?
Do you have a question about the AP-W6D1775C and is the answer not in the manual?
Questions and answers