Table of Contents
Advertisement
Quick Links
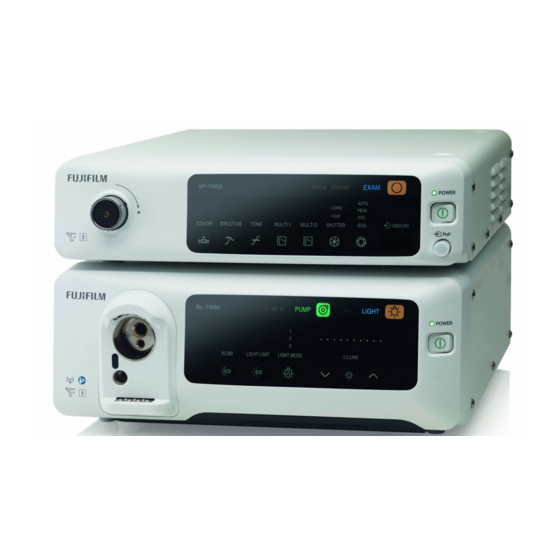
Light Source
OPERATION MANUAL
BL-7000
Thank you for purchasing our product. Read this
manual carefully before use to avoid unexpected
accidents and to take full advantage of the
product's capabilities.
897N120551D
English
Introduction
1
Precautions
Components and System
2
Confi guration of BL-7000
Name and Function of Each
3
Part
Installation and Connection of
4
the Equipment and Peripherals
Preparation and Inspection of
5
the System
6
Method of Use
7
Storage and Maintenance
8
Troubleshooting
9
Main Specifi cation
Advertisement
Table of Contents


Need help?
Do you have a question about the BL-7000 and is the answer not in the manual?
Questions and answers
what does a beeping Light limit mean