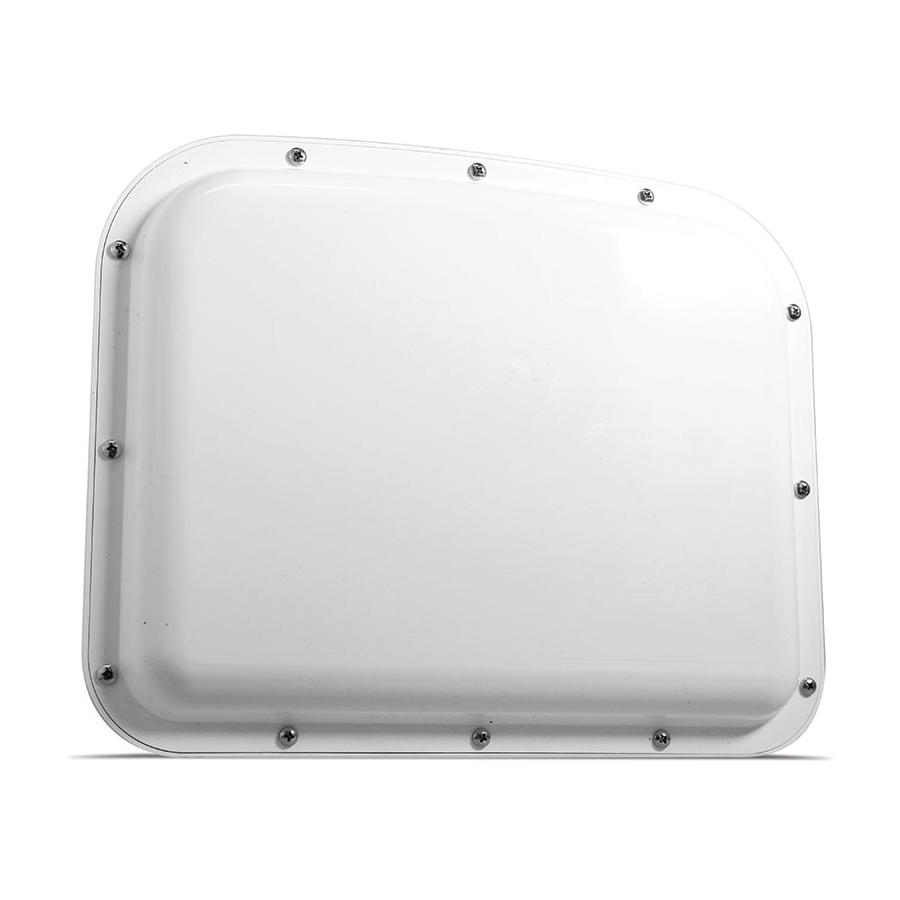
Wavetronix SmartSensor HD Installation & Quick Start Manual
Hide thumbs
Also See for SmartSensor HD:
- User manual (109 pages) ,
- Manual (16 pages) ,
- Quick reference manual (4 pages)
Advertisement
SmartSensor HD
INSTALLATION QUICK START GUIDE
Note. The mounting location for your SmartSensor HD sensor(s) should have already been determined as part of the design process. If
it has not been, please consult the SmartSensor HD User Guide for complete design and installation guidelines.
1
Select mounting height & offset
Definition. Offset is the distance between
the pole the sensor is mounted on and the
edge of the first lane to be detected.
Note. For a more complete version of the
table, and information about avoiding
occlusion and multipathing, refer to the
SmartSensor HD User Guide.
*Reduction in number of reported speeds
2
Mount the sensor
1
Prepare the sensor while still on the ground: remove the large bolts holding
the end knuckle to the mount, then use the four small bolts and lock washers
to attach the knuckle to the sensor backplate.
2
Once you're ready to mount the sensor on the pole, insert the mounting
straps through the slots on the mount.
3
Position the mount on the pole at the height you chose from the table above.
4
Tighten the straps.
5
Attach the knuckle you prepared earlier to the mount using the large bolts
(the cable connector should be pointed down). Don't tighten completely yet,
as you still need to align the sensor to the roadway.
3
Align the sensor to the road
1
Tilt the sensor down so the front is aimed at the center of the detection area.
2
If the sensor is installed on a road with an uphill/downhill grade, rotate the sensor so that the bottom edge matches the grade of
the road (this will require the purchase of a rotating sensor backplate).
3
Adjust the side-to-side angle so it's perpendicular to the flow of traffic.
www.wavetronix.com
801.734.7200
Offset
Height
(acceptable range)
6*
12
(9–19)
10
12
(9–22)
15
15
(12–26)
20
18
(15–30)
25
26
(17–33)
30
29
(19–37)
35
30
(20–40)
40
33
(22–43)
45
36
(23–46)
50+
39
(25– <offset)
Offset
Height
(acceptable range)
2.0*
3.5
(2.5–5.5)
3.5
3.5
(3.0–6.0)
5.0
4.5
(3.5–8.0)
6.5
6.0
(4.5–9.5)
8.0
8.0
(5.0–10.5)
9.5
8.5
(5.5–11.5)
11.0
9.0
(6.0–12.5)
12.5
10.5
(6.5–13.5)
14.0
11.0
(7.0–14.0)
15.5+
12.0
(7.5– <offset)
Advertisement
Table of Contents

Summary of Contents for Wavetronix SmartSensor HD
- Page 1 INSTALLATION QUICK START GUIDE Note. The mounting location for your SmartSensor HD sensor(s) should have already been determined as part of the design process. If it has not been, please consult the SmartSensor HD User Guide for complete design and installation guidelines.
- Page 2 © 2019 Wavetronix LLC. All rights reserved. Protected in the US by patents viewable at www.wavetronix.com/en/legal. Protected by Canadian Patent Nos. 2461411; 2434756; 2512689; and European Patent Nos. 1435036; 1438702; 1611458. Other US and international patents pending. Wavetronix, SmartSensor, Click, Command and all associated logos are trademarks of Wavetronix LLC. All other product or brand names as they appear are trademarks or registered trademarks of their respective holders.


Need help?
Do you have a question about the SmartSensor HD and is the answer not in the manual?
Questions and answers