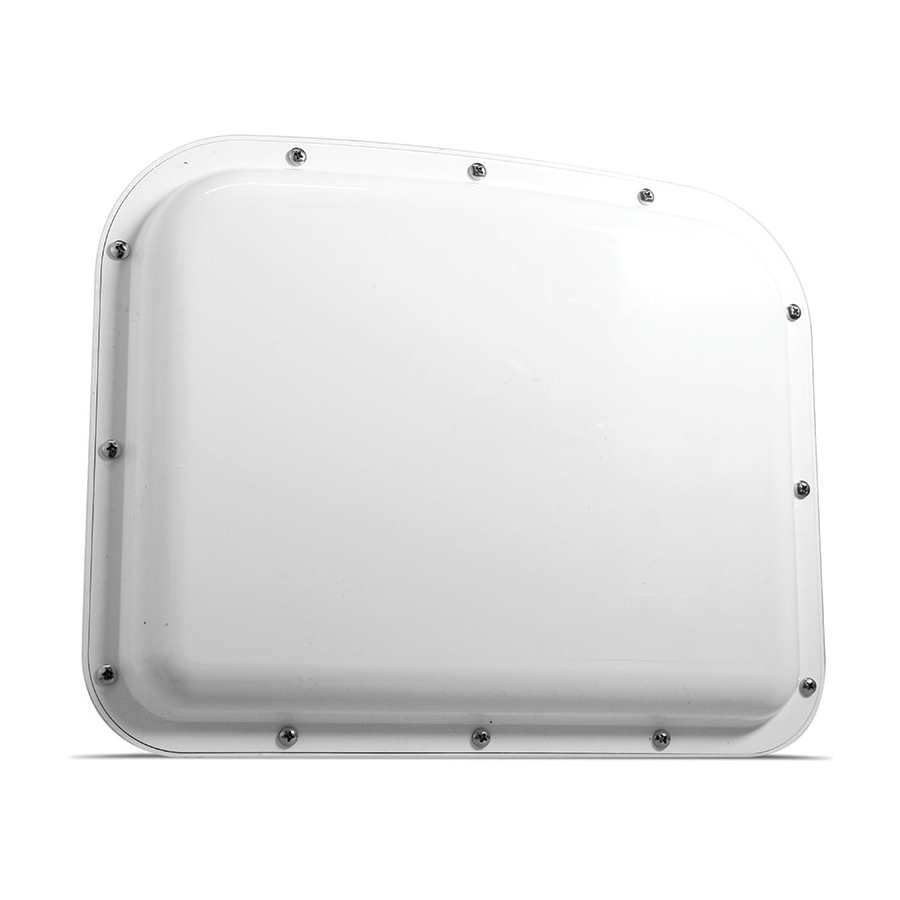
Wavetronix SmartSensor HD Quick Reference Manual
Hide thumbs
Also See for SmartSensor HD:
- User manual (109 pages) ,
- Manual (16 pages) ,
- Installation & quick start manual (2 pages)
Table of Contents
Advertisement
Quick Links
SmartSensor HD
QUICK-REFERENCE GUIDE
1
Ensure that all necessary components are available
You will need a number of items in order to install your sensor, including but not limited to the items below:
˽
Mount bracket and Band-It clamping system
˽
Sensor cable and homerun cable
˽
Click equipment and pole-mount box
2
Select a mounting height
Use the table to select the mount-
ing height for the sensor based on
the offset from the nearest detec-
tion lane. The range of ideal offsets
is highlighted in gray. If possible,
use the height contained in the
second column (Recommended
Mounting Height).
In areas with a lot of truck traffic,
consider a higher mounting height
to help mitigate occlusion.
Note. This table is truncated. For
a complete table, refer to the HD
user guide.
3
Attach the sensor and mount bracket to the pole
1
Attach the mount bracket to the pole using the straps.
2
Tighten the strap screws partway. The sensor alignment will need to be fine-
tuned later, so keep the straps slightly loose.
3
Attach the sensor to the bracket; the connector at the bottom of the unit should
point towards the ground.
4
Place the lock washers onto the bolts, thread on the nuts and tighten.
www.wavetronix.com
801.734.7200
˽
Laptop with SmartSensor Manager HD, down-
loaded from wavetronix.com
˽
Bucket truck
Offset from first
Recommended
Detection Lane
Mounting Height
(ft/m)
(ft/m)
6 / 1.8
12 / 3.7
10 / 3
12 / 3.7
15 / 4.6
15 / 4.6
20 / 6
18 / 5.5
25 / 7.6
26 / 7.9
30 / 9.1
29 / 8.8
35 / 10.7
30 / 9.1
40 / 12.2
33 / 10
45 / 13.7
36 / 11
50 / 15.2
39 / 11.9
*Reduction in number of reported speeds
Minimum
Maximum
Mounting Height
Mounting Height
(ft/m)
(ft/m)
9 / 2.7
19* / 5.8*
9 / 2.7
22 / 6.7
12 / 3.7
26 / 7.9
15 / 4.6
30 / 9.1
17 / 5.2
33 / 10
19 / 5.8
37 / 11.2
20 / 6
40 / 12.2
22 / 6.7
43 / 13.1
23 / 7
40 / 14
25 / 7.6
50 / 15.2
Advertisement
Table of Contents

Summary of Contents for Wavetronix SmartSensor HD
- Page 1 SmartSensor HD QUICK-REFERENCE GUIDE Ensure that all necessary components are available You will need a number of items in order to install your sensor, including but not limited to the items below: ˽ Mount bracket and Band-It clamping system ˽...
- Page 2 Note. The Click 200 has sides marked PROTECTED and UNPRO- TECTED; which you use depends on your installation. If you’re unsure, consult Chapter 2 of the SmartSensor HD User Guide or This image shows wiring into the protected side, as Wavetronix Technical Services.
- Page 3 Make a connection Open SmartSensor Manager HD (SSMHD) on your laptop to connect to the sensor: Make a physical or wireless connection to the sensor; generally you do this via a Click device that has a communication connection with sensor—for instance, you could connect to an Ethernet device on same T-bus as the Click 200 surge protector the sensor is connected to.
- Page 4 2434756; 2512689; and European Patent Nos. 1435036; 1438702; 1611458. Other US and international patents pending. Wavetronix, SmartSensor, Click, Command and all associated logos are trademarks of Wavetronix LLC. All other product or brand names as they appear are trademarks or registered trademarks of their respective holders. Product specifications are subject to change without notice.


Need help?
Do you have a question about the SmartSensor HD and is the answer not in the manual?
Questions and answers