Table of Contents
Advertisement
Quick Links
Advertisement
Table of Contents

Subscribe to Our Youtube Channel
Related Manuals for Luxor PS4000


Summary of Contents for Luxor PS4000
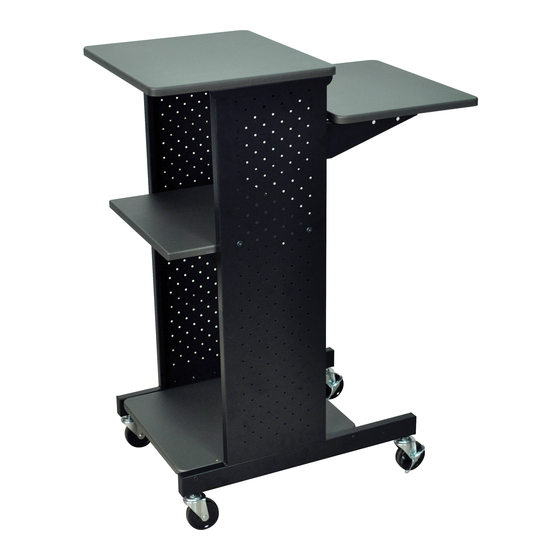
- Page 1 Luxor PS4000 Gray Presentation Workstation with Steel Frame Instruction Manual...
- Page 2 PS4000 Assembly Guide Part List: 1 x Left Panel 1 x Right Panel 1 x Bottom Panel 1 x Middle Panel 1 x Top Panel 1 x Shelf Panel 1 x Left Shelf Bracket 1 x Right Shelf Bracket 1 x Back Panel...
- Page 3 Step 1 Install the casters (J,K) to the side panels (A,B). Using the supplied allan wrench (O), install the bottom panel (C) with the 4 long screws (M). Note: Do not completely tighten the screws. Confirm that the arrowhead mark on the insert aligns with the centerline of the drilled hole.
- Page 4 Step 3 Using the allan wrench (O), install the back panel (I) to the main unit with 8 small screws (L). Note: Do not completely tighten the screws. If you have a cabinet pack, open it now. If not continue following the instructions. Step 4 Using the allan wrench (O), install the middle panel (E) to the main unit with 4 large screws (M).
- Page 5 Step 5 Using the allan wrench (O), install shelf brackets (G,H) to shelf panel (F) with 4 small screws (L). Install the shelf at the desired height. Note: Do not completely tighten the screws. Step 6 Using the allan wrench (O), tighten all of the screws (16 small &...
- Page 6 PS4000 Cabinet Pack Assembly Guide Part List: 1 x Lock 1 x Lock Catch 1 x Lock Ring 1 x Left Panel 1 x Right Panel 1 x Door Panel 8 x Wood Dowels 2 x Hinges 1 x Handle...
- Page 7 Step 1 After following the PS4000 Assembly guide to Step 3, install 4 dowels (G) into the side panels (D,E). Insert the side panels into the main unit. Step 2 Install 4 dowels (G) into the top of the side panels (C,D).
- Page 8 With 14 small screws (L), install the hinges (H) to the door (F), and the side panel (E). Detail - (B) Detail - C) Step 4 Continue with the PS4000 Assembly Guide. 9620 NE Tanasbourne, Dr. Suite 250, Hillsboro, OR 97124 sales@mybinding.com 1-800-944-4573...
Need help?
Do you have a question about the PS4000 and is the answer not in the manual?
Questions and answers