Table of Contents
Advertisement
Quick Links
Advertisement
Table of Contents

Related Manuals for Luxor STANDE-60-BK/TK


Summary of Contents for Luxor STANDE-60-BK/TK
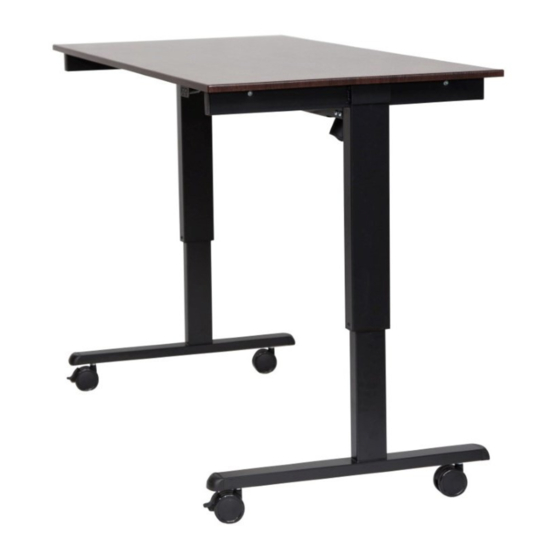
- Page 1 Electrical Operated Stand Up Desk Assembly Guide for 60˝ & 48˝ Wide Flat Top Desks American Filing Solutions P.O. Box 891719, Temecula CA 92589 Tel: 1-951-694-4150 | 1-888-891-1970 Fax: 1-951-506-7717 | 1-888-891-9970 Email: sales@FilingToday.com Website: www.FilingToday.com...
-
Page 2: Table Of Contents
Table of Contents Table of Contents . . . . . . . . . . . . . . . . . . . . . . . . . . . . . . . . . . . . 3 Warnings &... -
Page 3: Table Of Contents
IMPORTANT SAFETY DO NOT overload the table - maximum load is 70kg / 154 lbs. INSTRUCTIONS 8. Close supervision is necessary when this furnishing is used by, or near children, invalids, or disabled Read all instructions before persons. using the product. This appliance shall only be used together with the included power Every person who is responsible for... -
Page 4: Warnings & Guidelines
Adjusting Table Height: • If the table cannot be lowered or raised, check the connections 1 . Make sure no objects will obstruct between the legs and the wall the table when adjusting table socket and be sure the plugs height. -
Page 5: Parts List & Hardware
Parts List C x2 E x1 G x1 A x1 B x1 H x1 D x1 F x1 J x2 K x2 L x4 N x1 P x1 R x4 Hardware (Actual Size) 9 x1 1 x1 2 x1 6 x2 3 x2 M6x36 4 x4... -
Page 6: Assemble The Right And Left Frame
Assemble the right and left frame Tighten casters fully with included wrench Gather Parts: A, B, J, K, R, 9 6 / 16... -
Page 7: Assemble The Cross Bars
Assemble the cross bars Make sure the indented center holes of the cross bars C are facing towards the casters Assistance Recommended & Gather Parts: C, 2 4 x4 M6x48 7 / 16... -
Page 8: Attach Electric Adjustment Housing
Attach electric adjustment housing IMPORTANT: Do not tighten screws (8x16) fully until all are in place & Gather Parts: D, 1 8 x16 M8x15 8 / 16... -
Page 9: Flip Desk Upright And Install Optional Electric
Flip desk upright and install optional electric Heavy Lifting: Assistance Required Back Front IMPORTANT: Install the OPTIONAL electric (SOLD SEPARATELY) before attaching the desk top to the frame 9 / 16... -
Page 10: Install Rotating Cross Bar
Install rotating cross bar Gather Parts: N, E 10 / 16... -
Page 11: Mount Power Supply To Unit
Mount power supply to unit Feed the cords through the cable management holes. Make sure to tuck any excess cables away from the motor to avoid tangles. Gather Parts: G, H 11 / 16... -
Page 12: Plug In Electrical Cords To Power Supply
Plug in electrical cords to power supply Attach the cable that is connected to the motor to the center plug. Make sure the pins line up correctly. Attach the cable that is connected to the controller to the left plug. Make sure the pins line up correctly. -
Page 13: Attach The Desk Surface
Attach the desk surface Front Back & Gather Parts: 5 x4 M6x73 13 / 16... -
Page 14: Attach Remaining Bolts To The Desk Surface
Attach remaining bolts to the desk surface 3 x2 M6x36 14 / 16... -
Page 15: Mount Electrical Controller And Cable Clips
Mount electrical controller and cable clips L x4 Attach cable management clips to desired position MAKE SURE TO LEAVE PLENTY OF SLACK FOR CABLES TO MOVE FREELY DURING THE DESK ADJUSTMENT Phillips Screwdriver required for tightening screws 6 & Gather Parts: P, G, L 6 x2 15 / 16...
Need help?
Do you have a question about the STANDE-60-BK/TK and is the answer not in the manual?
Questions and answers