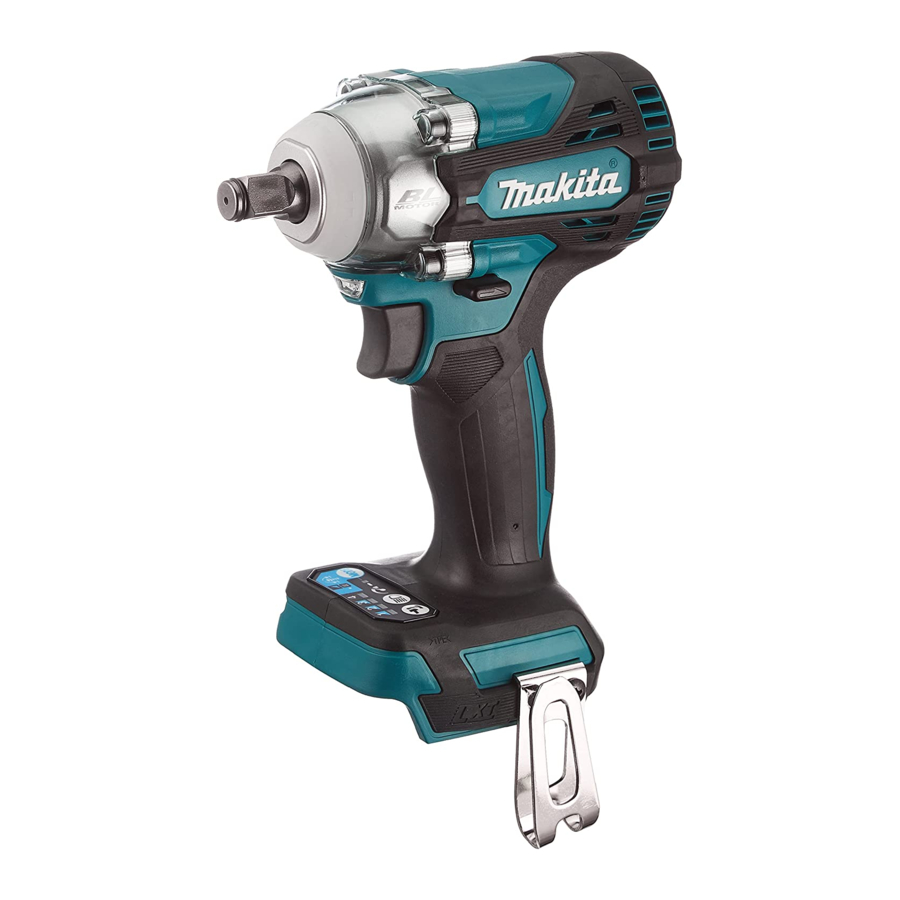
Makita DTW300 Instruction Manual
Hide thumbs
Also See for DTW300:
- User manual ,
- Instruction manual (100 pages) ,
- Repair manual (25 pages)
Table of Contents
Advertisement
Quick Links
Advertisement
Table of Contents

Summary of Contents for Makita DTW300
- Page 1 INSTRUCTION MANUAL Cordless Impact Wrench DTW300 DTW301 DTW302 Read before use.
-
Page 2: Specifications
Be sure that you understand their Noise meaning before use. Read instruction manual. The typical A-weighted noise level determined accord- ing to EN62841-2-2: Model DTW300 Only for EU countries Ni-MH Sound pressure level (L ) : 97 dB(A) Due to the presence of hazardous com-... -
Page 3: Ec Declaration Of Conformity
The vibration total value (tri-axial vector sum) deter- Work area safety mined according to EN62841-2-2: Keep work area clean and well lit. Cluttered or Model DTW300 dark areas invite accidents. Work mode: impact tightening of fasteners of the maxi- Do not operate power tools in explosive atmo-... - Page 4 Personal safety Power tool use and care Stay alert, watch what you are doing and use Do not force the power tool. Use the correct common sense when operating a power tool. power tool for your application. The correct Do not use a power tool while you are tired or power tool will do the job better and safer at the under the influence of drugs, alcohol or med- rate for which it was designed.
- Page 5 MISUSE or failure to follow the safety rules stated 12. Use the batteries only with the products in this instruction manual may cause serious specified by Makita. Installing the batteries to personal injury. non-compliant products may result in a fire, exces- sive heat, explosion, or leak of electrolyte.
-
Page 6: Functional Description
Use of non-genuine Makita batteries, or batteries that have been altered, may result in the battery bursting causing fires, personal injury and damage. It will also void the Makita warranty for the Makita tool and charger. Tips for maintaining maximum... -
Page 7: Overheat Protection
This tool is equipped with an electric brake. If the tool Lighted Blinking consistently fails to quickly stop after the switch trigger 75% to 100% is released, have the tool serviced at a Makita service center. 50% to 75% Lighting up the front lamp 25% to 50%... - Page 8 Reversing switch action ► 1. Button To turn on the lamp status, press the button ► 1. Reversing switch lever one second. To turn off the lamp status, press the but- for one second again. CAUTION: Always check the direction of With the lamp status ON, pull the switch trigger to turn rotation before operation.
-
Page 9: Changing The Application Mode
Changing the application mode Changing the impact force You can change the impact force in four steps: 4 (max), 3 (hard), 2 (medium), and 1 (soft). This allows a tightening suitable to the work. The level of the impact force changes every time you press the button You can change the impact force within approximately one minute after releasing the switch trigger. - Page 10 Example of application Application mode Example of application (Impact force grade displayed on panel) 4 (Max) Assembling steel frames and tightening long screws or bolts. 3 (Hard) Assembling steel frames. 2 (Medium) Assembling or disassembling scaffolds and frameworks. 1 (Soft) Assembling furniture.
- Page 11 Changing the application mode This tool employs several easy-to-use application modes for driving bolts with good control. The type of the application mode changes every time you press the button You can change the application mode within approximately one minute after releasing the switch trigger. NOTE: You can extend the time to change the application mode approximately one minute if you press the but- Application mode Feature...
- Page 12 For impact socket without O-ring and pin ► 1. Button 2. Lamp Model DTW300, DTW302 When full speed mode is turned on, the tool speed becomes fastest even if you do not pull the switch trig- ger fully. When full speed mode is turned off, the tool speed increases as you increase the pressure on the switch trigger.
-
Page 13: Installing Hook
For impact socket with O-ring and pin Installing hook Model DTW300 CAUTION: When installing the hook, always secure it with the screw firmly. If not, the hook may come off from the tool and result in the personal injury. CAUTION: Use the hanging/mounting parts for their intended purposes only. -
Page 14: Maintenance
(815) To maintain product SAFETY and RELIABILITY, (407) repairs, any other maintenance or adjustment should be performed by Makita Authorized or Factory Service Centers, always using Makita replacement parts. 1. Fastening time (second) 2. Fastening torque OPTIONAL NOTE: Hold the tool pointed straight at the bolt or nut. - Page 16 Makita Europe N.V. Jan-Baptist Vinkstraat 2, 3070 Kortenberg, Belgium Makita Corporation 3-11-8, Sumiyoshi-cho, Anjo, Aichi 446-8502 Japan 885898A220 www.makita.com 20210304...


Need help?
Do you have a question about the DTW300 and is the answer not in the manual?
Questions and answers