Pella 350 Series Replacement
Hide thumbs
Also See for 350 Series:
- Installation instructions manual (16 pages) ,
- Owner's manual (28 pages)
Advertisement
Table of Contents
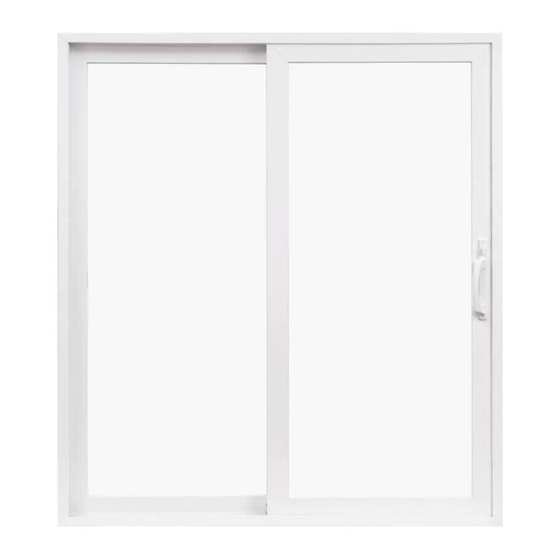
Door Handle and Lock Replacement, and Lock Throw
Adjustment—Sliding Patio Door
Service Instruction
These instructions apply to:
Pella
350 Series 2010 – Current
®
Pella
250 Series 2019 - Current
®
Two or more people will be required for the following instruction!
NOTE: Remember to work safely while doing any maintenance or repair. This includes wearing safety glasses and
using safe work practices. Make sure your work area is unobstructed and clear of window coverings, etc.
1
Door Handle and Lock Replacement:
A. Unlock and open door panel. From the interior, remove the
two handle attachment screws using a Phillips head screw
driver and remove door handle(s) from the door panel.
B. Remove The two lock
attachment screws and
remove lock.
©2019 Pella Corporation
1B
Page 1 of 2
Tools Required:
• Phillips #2 or #3 screwdriver
• Flat blade screwdriver
Handle
Attachment
Screws
1A
1B
GIF-000002283-Part Number: V987958
1A
1B
Advertisement
Table of Contents

Related Manuals for Pella 350 Series


Summary of Contents for Pella 350 Series
- Page 1 Door Handle and Lock Replacement, and Lock Throw Adjustment—Sliding Patio Door Service Instruction These instructions apply to: Tools Required: Pella 350 Series 2010 – Current ® • Phillips #2 or #3 screwdriver Pella 250 Series 2019 - Current ® • Flat blade screwdriver Two or more people will be required for the following instruction! NOTE: Remember to work safely while doing any maintenance or repair.
- Page 2 D. Insert handles and attach with attachment screws. Screw Length: 350 Series = 2-1/8" 250 Series = 1-3/4" Lock Throw Adjustment: A. Unlock and open door vent panel. Press the lock release...
Need help?
Do you have a question about the 350 Series and is the answer not in the manual?
Questions and answers