Advertisement
Quick Links
Advertisement

Related Manuals for Whirlpool AGG640IX


Summary of Contents for Whirlpool AGG640IX
- Page 1 GAS COOKER AGG640IX OVEN INSTRUCTIO N MANUAL...
-
Page 2: Table Of Contents
Table of contents Product description................2 Warning..................2 Installation..................5 How to use the oven..............11 Troubleshooting................13... -
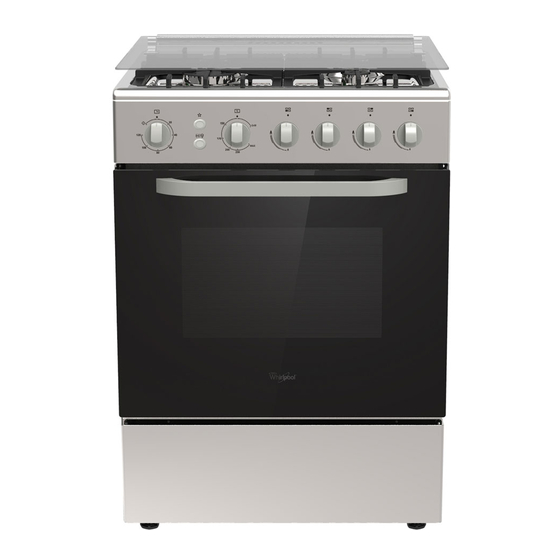
Page 3: Product Description
Product description Sealed burners Pan Grated Burners knobs Temperature knob Baking rack Oven igniter Dripping Pan Base Electric igniter-burners and oven Oven light Timer Warning These instructions are only valid if the country symbol appears on the appliance. If the symbol does not appear on the appliance, it is necessary to refer to the technical instructions which will provide the necessary instructions concerning modification of the appliance to the conditions of... - Page 4 Make sure that the power supply cables of other appliances do not come into contact with the hot parts of the oven The openings used for the ventilation and dispersion of the heat must never be covered Do not close the glass lid only applicable models when cooking in the oven or on the cook-top .
- Page 5 Do not trap the mains cable between the oven door and the frame and do not route it over hot surfaces Otherwise cable insulation may melt and cause electric shock or fire as a result of short circuit The appliance can be used by children aged from 8 years and above and persons reduced physical, sensory or mental capabilities or lack of experience and knowledge if they have been given supervision or instruction concerning use of the...
-
Page 6: Installation
Installation Installation place conditions 1. The use of the gas ranges produce heat and humidity where are installed. 2. Good room ventilation is essential for safe operation of your appliance, all rooms require an open able window, equivalent or permanent vent. So that the air for combustion is taken from air and the exhaust gases are emitted directly into the room. - Page 7 Final check 1. Open gas supply. 2. Check gas installations for secure fitting and tightness. 3. Ignite burner and check appearance of the flame. Flame must be blue and have a regular shape. If the flame is yellowish, check if the burner cap is seated securely or clean the burner.
- Page 8 Reduced gas flow rate setting for hob taps 1. lgnite the burner that is to be adjusted and turn the knob to the reduced position. 2. Remove the knob from the gas position. 3. Use an appropriately sized screwdriver to adjust the flow rate adjustment screw. For LPG(Butane - Propane) turn the screw clockwise.
- Page 9 Installation The cooker is designed to fit between kitchen cabinets. The space either side need only be sufficient to allow withdrawal of the cooker for servicing. It can be used with cabinet one side or both as well as in a corner setting. It can also be used free-standing.
- Page 10 Rubber Installation Align the rubber to the fixed hole; 2.Push the rubber and screw it into the fixed hole. Safety For children 1. Avoid accidents After unpacking the range, keep packing materials away from children 2. Do not allow children to handle the appliance even when it is disconnected 3.
- Page 11 Care with food and cookware 1. To handle or remove food from the use cooking gloves 2. Never leave clothes or flammable materials near the burners when the range is in use When using frying oil or butter additional care must be taken since these products are flammable 3.
-
Page 12: How To Use The Oven
How to use Timer setting: 1. To set the time, turn the knob clockwise to the desired time.The time can be set up to 60 minutes. 2. When cooking is finished, it will beep. Before lighting the oven please remove the following elements Dripping pan Baking rack 1. - Page 13 Grill : 1. The oven is controlled via dual gas out-flow valve, and the valve separately controls the button and top burner (but can not make the two burner work together at the same time). 2. When using grill function, the operate process should be: Turn on chief gas switch, if allowed, check the gas flow system whether the pressure fulfill the kind and pressure that provided on rating label.
-
Page 14: Troubleshooting
T roubleshooting PROBLEM POSSIBLE CAUSE SOLUTION Connection hose or tubing puncture Change the installation Place them in the Burners incorrect position correct position. Gas Smell An oven burner in use accidentally went off . Call the customer r service Pressure regulator badly installed Install it correctly.
Need help?
Do you have a question about the AGG640IX and is the answer not in the manual?
Questions and answers