Advertisement
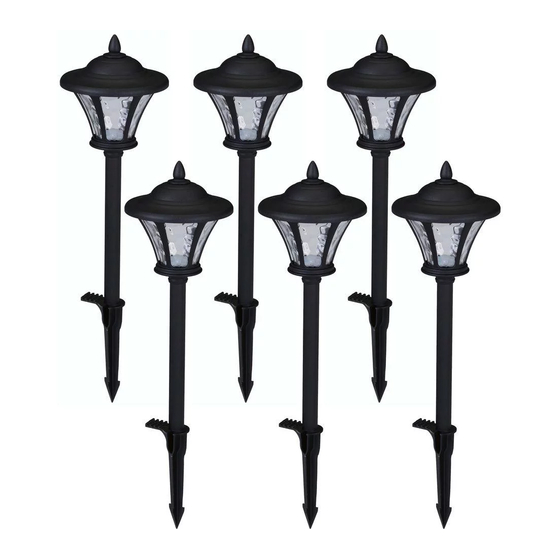
PACKAGE CONTENTS
A - Fixture head x 12
Assembly and Installation
1
Attaching and installing the
light
WARNING: Do not install the light within 10 ft.
(3 m) of a pool, spa, or fountain.
□
Attach the fixture head (A) to the post (B) by inserting
the fixture head (A) into the upper end of the post (B)
and then twisting clockwise.
□
Insert the fixture wire (2) into the groove located on
the top of the ground stake (C).
□
Attach the post (B) to the stake (C) by placing the
bottom of the post (B) onto the top of the stake (C)
and twisting clockwise.
□
Prepare a hole in the installation location. Use a
screwdriver to prepare the installation hole to ensure
that the hole is not larger than the stake (C).
□
Install the fixture in the ground by pushing on the foot
step (1) on the stake (C). Do not push on the fixture
head (A).
B
1
NOTE: Do not use a hammer. If the ground is
hard, use water to soften or a trowel to loosen
the soil.
A
B - Post x 12
C - Stake with foot step x 12
A
2
D
C
LED LOW VOLTAGE PATH LIGHT
B
C
D - Connector with 12 in. wire length (attached to fixture) x 12
2
Connecting the wires
WARNING: The connector contacts (D) have sharp edges for piercing the
main low voltage cable. To avoid injury, do not touch the metal contacts.
CAUTION: The wire from the low voltage power unit shall be 12-16 AWG
type underground Low Energy Circuit Cable.
IMPORTANT:
• Protect the wiring by routing it in close proximity to the light, fitting,
or next to a building structure such as a house or a deck.
• Do not bury the wiring by more than 6 in. (15.24 cm) in order to
connect to the main secondary wire.
• Do not submerge fixtures in water.
□
Detach and place the wire connector (D) on opposite sides of the low voltage cable (not
included) from the transformer (not included) where the fixture will be located.
□
Align and fit the main low voltage cable vertically in the slot of the wire connector as shown.
□
Press the wire connector (D) together until fully seated and locked around the cable. Pre-set
prongs will pierce the cable insulation and establish contact. Turn on the power unit. If the
light fixture does not turn on, repeat operations 2 and 3.
□
Once the clip-on connector is in place, we recommend to wrap it with electrical tape (not
included) for additional protection.
D
1
Item #1001 513 111
Model #29156
Use and Care Guide
D
Please contact 1-855-HD-HAMPTON for further assistance.
HAMPTONBAY.COM
Advertisement
Table of Contents

Subscribe to Our Youtube Channel
Summary of Contents for HAMPTON BAY 29156
- Page 1 Item #1001 513 111 Model #29156 Use and Care Guide LED LOW VOLTAGE PATH LIGHT PACKAGE CONTENTS A - Fixture head x 12 B - Post x 12 C - Stake with foot step x 12 D - Connector with 12 in. wire length (attached to fixture) x 12...
- Page 2 Care & Cleaning □ Before attempting to clean the fixture, disconnect the power to the fixture by turning the breaker off or removing the fuse from the fuse box. □ To clean the fixture, use a dry or slightly dampened clean cloth. □...


Need help?
Do you have a question about the 29156 and is the answer not in the manual?
Questions and answers