
Related Manuals for Morgana DigiBook 450


Summary of Contents for Morgana DigiBook 450
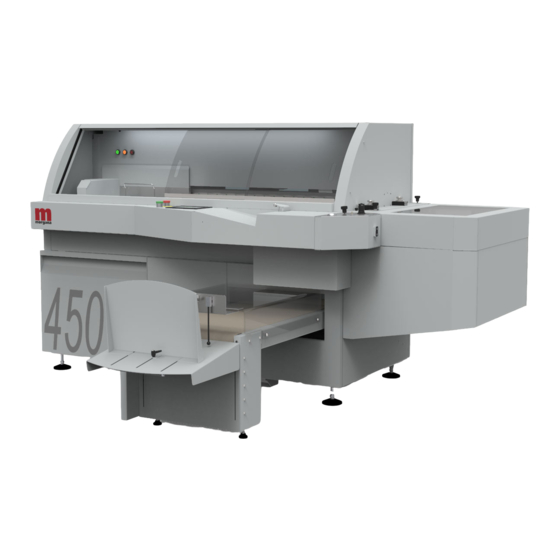
- Page 1 DigiBook 450 Technical Manual vers. 01.00 Morgana Systems Limited ▪ United Kingdom ▪ www.morgana.co.uk ▪ Telephone: ( 01908 ) 608888 ▪ Facsimile: ( 01908 ) 692399...
-
Page 2: Table Of Contents
Technical S etting DigiBook 450 R2: Technical Manual rev.01.00 10-12-2013 Summary Tools necessary for set up ..........................3 Working principle ............................... 3 Preliminary Operations ............................3 Start-up conditions .............................. 5 Check height of Zero (MZ) ..........................5 ... -
Page 3: Tools Necessary For Set Up
Technical S etting Tools n ecessary f or s et u p Tools n ecessary f or p erforming d imensional t ests o n t he m achine: Depth ... - Page 4 Technical S etting Fig.0.3 If t he v oltages a re a s i ndicated, p roceed w ith checking o f t he c orrect r otation o f t he m illing. ...
-
Page 5: Start-Up Conditions
Technical S etting Start-‐up c onditions Starting c onditions f or c hecking t he m achine s et-‐up v alues: 1) Machine o n a nd a t c orrect t emperature. 2) Jogger ... -
Page 6: Setting The Jogger Plate
Technical S etting 1) S etting t he j ogger p late Jogger f eatures: Fig.1.1 1) perpendicular t o t he c lamp 2) parallel ... - Page 7 Technical S etting 2) P arallelism t est o f t he j ogger Fig.1.4 Reset the clamp, then position it, completely opened, ...
- Page 8 Technical S etting 4) G ap t o h old t he s heets. Fig.1.7 The jogger has a gap that serves to hold the sheets ...
-
Page 9: Setting The Spine Preparation Unit
Technical S etting 2) S etting t he s pine p reparation u nit Milling d isk f eatures: Fig.2.1 1) perpendicular t o t he c lamp 2) The ... - Page 10 Technical S etting 2) P arallelism t est o f t he s pine Fig.2.4 preparation u nit. When placing the square as shown in Fig. 2.4 the ...
- Page 11 Technical S etting Fig.2.7 4) C heck o f t he s pine p reparation u nit height o n t he r ight s ide. ...
- Page 12 Technical S etting 6) Check t he m ovable f ront c over o f Fig.2.11 cutter The movable f ront c over m ust protrude ...
-
Page 13: Setting The Pur Nozzle
Technical S etting 3) S etting t he P UR N ozzle Gluing u nit f eatures: Fig.3.1 1) perpendicular t o t he c lamp. 2) the ... - Page 14 Technical S etting 2) C heck o f t he g luing u nit h eight. Fig.3.4 Measure the distance from BlockM to the extruder plane as shown in Fig. 3.4, making ...
-
Page 15: Setting The Nipping Station
Technical S etting 4) Setting t he n ipping s tation Nipping s tation f eatures: N.B. The n ipping s tation u nit d oes n ot o nly n eed g auging b ut 1) Perpendicular ... - Page 16 Technical S etting 1) P erpendicular-‐alignment t est o f Fig.4.4 the n ipping s tation. Place a 5 0 x 8 0 m m s quare o n i ts s horter side ...
- Page 17 Technical S etting Measure the distance, as shown in Fig. Fig.4.8 4.8, after moving the clamp to the right end ...
- Page 18 Technical S etting The m obile p late o f t he c lamp m ust b e adjusted i n s uch a w ay t hat i t d oes n ot scrape ...
-
Page 19: To Adjust The Discharge Manipulator
Technical S etting 7) To a djust t he d ischarge m anipulator Features o f t he m anipulator discharge: 1) P erpendicular t o t he v ise. 2) ... - Page 20 Technical S etting 1) Check t he s quareness o f t he manipulator. Place a square 50x80 with the side to 50 Fig.4.22 ...
- Page 21 Technical S etting 2) Distance v ise p lan m anipulator. Fig.4.24 Check t hat t he d istance b etween t he p late and ...
- Page 22 Technical S etting 3) Check g ap o f t he Fig.4.26 manipulator t o t he f ixed plate. Check t hat t he d istance b etween t he p late and ...
-
Page 23: Adjust The Cover Feeder
Technical S etting 7) Adjust t he c over f eeder. Features c over f eeder: 1) Creasing p arallel t o t he c over. 2) Proper ... -
Page 24: Adjustment Of Discharge Belt
Technical S etting 8) Adjustment o f d ischarge b elt. Belt S pecifications: 1) P erpendicular t o t he m achine frame. 2) ... - Page 25 Technical S etting 3) Proper b elt t ension. Fig. 4 .33 The belt must not be excessively tensioned to avoid straining the engine ...
- Page 26 Technical S etting 5) Photo-‐cell s tacker. Fig.4.36 Placing a light color object the front of the photocell of the stacker Fig.4.36 and at a distance ...
-
Page 27: Pressure Adjustment
Technical S etting 9) Pressure a djustment Machine s ystem p ressure: 7 b ar Press ... -
Page 28: Machine Parameters
Technical S etting 14) Machine p arameters. Access to page manual movements Reset axis Movement of the group in the direction indicated by the arrow, green arrow the size increases. Movement of the group in the direction indicated by the arrow, red arrow decreases the size. - Page 29 Technical S etting N.B. It is necessary that all of the preset values are measured in the reset point the axis Here you set the aperture value measured with the caliper of the clamp. Opening and closing the clamp.
- Page 30 Technical S etting Cycle collection arm UTILIZZARLO E’ NECESSARIO CHE IL PULSANTE NON LAMPEGGI PIU’. 1°. Height adjustment Cycle delivery belt 2°. height adjustment preset 3°. Speed percentage 0 - 1 Move arm up single step 4°. Percentage rate increase 1 - 2 5th.
- Page 31 Technical S etting Write a thick of the book or if there is use the measurement table Value of start glue Value of stop glue Column one start glue with speed 1 Increasing the value the start line moves to the right, value in mm.
- Page 32 Technical S etting Function: Activate compensation calculation start / stop glue. Cycle button nozzle valve Distance zero clamp - photocell start / stop glue Distance photocell start / stop - glue slot Main page for general parameters. 1.
- Page 33 Technical S etting Checks Buttons milling working. Pay attention The brake release occurs only if previously is pressed the emergency button. 1st. Set current position value when less than 0.5mm high probe all 2°. Value of correction Optional immobiliser.
Need help?
Do you have a question about the DigiBook 450 and is the answer not in the manual?
Questions and answers