Table of Contents
Advertisement
Advertisement
Table of Contents

Related Manuals for HIKVISION HWI-T220H


Summary of Contents for HIKVISION HWI-T220H
- Page 1 Network Turret Camera Quick Start Guide...
- Page 2 Any and all information, including, among others, wordings, pictures, graphs are the properties of Hangzhou Hikvision Digital Technology Co., Ltd. or its subsidiaries (hereinafter referred to be "Hikvision"). This user manual (hereinafter referred to be "the Manual") cannot be reproduced, changed, translated, or distributed, partially or wholly, by any means, without the prior written permission of Hikvision.
- Page 3 LOSS OF BUSINESS PROFITS, BUSINESS INTERRUPTION, OR LOSS OF DATA OR DOCUMENTATION, IN CONNECTION WITH THE USE OF THIS PRODUCT, EVEN IF HIKVISION HAS BEEN ADVISED OF THE POSSIBILITY OF SUCH DAMAGES. REGARDING TO THE PRODUCT WITH INTERNET ACCESS, THE USE OF PRODUCT SHALL BE WHOLLY AT YOUR OWN RISKS.
- Page 4 Network Turret Camera·Quick Start Guide FCC Information Please take attention that changes or modification not expressly approved by the party responsible for compliance could void the user's authority to operate the equipment. FCC compliance: This equipment has been tested and found to comply with the limits for a Class B digital device, pursuant to part 15 of the FCC Rules.
- Page 5 Network Turret Camera·Quick Start Guide 2. This device must accept any interference received, including interference that may cause undesired operation. EU Conformity Statement This product and - if applicable - the supplied accessories too are marked with "CE" and comply therefore with the applicable harmonized European standards listed under the EMC Directive 2014/30/EU, the RoHS Directive 2011/65/EU.
- Page 6 Network Turret Camera·Quick Start Guide Safety Instruction These instructions are intended to ensure that user can use the product correctly to avoid danger or property loss. The precaution measure is divided into "Warnings" and "Cautions" Warnings: Serious injury or death may occur if any of the warnings are neglected.
- Page 7 Network Turret Camera·Quick Start Guide Please refer to the appropriate documentation for detailed information. ● Do not connect several devices to one power adapter as adapter overload may cause over-heating or a fire hazard. ● Please make sure that the plug is firmly connected to the power socket.
- Page 8 Network Turret Camera·Quick Start Guide ● Do not touch sensor modules with fingers. If cleaning is necessary, use clean cloth with a bit of ethanol and wipe it gently. If the camera will not be used for an extended period, please replace the lens cap to protect the sensor from dirt.
- Page 9 Network Turret Camera·Quick Start Guide ● CAUTION: Risk of explosion if the battery is replaced by an incorrect type. Dispose of used batteries according to the instructions ATTENTION: IL Y A RISQUE D'EXPLOSION SI LA BATTERIE EST REMPLACÉE PAR UNE BATTERIE DE TYPE INCORRECT. METTRE AU REBUT LES BATTERIES USAGÉES CONFORMÉMENT AUX INSTRUCTIONS ●...
-
Page 10: Table Of Contents
Network Turret Camera·Quick Start Guide Table of Contents 1 Appearance Description ............10 2 Installation ................15 Memory Card Installation ..........15 Ceiling Mounting ............... 16 Mounting with Junction Box ..........19 Mounting with Inclined Base ..........21 Wall Mounting ..............23 Install Network Cable Waterproof Jacket ...... -
Page 11: Appearance Description
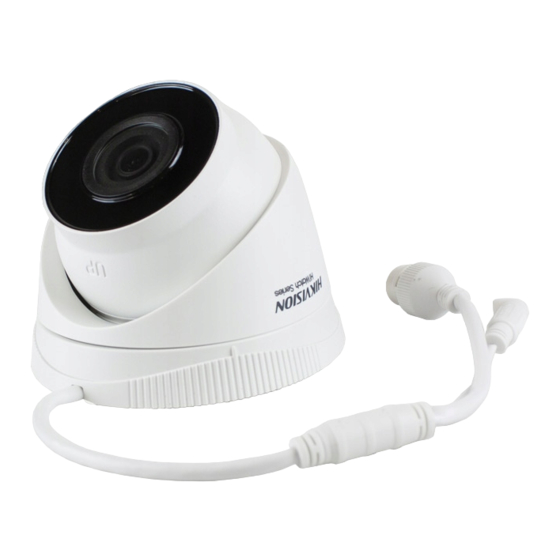
Network Turret Camera·Quick Start Guide 1 Appearance Description Type I: Figure 1-1 Type I Turret Camera Overview Description Description Enclosure Camera Body Mounting Base Power Cord Network Cable... - Page 12 Network Turret Camera·Quick Start Guide Type II: Figure 1-2 Type II Turret Camera Overview Description Description Enclosure Lens Camera Body Mounting Base Network Cable...
- Page 13 Network Turret Camera·Quick Start Guide Description Power Cord Front Cover Type III: Figure 1-3 Type III Turret Camera Overview Description Description Enclosure...
- Page 14 Network Turret Camera·Quick Start Guide Description Lens Camera Body Mounting Base Network Cable Power Cord Memory Card Slot Cover Front Cover Type IV: DC12 V I N Figure 1-4 Turret Camera Overview Description...
- Page 15 Network Turret Camera·Quick Start Guide Description Enclosure Camera Body Mounting Base Power Cord Network Cable Note: For cameras support power over Ethernet (PoE), the power is passed along with data on Ethernet cabling. And a switch supports PoE function is required.
-
Page 16: Installation
Network Turret Camera·Quick Start Guide 2 Installation Before you start: ● Make sure the device in the package is in good condition and all the assembly parts are included. ● The standard power supply is PoE or 12 VDC, make sure your power supply matches with your camera. -
Page 17: Ceiling Mounting
Network Turret Camera·Quick Start Guide Unscrew the Cover and Insert Memory Card 3. Insert the memory card into the memory card slot. 4. (Optional)To unmount the memory card, push to get it ejected. 5. Screw the cover back to the camera. Ceiling Mounting Note: This camera series shares the same installation method, and we take... - Page 18 Network Turret Camera·Quick Start Guide 2. Drill the screw holes and the cable hole in the ceiling according to the drill template. Note: Drill the cable hole, when adopting ceiling outlet to route the cable. Figure 2-2 The Drill Template 3.
- Page 19 Network Turret Camera·Quick Start Guide 4. Fix the mounting base to the ceiling with supplied screws. Notes: In the supplied screw package, both self-tapping screws, and expansion bolts are contained. If the ceiling is cement, expansion bolts are required to fix the ...
-
Page 20: Mounting With Junction Box
Network Turret Camera·Quick Start Guide 8. Power on the camera, and set the network configuration (for details, refer to 3 Activate and Access Network Camera) to check whether the image is gotten from the optimum angle. If not, adjust the surveillance angle. Figure 2-6 Adjust Surveillance Angle 1). - Page 21 Network Turret Camera·Quick Start Guide this section. And you can take steps of wall mounting as a reference for the ceiling mounting. Steps: 1. Paste the drill template (supplied) to the desired mounting position on the wall. 2. Drill the screw holes and the cable hole in the wall according to the drill template.
-
Page 22: Mounting With Inclined Base
Network Turret Camera·Quick Start Guide 4. Secure the body of junction box on the wall with four PA4 × 25 screws. Figure 2-9 Secure the Body of Junction Box on the Ceiling/Wall 5. Combine the cover of junction box with its body with supplied screws. - Page 23 Network Turret Camera·Quick Start Guide Note: Drill the cable hole, when adopting ceiling outlet to route the cable. Figure 2-10 Drill Template 3. Disassemble the inclined base by the screw driver. 4. Install the mounting base of turret camera on the inclined base cover with three PM4 screws.
-
Page 24: Wall Mounting
Network Turret Camera·Quick Start Guide Figure 2-12 Fix the Body of Inclined Base on Ceiling/Wall 6. Combine the cover of inclined base with its body with supplied screws. 7. Repeat steps 5 to 8 of 2.2 Ceiling Mounting to complete the installation. -
Page 25: Install Network Cable Waterproof Jacket
Network Turret Camera·Quick Start Guide 3. Install the mounting base of the camera to the wall mounting bracket and secure them with supplied screws Figure 2-14 Install the Mounting Base on the Wall Mounting Bracket 4. Repeat steps 5 to 8 of 2.2 Ceiling Mounting to complete the installation. - Page 26 Network Turret Camera·Quick Start Guide Steps: 1. Feed the network cable through ① and ③ in order. 2. Fix ② on the network cable between ① and ③. 3. Place ⑤ onto the end of ⑥, and plug the RJ45 male connector into RJ45 female connector.
-
Page 27: Activate And Access Network Camera
Network Turret Camera·Quick Start Guide 3 Activate and Access Network Camera Scan the QR code to get Activate and Visit Network Camera. Note that mobile data charges may apply if Wi-Fi is unavailable. - Page 28 UD18028B-B...
Need help?
Do you have a question about the HWI-T220H and is the answer not in the manual?
Questions and answers