Table of Contents
Advertisement
Quick Links
Advertisement
Table of Contents

Related Manuals for Consew Premier 1541S-CC


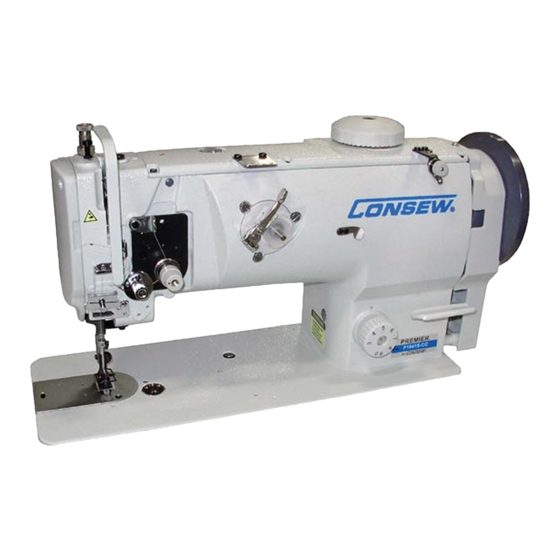
Summary of Contents for Consew Premier 1541S-CC
-
Page 2: Table Of Contents
CONTENT Operation Instruction 1. Brief introduction.................1 2. Main specifications................1 3. Installation...................1 4. Installing the oil box................2 5. Adjusting the tension of the belt............2 6. Installing the belt cover...............2 7. Lubrication..................3 8. Installing the needle................3 9. Threading the bobbin thread..............4 10. Installing the bobbin case..............4 11. -
Page 3: Brief Introduction
2. Main specifications 1. Brief introduction Machine adopts compound feed and special feeding Application Medium and heavy duty mechanism, which can ensure smooth feeding, Max. sewing speed 2000 s.p.m low noise, and beautiful stitch seam. It is constructed with slide link thread take-up, horizontal large rotating Max. -
Page 4: Installing The Oil Box
4. Installing the oil pot (Fig. 2) 1.Install the bolt ①, oil seal ② and spacer ③ onto the Oil reservoir oil reservoir, and then put the cushion ⑤ and spacer ⑧ into the set screw ④, then set it by nut ⑥. 2.Tighten the oil pot ⑦... -
Page 5: Lubrication
7. Lubrication (Fig.5) 1.Face plate lubrication a.Loosen the face plate screw; b.Open the face plate ① in the direction of the arrow; c.Lubricate the place as the arrow shows every day; d.Close the face plate; e.Tighten the screw. 2.Machine body lubrication a.Lubricate the place as the arrows indicate every day;... -
Page 6: Threading The Bobbin Thread
9. Threading the bobbin thread (Fig.7) 1.Insert the bobbin into the hook body, pass the thread through the thread hole ①, then pass down through the thread tension spring ②. 2.Draw the thread downward, then the bobbin will turn in the direction as the figure shows. 10. -
Page 7: Threading
13. Threading (Fig11) ① Thread in the order as shown in Fig. ② ⑨ ③ ⑧ ④ ⑩ ⑦ ⑤ ⑥ 14. Adjusting the stitch length (Fig.12) Turn the stitch length dial plate ① leftward and rightward to make the marker align with the required figure. -
Page 8: Adjusting The Thread Take-Up Spring
16. Adjusting the thread take-up spring (Fig.14) ⑤ 1.Changing the swing range of the thread take-up spring a.Loosen the set screw ②, move the stopper ③ leftward and rightward, then adjust the thread take-up spring ①. ③ b.Move the stopper rightward to increase the swing ①... -
Page 9: Adjusting The Alternating Amount Of Presser Foot
20. Adjusting the alternating amount of presser foot (Fig.18) ① When the presser foot is alternating increasingly, adjust it upward in the range of the long hole of the top feed crank ③; when the presser foot is alternating decreasingly, adjust it downward, then tighten the nut ②.
Need help?
Do you have a question about the Premier 1541S-CC and is the answer not in the manual?
Questions and answers