Table of Contents
Advertisement
Quick Links
Dakota Micro Part Number:
AG-H9QDTM2
Always read the manual prior to operating this equipment. Also, please follow all safety signs and precautions.
See the Dakota Micro, Inc. website for installation training videos at www.dakotamicro.com.
Author: MES
User Manual
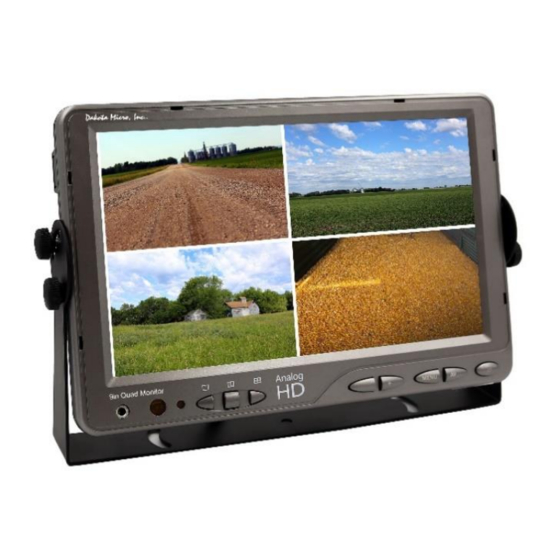
AGCO AgCam® 9" AHD Quad Monitor Kit
Thank you for purchasing equipment from Dakota Micro, Inc.
Revised by: MES
AGCO Part Number
ACX308490A
Table of Contents
I.
II.
III.
IV.
V.
VI.
VII.
VIII.
IX.
X.
XI.
XII.
XIII.
Rev: 09/07/21
AG-H9QDTM2 User Manual
3
3
4
4
5
6-7
8-9
10
10
11
12
12
12
Page 1 of 12
Advertisement
Table of Contents

Related Manuals for Dakota Micro AGCO AgCam AG-H9QDTM2


Summary of Contents for Dakota Micro AGCO AgCam AG-H9QDTM2
-
Page 1: Table Of Contents
Thank you for purchasing equipment from Dakota Micro, Inc. Always read the manual prior to operating this equipment. Also, please follow all safety signs and precautions. See the Dakota Micro, Inc. website for installation training videos at www.dakotamicro.com. Author: MES... - Page 2 AG-H9QDTM2 User Manual PAGE INTENTIONALLY LEFT BLANK Author: MES Revised by: MES Rev: 09/07/21 Page 2 of 12...
-
Page 3: Standard Features
This lens is also transparent of infrared light, allowing the LED’s to penetrate even when it is darkened • Solid billeted aluminum camera body featured Dakota Micro’s proprietary triple o-ring seal making the 100% waterproof even under direct high pressure spray and underwater use •... -
Page 4: Parts Of An Agcam
AG-H9QDTM2 User Manual III. PARTS OF AN AGCAM (Part Number: AG-LCP) CAMERA MOUNTING After camera is securely mounted, plug the camera pigtail into rear of AgCam® / EnduraCam camera. You can now plug the remaining end of the pigtail into your power/video extension cable. Make sure the extension cables are securely attached and locked (¼... -
Page 5: Cable Routing Tips & Warnings
AG-H9QDTM2 User Manual CABLE ROUTING TIPS & WARNINGS There are two (2) lengths of cable that come standard with our AgCam® camera kits: One (1) 20’ and one (1) 60’. Extra cables in varying lengths available for purchase through your local AgCam® dealer. A. -
Page 6: Monitor & Remote Operations
AG-H9QDTM2 User Manual MONITOR & REMOTE OPERATIONS A. Monitor Operations Headphone Jack Output for audio (disabled) Full Screen Will show cameras 1/2/3/4 each time pressed. Will show two or three cameras in different Duplex Screen/Triplex combinations each time pressed. Adjust default selections in Display Mode Settings. -
Page 7: Remote Operations
AG-H9QDTM2 User Manual B. Remote Operations Standard Remote POWER ON (give it a few seconds) / OFF Switches between video channels Displays Menu Navigation Arrows Navigation Arrows Navigation Arrows Navigation Arrows Brings Channel 1/Camera 1 Full screen Brings Channel 2/Camera 2 Full screen Brings Channel 3/Camera 3 Full screen Brings Channel 4/Camera 4 Full screen Author: MES... -
Page 8: Menu Settings
AG-H9QDTM2 User Manual VII. MENU SETTINGS A. Monitor Menu Settings 1. Press the MENU key on the face of monitor or remote. MENU key also acts as “enter” key once within menu. 2. Use the AV key on the monitor (up and down arrows on remote) to select an item under each section. Selected menu items turn blue. - Page 9 AG-H9QDTM2 User Manual Display Mode (pictured below) DISPLAY MODE: Allows adjustment of how cameras are displayed on screen as well as background & border colors SYSTEM SETTING LANGUAGE SETTING: Select Language POWER SAVING MODE: Set Power Saving Mode duration – Off, 10min, 30min, 1 hr, 2 hr.
-
Page 10: Specifications
WARNINGS • When selecting a camera system from Dakota Micro, be sure to utilize the appropriate system for your use. AgCam and EnduraCam cameras are designed for high impact, moisture, vibration, and a variety of other rough conditions. OverView cameras and kit components are designed for light use, low vibration, and low moisture. OverView equipment is not warranted when used in situations outside of the above-mentioned parameters. -
Page 11: Product Warranty/Repair Process
10. Product returned with unconfirmed problems will be assessed a $60 evaluation fee per unit 11. Return shipping costs will be borne by the party at fault; in other words, if Dakota Micro determines that the defective product was covered under warranty, Dakota Micro pays the shipping charges. If Dakota Micro determines that it was the customers fault, the customer will pay shipping charges. -
Page 12: Consumer Limited Warranty
Dakota Micro to the purchaser with respect to the Product, and shall constitute full satisfaction of all claims. In no event shall Dakota Micro be liable or in any way responsible for any damages or defects in the Product which were caused by repairs or attempted repairs performed by anyone other than Dakota Micro.
Need help?
Do you have a question about the AGCO AgCam AG-H9QDTM2 and is the answer not in the manual?
Questions and answers