Frigidaire Professional FPDF4085KF Important Safety Instructions Manual
Frigidaire professional fpdf4085kf: user guide
Hide thumbs
Also See for Professional FPDF4085KF:
- Install manual (25 pages) ,
- Product specifications (5 pages)
Table of Contents
Advertisement
All about the
Use
of your
Welcome & Congratulations ...................................2
Important Safety Instructions .................................3
Features at a Glance ..............................................7
Surface Cooking ....................................................8
Setting Surface Controls ......................................10
Before Setting Oven Controls ...............................12
Setting Main Oven Controls ..................................13
www.frigidaire.com USA 1-800-944-9044
&
Range
TA B L E O F C O N T E N T S
www.frigidaire.ca Canada 1-800-265-8352
Care
Setting Auxiliary Oven ........................................25
Care & Cleaning (Cleaning Chart) .........................26
Care & Cleaning ..................................................27
Before You Call ..................................................32
Notes .................................................................35
Major Appliance Warranty ....................................36
Advertisement
Table of Contents

Related Manuals for Frigidaire Professional FPDF4085KF


Summary of Contents for Frigidaire Professional FPDF4085KF
-
Page 1: Table Of Contents
Surface Cooking ...8 Setting Surface Controls ...10 Before Setting Oven Controls ...12 Setting Main Oven Controls ...13 www.frigidaire.com USA 1-800-944-9044 & Care TA B L E O F C O N T E N T S Setting Auxiliary Oven ...25 Care &... -
Page 2: Welcome & Congratulations
Welcome & congratulations Product registration register Your Product The Product registration card should be filled in completely, signed and returned to Electrolux Home Products. serial Plate location Please record your model and serial numbers below for future reference. Model Number: Serial Number: Purchase Date: ©... -
Page 3: Important Safety Instructions
Electrical Code ANSI/NFPA No. 70-latest edition and local code requirements. Install only per installation instructions provided in the literature package for this range. Ask your dealer to recommend a qualified technician and an authorized repair service. Know how to disconnect the electrical power to the appliance at the circuit breaker or fuse box and gas supply at the main shutoff valve in case of an emergency. - Page 4 imPortant saFetY instructions Warning Stepping, leaning, sitting or pulling down on the door or the drawer of this appliance can result in serious injuries and also cause damage to the appliance. Do not allow children to climb or play around the appliance.
-
Page 5: Using Your Oven
imPortant instructions For using Your cooktoP • Know which knob controls each surface heating unit. Always turn the knob to the LITE position when igniting the burner. Visually check that burner has lit. Then adjust the flame so it does not extend beyond the edge of the utensil. - Page 6 Before installing the kit be sure to follow the L.P. Installation Instructions carefully. Warning Personal injury or death from electrical shock may occur if the range is not installed by a qualified installer or electrician. caution Any additions, changes or conversions required in order for this appliance to satisfactorily meet the application needs must be made by an authorized Service Center.
-
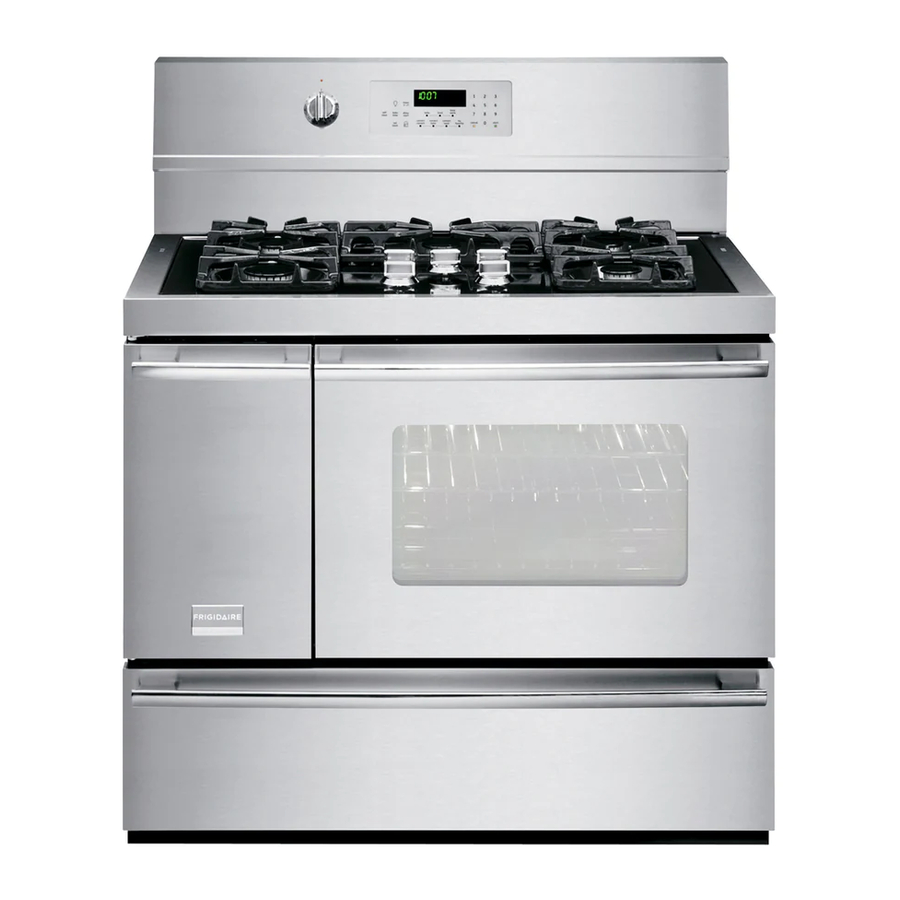
Page 7: Features At A Glance
Your built-in range Features: Electronic oven control with kitchen timer. Auxiliary oven On/Off indicator light. Auxiliary oven control knob. Automatic oven door light switch. Self-clean door latch. Broil element. Oven interior light with removable cover. Convection bake cooking system. Self-cleaning oven interior. -
Page 8: Surface Cooking
surFace cooking Use Proper Cookware Cookware should have flat bottoms that make good contact with the entire surface heating element. Check for flatness by rotating a ruler across the bottom of the cookware (See Figure 2). Be sure to follow the recommendations for using cookware as shown in Figure 1. - Page 9 Canning Tips & Information caution Canning can generate large amounts of steam. Use extreme caution to prevent burns. Always raise the lid to vent steam away from you. Prevent damage to cooktop and burner grates: 1. Do not use water bath or pressure canners that extend more than one inch beyond the edge of the burner grate.
-
Page 10: Setting Surface Controls
setting surFace controls Placement of Burner Bases and Caps Your Cooktop is equipped with three different sizes of burners: Power Burner, Standard Burner and Simmer Burner. Place the burner base over each gas opening, matching the burner base size with the gas opening size. Place the burner cap on each burner base, again matching the cap size to the burner base size. - Page 11 Do not place plastic items such as salt and pepper shakers, spoon holders or plastic wrappings on top of the range when it is in use. These items could melt or ignite. Potholders, towels or wood spoons could catch fire if placed too close to a flame.
-
Page 12: Before Setting Oven Controls
BEFORE SETTING OVEN CONTROLS Oven vent location Each oven has its own vent as shown below (Figure 1). When the oven is ON, warm air is released through the vent. This venting is necessary for proper air circulation in the oven and good baking results. do not BLOCK OVEN VENT. -
Page 13: Setting Main Oven Controls
Control pad features READ THE INSTRUCTIONS CAREFULLY BEFORE USING THE OVEN. For satisfactory use of your oven, become familiar with the various features and functions of the oven as described below. detailed instructions for each feature and function follow later in this use & care guide. 1. -
Page 14: Minimum And Maximum Control Pad Settings
12 or 24 hour time of day operation. The clock has been preset at the factory for the 12 hour operation. When the range is first plugged in, or when the power supply to the range has been interrupted, the timer in the display will flash. -
Page 15: Setting Minute Timer
To change control from normal sound operation to silent control operation 1. To tell if your range is set for normal or silent operation press and hold delaY start for 7 seconds. “-- --” will appear and “delaY” will flash in the display. -
Page 16: Setting Bake
setting main oven controls SETTING BAKE The BAKE pad controls normal baking. The oven can be programmed to bake at any temperature from 170°F to 550°F. To set the Bake Temperature to 375°F 1. Arrange interior oven racks and place food in oven. 2. -
Page 17: Setting Convection Roast
setting convection roast The convect roast pad is designed to give optimum cooking performance for this feature. The oven can be programmed for Convection Roasting at any temperature between 170°F to 550°F with a default temperature of 350°F. The convection roast feature combines a cook cycle with the convection fan and element to roast meats and poultry. -
Page 18: Setting Bake Time
setting main oven controls SETTING BAKE TIME Bake Time allows the oven to be set to cook for a specific length of time and shut off automatically. The oven will shut off and will beep when the countdown is finished. This feature can be used with Bake, Convection Bake, Convection Roast cooking modes. -
Page 19: Setting Broil
SETTING BROIL The BROIL pad controls the Broil feature. When broiling, heat radiates downward from the oven broiler for even coverage. The oven can be programmed to broil at any temperature from 400°F to 550°F with a default temperature of 550°F. The optional broil pan and broil pan insert (available by mail order) used together allow dripping grease to drain and be kept away from the high heat of the oven broiler. -
Page 20: Setting Keep Warm
setting main oven controls setting keeP Warm This mode is best for keeping oven baked foods warm for serving after cooking has finished. The keeP Warm pad turns ON the Keep Warm feature and will maintain an oven temperature of 170°F. The Keep Warm feature will keep oven baked foods warm for serving up to 3 hours after cooking has finished. -
Page 21: Setting The Sabbath Feature
SETTING THE SABBATH FEATURE (for use on the Jewish Sabbath & Holidays) The BAKE TIME and delaY start pads are used to set the Sabbath feature. The Sabbath feature may only be used with the BAKE pad. The oven temperature may be set higher or lower after setting the Sabbath feature (the oven temperature adjustment feature should be used only during Jewish Holidays), however the... -
Page 22: Adjusting Oven Temperature
setting main oven controls adjusting oven temPerature The temperature in the oven has been pre-set at the factory. When first using the oven, be sure to follow recipe times and temperatures. If you think the oven is cooking too hot or too cool for the temperature you select, you can adjust the actual oven temperature to be more or less than what is displayed. - Page 23 During the Self-Cleaning cycle, the outside of the range can become very hot to the touch. do not leave small children unattended near the appliance.
- Page 24 setting main oven controls SETTING SELF-CLEAN CYCLE TIME LENGTH The selF clean pad controls the Self-Cleaning feature. If you are planning to use the oven directly after a self- clean cycle remember to allow time for the oven to cool down and the oven door to unlock.
-
Page 25: Setting Auxiliary Oven
TO BAKE 1. Arrange oven racks while the oven is still cool. 2. Turn the Temperature Control Knob to the desired oven temperature. When the oven is first turned on, the oven indicator light below the Temperature Control Knob will glow. 3. -
Page 26: Care & Cleaning (Cleaning Chart)
care & cleaning (cleaning chart) Cleaning various parts of your appliance Before cleaning any part of the appliance, be sure all controls are turned off and the appliance is COOL. REMOVE SPILLOVERS AND HEAVY SOILING AS SOON AS POSSIBLE. REGULAR CLEANING WILL REDUCE THE NUMBER OF MAJOR CLEANING LATER. -
Page 27: Care & Cleaning
Avoid bending the bulb and capillary tube. 3. DO NOT spray any cleaner on the oven door trim or gasket, handles or any exterior surfaces of the range, wood or painted surfaces. The cleaner can damage these surfaces. -
Page 28: Cleaning Recommendations For The Ceramic Glass Cooktop
care & cleaning Ceramic glass cooktop cleaning & maintenance Consistent and proper cleaning is essential to maintaining your Ceramic glass cooktop. Prior to using your cooktop for the first time, apply the recommended CERAMA BRYTE® Cleaning Creme to the ceramic surface. Clean and buff with a non abrasive cloth or pad. - Page 29 cleaning recommendations for the ceramic glass cooktop (continued) Plastic or foods with a high sugar content: These types of soils need be removed immediately if spilled or melted onto the ceramic cooktop surface. Permanent damage (such as pitting of the cooktop surface) may occur if not removed immediately.
-
Page 30: Care And Cleaning Of Stainless Steel
Keep pulling the bottom of the door toward you while rotating the top of the door toward the range to completely disengage the hinge levers. 4. To replace the door, reverse the door removal steps. Make sure the hinge supports are fully engaged before unlocking the hinge levers. -
Page 31: Changing Oven Light
(if equipped). This includes paper, plastic and cloth items, such as cookbooks, plasticware and towels, as well as flammable liquids. Do not store explosives, such as aerosol cans, on or near the range. Flammable materials may explode and result in fire or property damage. -
Page 32: Before You Call
• Oven too hot. the center. • Incorrect pan size. • Pan not centered in oven. Cakes not level. • Range not level. • Pan too close to oven wall or rack overcrowded. • Pan warped. Foods not done • Oven too cool. - Page 33 Poor installation. Place oven rack in center of oven. Place a level on the oven rack. Adjust leveling legs at base of range until the rack is level. When range is level, cooktop may appear out of alignment if countertop is not level.
- Page 34 BEFORE YOU CALL occurrence POSSIBLE CAUSE/SOLUTION scratches or Coarse particles such as salt or sand between cooktop and utensils can cause scratches. Be abrasions on sure cooktop surface and bottoms of utensils are clean before usage. Small scratches do not cooktop surface.
-
Page 35: Notes
notes... -
Page 36: Major Appliance Warranty
major aPPliance WarrantY Your appliance is covered by a one year limited warranty. For one year from your original date of purchase, Electrolux will pay all costs for repairing or replacing any parts of this appliance that prove to be defective in materials or workmanship when such appliance is installed, used and maintained in accordance with the provided instructions.
Need help?
Do you have a question about the Professional FPDF4085KF and is the answer not in the manual?
Questions and answers