
Related Manuals for ROYAL GOURMET SG4003


Summary of Contents for ROYAL GOURMET SG4003
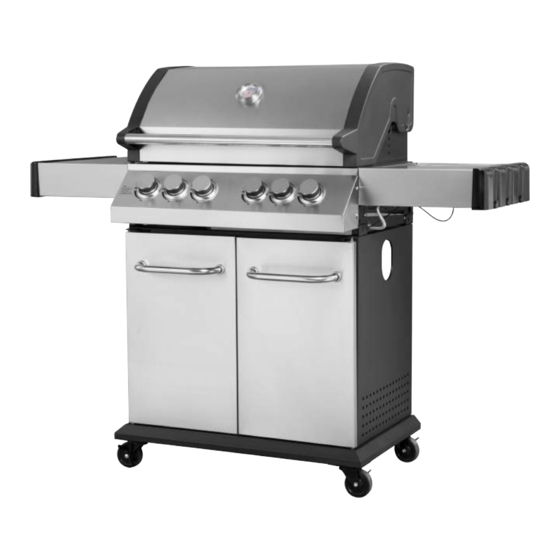
- Page 1 Model: SG4003 Stainless Steel 4-Burner Gas Grill With Infrared Rear Burner service@royalgourmetusa.com www.royalgourmetusa.com...
-
Page 4: Proposition 65 Warning
PROPOSITION 65 WARNING 1. Combustion by products produced when using this product contain chemicals known to the State of California to cause cancer, birth defects, and other reproductive harm. 2. This product contains chemicals,including lead and lead compounds,known to the State of California to cause cancer, birth defects or other reproductive harm. - Page 6 Side shelf Cart joint Rear shelf Caster 4pcs Bottom shelf 2pcs Cart beam Right cart joint Left cart joint Right door Left door Door handle 2 Handle base 4 Right door joint Left door joint Main body Side table Side burner Side table Electrode Rear board...
- Page 8 Assemble the caster (1) to the bottom shelf (2) Assemble the side shelves (3) to the bottom shelf with 16 bolts (A) as shown. with 6 bolts (A). Assemble the cart joint (4) to the bottom shelf and Assemble the rear shelf (5) to the bottom shelf side shelf with 8 bolts (A).
- Page 9 Assemble the cart back beam (6) to side shelves Assemble the right cart joint (7) to right shelves with 6 bolts (A) and 2 bolts (C) as shown. with 3 bolts (A) and 1 bolts (C). Assemble the left cart joint (8) to left shelves with 3 bolts (A) and 1 bolts (C).
- Page 10 Assemble the right left door joint(13,14) above Please note: release the hose of the side burner and the door with 4 bolts(c) as shown. regulator under the control panel using scissors. Then place the main body(15) to the cart, fasten the right side of main body to cart brace with 4 bolts(A) and 4 bolts(I) .
- Page 11 Fasten the side table to the main body with 4 Connect the ventilator tube of the side burner to the bolts (A) as shown. main body and fasten it with pin (F). Insert the ignition line to the electrode hole as shown. Assemble the rear burner electrode (19) to firebox with 1 bolt (B).
- Page 12 Connect the ignition with the back burner as shown. Assemble the rear burner (20) to firebox with 2 bolt (G). Connect the tube terminal to the rear burner, Assemble the rear burner board (21) to firebox ensure it with nut (H). with 3 bolt (B).
- Page 13 Attach the grease cup (22) to grease tray. Place the flame tamers (23) onto the main burners. . Place the cooking grates (24) onto the main body. Place the warming grates (25) onto the main body .
- Page 18 36 " 36 "...
- Page 23 service@royalgourmetusa.com...
Need help?
Do you have a question about the SG4003 and is the answer not in the manual?
Questions and answers