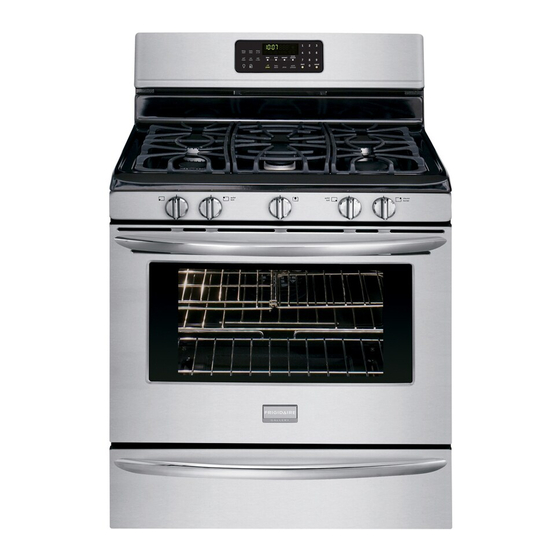
Frigidaire Gallery FGGF3054M Installation Instructions Manual
Freestanding gas range
Hide thumbs
Also See for Gallery FGGF3054M:
- Use and care manual (40 pages) ,
- Installation manuallines (7 pages) ,
- Use & care manual (44 pages)
Table of Contents
Advertisement
INSTALLATION INSTRUCTIONS - FREESTANDING GAS RANGE
INSTALLATION AND SERVICE MUST BE
PERFORMED BY A QUALIFIED INSTALLER.
IMPORTANT: SAVE FOR LOCAL ELECTRICAL
INSPECTOR'S USE. READ AND SAVE THESE
INSTRUCTIONS FOR FUTURE REFERENCE.
If the information in this
manual is not followed exactly, a fire or
explosion may result causing property
damage, personal injury or death.
FOR YOUR SAFETY:
— Do not store or use gasoline or other
flammable vapors and liquids in the
vicinity of this or any other appliance.
— WHAT TO DO IF YOU SMELL GAS:
• Do not try to light any appliance.
• Do not touch any electrical switch;
do not use any phone in your
building.
• Immediately call your gas supplier
from a neighbor's phone. Follow
the gas supplier's instructions.
• If you cannot reach your gas
supplier, call the fire department.
— Installation and service must be
performed by a qualified installer,
service agency or the gas supplier.
Provide proper fuel type
Before proceeding: Your range is factory preset to
operate on natural gas. If L.P. conversion is needed,
contact your local L.P. Gas provider for assistance.
The L.P. conversion kit may be located on the lower rear
back panel of the range. If no L.P. kit is provided, contact
your product dealer to obtain the correct L.P. conversion kit.
Important notes to the installer
•
Read all instructions contained in these installation
instructions before installing range.
•
Remove all packing material from the oven
compartments before connecting the gas and
electrical supply to the range.
•
Observe all governing codes and ordinances.
•
Be sure to leave these instructions with the consumer.
Important notes to the consumer
•
Keep these instructions with your Use & Care Guide
for future reference.
•
Be sure your range is installed and grounded properly
by a qualified installer or service technician.
Special instructions for appliances installed in the State of
Massachusetts:
This appliance can only be installed in the State of
Massachusetts by a Massachusetts licensed plumber or
gas fitter. When using a flexible gas connector, it must not
exceed 3 feet (36 inches) in length. A "T" handle type
manual gas valve must be installed in the gas supply line to
this appliance.
IMPORTANT SAFETY INSTRUCTIONS
Installation of this range must conform with local codes or,
in the absence of local codes, with the National Fuel Gas
Code ANSI Z223.1—latest edition when installed in the
United States.
When installed in a manufactured (mobile) home,
installation must conform with the Manufactured Home
Construction and Safety Standard, Title 24 CFR, Part 3280
[formerly the Federal Standard for Mobile Home
Construction and Safety, Title 24, HUD (Part 280)] or, when
such standard is not applicable, the Standard for
Manufactured Home Installations, ANSI/NCSBCS A225.1,
or with local codes.
This range has been design certified by CSA International.
As with any appliance using gas and generating heat, there
are certain safety precautions you should follow. You will
find them in the Use & Care Guide, read it carefully.
1
Refer to your serial plate
for applicable agency
certifications
p/n 316903000 (1004)
Advertisement
Table of Contents


Need help?
Do you have a question about the Gallery FGGF3054M and is the answer not in the manual?
Questions and answers