
Related Manuals for Habitat JENSON 935/7709


Summary of Contents for Habitat JENSON 935/7709
- Page 1 JENSON Gloss 935/7709 914/8664 Spare Parts Customer Support Visit: www.argos-support.co.uk Call: 0345 640 2020 Email: Help@ClickSpares.co.uk Call: 0330 016 1114 Issue 1 - 15/09/20...
-
Page 2: Care Advice
Safety Important - Please read these instructions fully before starting assembly • WARNING: To prevent • Warning: This unit weighs possible overbalancing this unit approximately 40 kgs. must be secured to a wall using Please lift with care. the 2 overbalance protector kits •... -
Page 3: Cabinet Panels
Cabinet Panels DO NOT REMOVE any protective film until after assembly 59.6 x 39 cm 56.2 x 6 cm 40.8 x 35.3 cm 56.2 x 35.4 cm 56.2 x 35.4 cm 1 177.8 x 36.9 cm 177.8 x 36.9 cm 56.2 x 35.4 cm 57.2 x 47.8 cm 42 x 42 cm... - Page 4 Drawer Panels Note: the internal drawer panels are grey DO NOT REMOVE any protective film until after assembly 58.8 x 18.9 cm 35 x 14 cm 35 x 14 cm 52.95 x 14 cm 54.5 x 34.7 cm...
- Page 5 Fittings Use these drawings to correctly identify the fittings Bag 1 x 30 x 30 x 36 x 16 Bag 2 Tools Only used for drilling walls...
- Page 6 Fittings Tools Only used for drilling walls...
- Page 7 Fitting Ball Bearing Runners www.youtube.com/watch?v=yG4xtiJJeSg Bag 1 x 30 x 30 x 36 x 16 2nd hole Finished front edges...
- Page 8 x 20...
- Page 9 x 12 Finished front edge Finished front edge Finished front edge Finished front edge...
- Page 10 Finished Finished front edge front edge Finished front edge Finished front edge...
- Page 11 Finished front edge Finished Finished front edge front edge...
- Page 12 Finished front edge Finished front edge...
- Page 13 Finished front edge Finished Finished front edge front edge Finished front edge Finished front edge...
- Page 15 Finished front edge x 10...
- Page 16 Make sure measurement A and B A = B are the same before fixing the Back panel in the next step...
- Page 17 IMPORTANT: Back panel 9 must be flush with the Back Rail IMPORTANT: You will need to keep 6 nails for the next step x 10 IMPORTANT: Back panel 9 must be flush with the Back Rail...
- Page 18 Finished front edge...
- Page 19 Finished front edge IMPORTANT: The back panel must slot into the groove in the top panel...
- Page 20 x 12 Carefully turn the unit around and move it into its final position up against the wall.
- Page 21 WARNING! In order to prevent overturning this product must be used with the 2 wall attachment devices provided See the next section for a guide Carefully stand the unit up and to wall mounting and fixings push it up against the wall. Loosely fit the 1st screw through the brackets into the top panel.
-
Page 22: A Guide To Wall Mounting & Fixings
A Guide to Wall Mounting & Fixings Important: When drilling into walls always Important note: check that there are no hidden wires or pipes etc. If plastic wall plugs Make sure that the screws and wall plugs being used are supplied with your are suitable for supporting your unit. -
Page 23: Drawer Assembly
Drawer Assembly Bag 2 Drawer Box Assembly www.youtube.com/watch?v=InNBV_uuMmo... - Page 27 Fitting Ball Bearing Runners www.youtube.com/watch?v=yG4xtiJJeSg Warning: Use a Screwdriver to position the Runners as they could have sharp edges Starting with the Bottom Drawer, slide both its Runners forward and locate the Drawer Sides between them, lining up the holes in the Drawer Sides with the 2nd 'threaded' holes in the Runners.
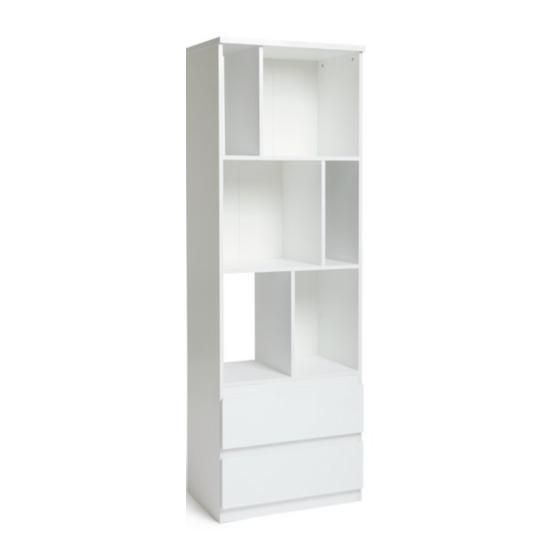
- Page 28 Assembly is complete Please remove any blue protective film from panel edges and clear protective film from panel surfaces ALR3671...
Need help?
Do you have a question about the JENSON 935/7709 and is the answer not in the manual?
Questions and answers