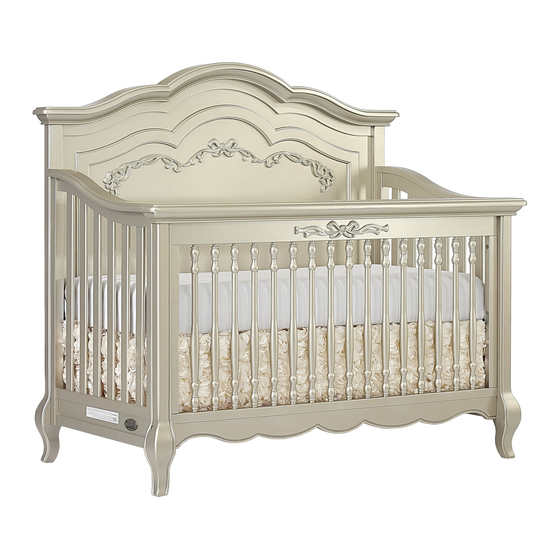
Evolur AURORA Owner's Manual
Convertible crib
Hide thumbs
Also See for AURORA:
- User manual ,
- Owner's manual (41 pages) ,
- Assembly instructions manual (17 pages)
Advertisement
Quick Links
Scan the QR code to register your product
https://www.evolurbaby.com/customer-care/product-registration/
Read all instructions before
assembling and using product.
IMPORTANT - Keep Instructions
for future use.
AURORA
Convertible Crib
Owner's Manual
0821R2-EV832
Advertisement

Summary of Contents for Evolur AURORA
- Page 1 AURORA Convertible Crib Owner’s Manual Scan the QR code to register your product https://www.evolurbaby.com/customer-care/product-registration/ Read all instructions before assembling and using product. IMPORTANT - Keep Instructions for future use. 0821R2-EV832...
- Page 2 Drills or Drivers. please place them on a soft surface. LIMITED WARRANTY: • Evolur warrants its product to be free from defects in material and workmanship and agrees to remedy any such defect. To clean surface, use For a Safe and •...
- Page 3 • Day-Bed Conversion : When converting the crib to day-bed, stabilizer could serve as steps for climbing out. After raising side, make sure bar along with the guard rail manufactured by Evolur inc. must be latches are secure (disregard for non-drop side crib).
- Page 4 WARNINGS (cont.) PARTS WARNING If there are any missing parts, please contact Evolur before using the product. • DO NOT use this crib for a child who can climb out of it or who is taller than 90 cm. • DO NOT place in or near this crib any cord, strap or similar item that could become wrapped around a child’s neck.
- Page 5 HARDWARE CRIB ASSEMBLY - FRONT LEGS ASSEMBLY If there are any missing parts, please contact Evolur before using the product. 1a. Align the Left Front Leg (6) towards the left end of the Front Panel (2). Similarly, Align the Right...
- Page 6 CRIB ASSEMBLY – SIDE PANEL ASSEMBLY CRIB ASSEMBLY – MATTRESS SUPPORT ASSEMBLY 2a. To assemble the 3a. Attach all the corners of Left Panel (3) and Mattress Support Panel Right Panel (4) of to the Front Panel (2), the Crib, align Left Panel (3) and Right them to the Front Panel (4) as shown in...
- Page 7 CRIB ASSEMBLY – REAR LEGS ASSEMBLY 4a. Align the Left Rear 5a. Align the Back Leg (9) to the bottom Panel (to which the Rear Legs are left side of the Back Panel (1). attached), to the 4b. Use the Screws (C), to Left and Right Panel as shown fix the Rear Left Leg...
- Page 8 Gaurd Rail and Stabilizer bar *Make sure to use Stabilizer that is included with Evolur bar that is included with Evolur Screw 2-3/4” (×2) Universal Toddler Guard Rail Universal Toddler Guard Rail (SKU-846) to convert the crib (SKU- 846) to convert the crib to toddler bed.
- Page 9 NOTE: STICKING DOORS AND DRAWERS: *Make sure to use the Evolur Bed • With the minor changes in temperature and humidity doors and Rails (SKU-812) in order to drawers may swell and be difficult to open or close. Tolerances have convert the crib to a Full-size Bed been builtinto theunits but extreme conditions may still causesticking.
- Page 10 • Clean with a damp, not wet, cloth. Use only a mild soap. Do not use abrasive cleaners. • Do not scratch or chip the finish. • Inspect the product periodically, contact Evolur Inc for replacement parts or questions. • Do not store the product or any parts in extreme temperatures and conditions such as a hot attic or a damp, cold basement.
- Page 11 Follow us on @EvolurBaby @evolurbaby to get your nursery featured on our social media. Enter our monthly giveaway! Chat with us! Simply scan the QRcode to register. For any questions or concerns or feedback.


Need help?
Do you have a question about the AURORA and is the answer not in the manual?
Questions and answers