Table of Contents
Advertisement
Quick Links
LOW BATTERY WARNING
If the batteries become weak, the keypad will remain red during operation.
Replace batteries immediately to ensure proper operation of the safe.
SECURITY CABLE INSTALLATION
To maintain the security of the safe, either use the included security cable or
bolt the safe to a secure structure.
USING THE SECURITY CABLE
Wrap the security cable around a secure object and place the ferrule end
through the loop in the cable. With the drawer open, snap the narrowest
diameter of the ferrule into the back of the safe by gently pushing the ferrule
end against the spring plate and sliding the ferrule down. As the drawer
closes, it presses against the spring plate and locks the ferrule in place.
To remove the security cable, open the safe and press the pin above the
ferrule while lifting the ferrule.
BOLTING DOWN THE SAFE
Remove the drawer by gently pulling it out while pressing the plastic tab on
the left side up, and the tab on the right side down.
Mark and pre-drill holes before installing the appropriate fasteners for your
application.
To reinstall the drawer, carefully align the slides on each side and push the
drawer in. The tabs should click into place.
Narrowest Diameter
Pin
of Ferrule
Spring Plate
Customer Service: PO Box 1848, Grand Island, NE 68802-1848
1-877-214-4470 | Email: info@snapsafe.com
Plastic Tab on
Side of Drawer
21SNAP0036 | 10/2021
Owner's Manual
GlideVault
Item No. 75404
Ext. Dimensions: 15.9" x 12.2" x 4.4"
Int. Dimensions: 13.5" x 9.5" x 3.14"
™
Weight: 26 Lbs
Power: 4 AAA batteries (not included)
Advertisement
Table of Contents

Subscribe to Our Youtube Channel
Related Manuals for Hornady SnapSafe GlideVault 75404


Summary of Contents for Hornady SnapSafe GlideVault 75404
- Page 1 LOW BATTERY WARNING If the batteries become weak, the keypad will remain red during operation. Replace batteries immediately to ensure proper operation of the safe. SECURITY CABLE INSTALLATION To maintain the security of the safe, either use the included security cable or bolt the safe to a secure structure.
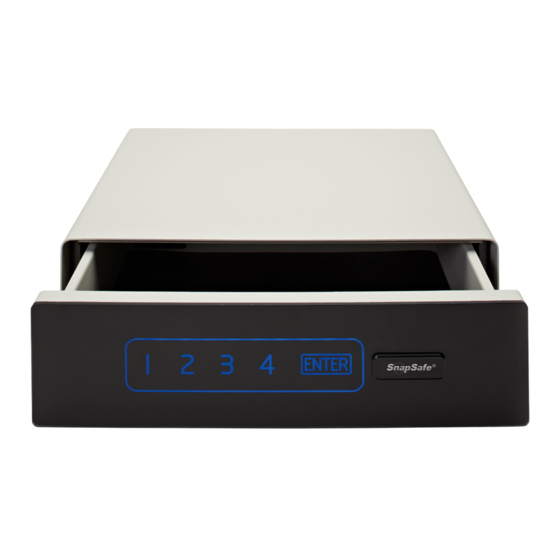
- Page 2 The safe is pre-programmed with 4. Re-enter the same new 4 to 6 digit code then press and release the program button. The safe should beep three times. default code 1-2-3-4-ENTER. You must change this code before Note: If a mismatched code is entered during programming, the keypad will blink red and beep three times.
Need help?
Do you have a question about the SnapSafe GlideVault 75404 and is the answer not in the manual?
Questions and answers