Advertisement
LOW BATTERY WARNING
If the batteries become weak, the keypad will remain red during operation.
Replace batteries immediately to ensure proper operation of the safe.
SECURITY CABLE INSTALLATION
There are holes located on both
sides of the safe for installing the
security cable.
1. Loop the cable around a secure
object and then insert the
threaded end of the cable through
the loop of the cable.
2. Remove the plastic plug on the
side of the safe.
3. Open the drawer just far enough
that the hole in the side of the
drawer aligns with the hole in the
side of the housing.
4. Insert the threaded stud into the
side of the safe and install the
nut. NOTE: The nut only needs
to be tightened until the nylon
thread lock engages.
NOTE: The drawer can be removed
to make installing the security cable
easier or to permanently bolt down
the safe.
To remove the drawer, fully extend
the drawer and then locate the
small lever inside each drawer
slide. Press up on the right lever
and down on the left lever. With the
levers pressed, carefully pull out the
drawer for removal.
To reinstall the drawer, carefully
align the slides on each side and
then press the drawer in. The levers
should click into place.
Customer Service: PO Box 1848, Grand Island, NE 68802-1848
1-877-214-4470 | Email: info@snapsafe.com
586006 / REV 1
Threaded
Stud
Threaded Stud
Inserted in Housing
Drawer Lever
19SNAP0036 | 09/2019
Owner's Manual
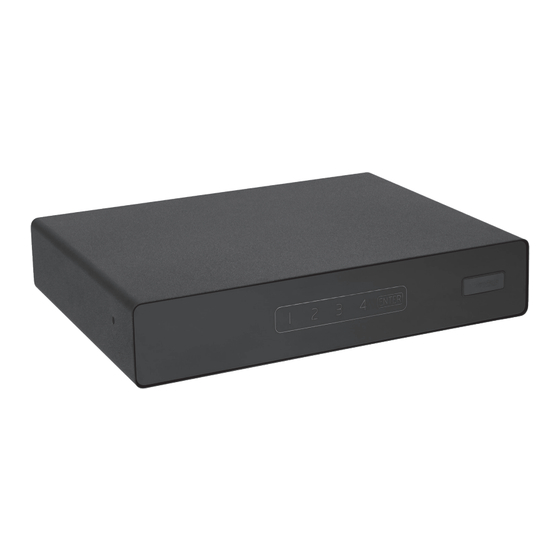
Under Bed Safe
Item No. 75402
Ext. Dimensions: 26.0" x 5.0" x 20.0"
Int. Dimensions: 23.5" x 3.5" x 14.3"
Weight: 55 Lbs
Power: 4 AA batteries (not included)
Advertisement
Table of Contents

Subscribe to Our Youtube Channel
Summary of Contents for Hornady SnapSafe 75402
- Page 1 LOW BATTERY WARNING If the batteries become weak, the keypad will remain red during operation. Replace batteries immediately to ensure proper operation of the safe. SECURITY CABLE INSTALLATION There are holes located on both sides of the safe for installing the security cable.
- Page 2 POWER 5. With the safe open, enter the new code followed by ENTER to confirm the Key Override safe is working properly. The motor should cycle after each correct entry. Cover Note: Become comfortable with the operation of your safe before storing 1.


Need help?
Do you have a question about the SnapSafe 75402 and is the answer not in the manual?
Questions and answers