Blaze PowerZone Connect 122 Quick Start Manual
Hide thumbs
Also See for PowerZone Connect 122:
- Quick start manual (29 pages) ,
- Installation manual (23 pages) ,
- User manual (21 pages)
Advertisement
Carton Contents
• Amplifier unit
• Mains power cable
• Input connector x 2
• GPIO socket connector
Connection Sockets
Network
Configurable
Control
GPIO
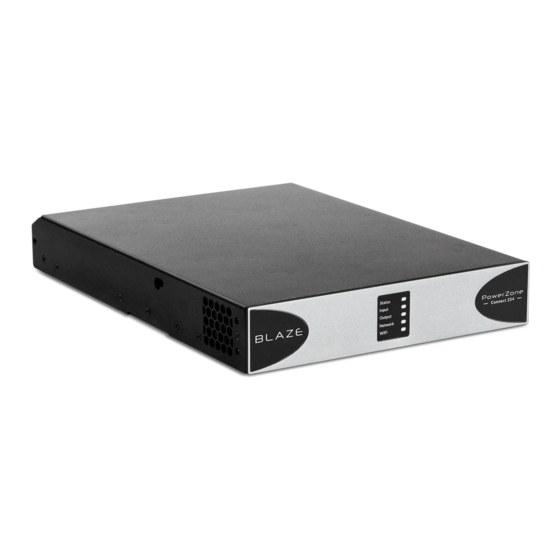
*Product shown as example is PoweZone Connect 4 Channel version (504)
Installation Notes
• High or low impedance speaker connection options can
be selected independently for each output channel via the
PowerZone Control Web App.
• Analogue input sensitivity can be adjusted independently for
each channel via the PowerZone Control Web App.
• S/PDIF digital audio I/O routing can be configured via the
PowerZone Control Web App.
Wireless Network Control Connection
A mobile, laptop or desktop device with WiFi functionality and a
web browser is required.
Follow the steps below.
1. Connect the PowerZone Connect amplifier to mains power
using the supplied mains cable and wait for the front panel WiFi
indicator to illuminate green.
2. Use a mobile, laptop or desktop device to search for available
WiFi networks. Connect to, 'Blaze (product serial number)' using
the password, 'password'. The amplifier serial number can be
found on its rear panel.
3. Open a mobile, laptop or desktop device web browser and enter
the following IP address: 192.168.4.1. The amplifier configuration
web interface page will open in the browser app to enable
amplifier configuration as required.
It is strongly recommended that the PowerZone Connect
amplifier WiFi password is changed following initial wireless
connection.
QUICK START GUIDE
PowerZone Connect 122 • 252 • 254 • 504
• Output connector x 1 or 2
• Adhesive rubber feet x 4
• Document pack
Configurable
S/PDIF Audio I/O
DSP AMPLIFIERS
Support
• A full user manual that includes information
on installation, mounting accessories and
amplifier operation is available online. Go to
www.blaze-audio.com, or scan the QR code
to go directly to our support page.
Audio Inputs
Balanced: Euroblock - Unbalanced: RCA Phono.
Speaker Outputs
• GPIO (General Purpose Input/Output) options can be
configured via the PowerZone Control Web App.
• Ensure that rack or other confined installation does not
restrict the airflow required for safe and reliable operation of
the equipment. It is important to ensure that the 40°C maximum
operating temperature for the equipment is not exceeded.
Wired Network Control Connection
A laptop or desktop device with Ethernet functionality, a web
browser and a network scanning app is required.
1. Connect the PowerZone Connect amplifier Network Control
socket directly to a laptop or desktop device - or through a switch.
2. Connect the PowerZone Connect amplifier to mains power
using the supplied mains cable and wait for the front panel
Network indicator to illuminate green to indicate that the
amplifier has network connectivity.
3. The default LAN IP address of the amplifier is 192.168.64.100.
Configure your laptop or desktop device to a fixed IP address
in the same IP range, ex. 192.168.64.10, with Subnet mask
255.255.255.0 (or prefix 24) and set Gateway to 192.168.64.1.
4. Open a laptop or desktop device web browser and enter the
address http://192.168.64.100/ - The amplifier configuration
web page interface will open to enable amplifier configuration as
required.
Configurable
Follow the steps below.
Advertisement
Table of Contents

Related Manuals for Blaze PowerZone Connect 122


Summary of Contents for Blaze PowerZone Connect 122
- Page 1 QUICK START GUIDE DSP AMPLIFIERS PowerZone Connect 122 • 252 • 254 • 504 Carton Contents Support • Amplifier unit • Output connector x 1 or 2 • A full user manual that includes information • Mains power cable • Adhesive rubber feet x 4 on installation, mounting accessories and •...
- Page 2 - Consult the dealer or an experienced radio/TV technician for help. Blaze Audio, Pascal A/S, Ellekaer 6, DK-2730 Herlev, Denmark. hello@blaze-audio.com. www.blaze-audio.com...
Need help?
Do you have a question about the PowerZone Connect 122 and is the answer not in the manual?
Questions and answers