Sign In
Upload
Download
Table of Contents
Contents
Add to my manuals
Delete from my manuals
Share
URL of this page:
HTML Link:
Bookmark this page
Add
Manual will be automatically added to "My Manuals"
Print this page
×
Bookmark added
×
Added to my manuals
Manuals
Brands
Fluke Manuals
Measuring Instruments
96000 Series
Service manual
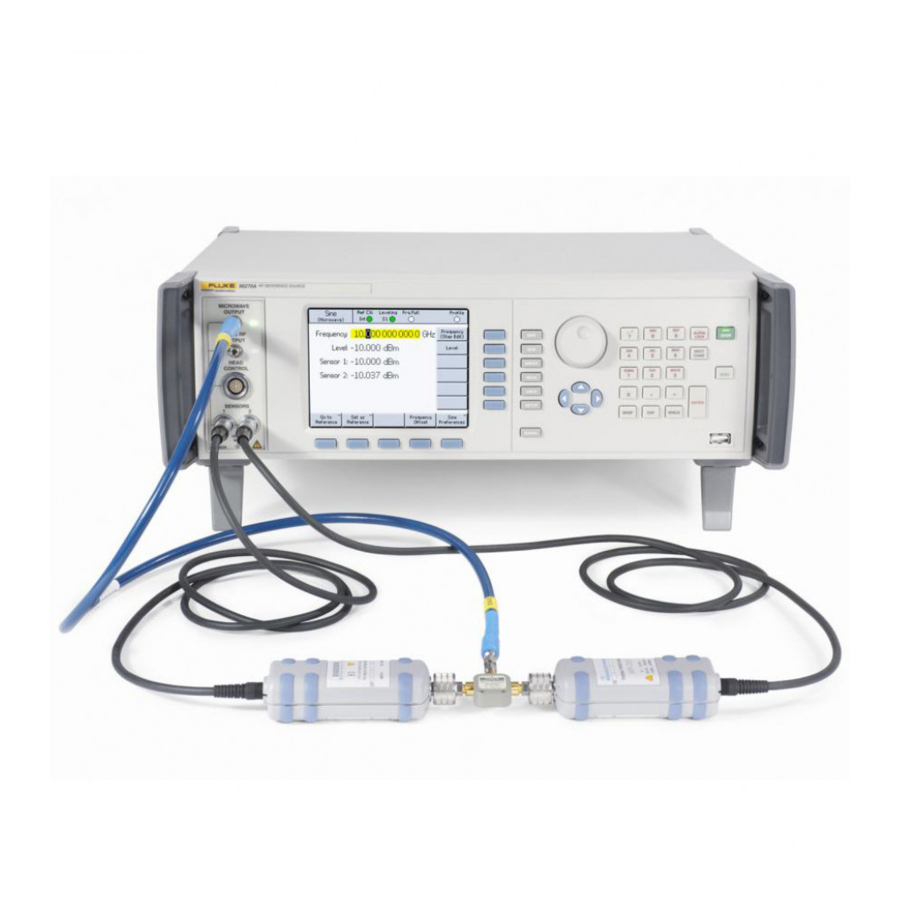
Fluke 96000 Series Service Manual
Rf reference source
Hide thumbs
Also See for 96000 Series
:
Operator's manual
(168 pages)
1
2
Table Of Contents
3
4
5
6
7
8
9
10
11
12
13
14
15
16
17
18
19
20
21
22
23
24
25
26
27
28
29
30
31
32
33
34
35
36
37
38
39
40
41
42
43
44
45
46
47
48
49
50
51
52
53
54
55
56
57
58
59
60
61
62
63
64
65
66
67
68
69
70
71
72
73
74
75
76
77
78
79
80
81
82
83
84
85
86
87
88
89
90
91
92
93
94
95
96
97
98
99
100
101
102
103
104
105
106
107
108
109
110
111
112
113
114
115
116
117
118
119
120
121
122
123
124
125
126
127
128
129
130
131
132
133
134
135
136
137
138
139
140
141
142
143
144
145
146
147
148
149
150
151
152
153
154
155
156
157
158
159
160
161
162
163
164
165
166
167
168
169
170
171
172
173
174
175
176
177
178
179
180
181
182
183
184
185
186
187
188
189
190
191
192
193
194
195
196
197
198
page
of
198
Go
/
198
Contents
Table of Contents
Troubleshooting
Bookmarks
Table of Contents
Table of Contents
Introduction and Specifications
Introduction
Contact Fluke Calibration
Safety Information
Symbols
General Safety Summary
Prevent Instrument Damage
Specifications
General Specifications (96040A and 96270A)
Frequency Reference Input/Output Specifications (96040A and 96270A)
Leveled Sine Specifications at Microwave Output (96270A)
Leveled Sine Specifications at Leveling Head Output (96040A and 96270A) and Microwave Output (96270A)
Modulation Specifications at Leveling Head Output (96040A and 96270A) and Microwave Output (96270A)
Frequency Sweep Specifications at Leveling Head Output (96040A and 96270A) and Microwave Output (96270A)
Frequency Counter Specifications
Power Meter Readout Specifications (96270A Only)
GPIB Command Emulation Mode Specifications
Theory of Operation
Introduction
Overall Functional Description
User Interface
Frequency Synthesis
Amplitude Control
Frequency Modulation
Amplitude Modulation
Instrument Control
Power Supplies
Performance Tests
Introduction
Recommended Tools and Equipment
Performance Test
Reference Frequency Accuracy
Frequency Accuracy (96040A and 96270A)
Harmonics and Spurious Signal Content - Levelling Head (96040A and 96270A)
Phase Noise Test (96040A and 96270A, Optional)
Modulation Test-Leveling Head (96040A and 96270A, Optional)
Frequency Counter Accuracy (96040A and 96270A)
Level Accuracy - 50 Ω Leveling Head (96040A and 96270A)
Attenuation Accuracy - 50 Ω Leveling Head (Optional 96040A and 96270A)
Level Accuracy - 75 Ω Levelling Head (96040A and 96270A)
Attenuation Accuracy - 75 Ω Leveling Head (Optional, 96040A and 96270A)
VSWR Test - 75 Ω (Optional)
Microwave Output Level Accuracy (96270A, Optional Functional Test)
Microwave Output Frequency Accuracy (96270A Only)
Microwave Output Harmonics and Spurious Signal Content (96270A)
Modulation Test (96270A, Optional)
Calibration Adjustment
Introduction
Calibration Adjustments
Rear Panel Calibration Enable Switch
Reference Frequency Adjustment
Base Adjustment - Front Panel Head RF Output
Leveling Head Adjustment - 50 Ω
Leveling Head Adjustment - 75 Ω
Microwave Output Adjustment - with Low-Level Output Option Fitted
Microwave Output Adjustment - Low-Level Output Option Not Fitted
Microwave Output Flatness Characterization
Maintenance
Operator Maintenance
Clean the Product
Clean the Air Filter
Replace the Line-Power Fuses
Troubleshooting
Disassembly and Reassembly
Before You Start
Removing External Hardware Components
Handles
Top and Bottom Covers
Bottom Feet
Shields
Remove the Air Filter
Removing Major Assemblies
RF Output PCA
X 2W Coaxial Relays
Front Panel Assembly
Display and Keypad PCA
Digital PCA
27 Ghz Control PCA (96270A)
Synthesizer PCA
Fans
Rear Panel Assemblies
Interconnection PCA
Low Voltage Transformer
Power Supply PCA
Switch Mode Power Supply Module
Leveling Head Disassembly Procedure
Leveling Head Reassembly Procedure
Reassembling the Product
Safety Test
Running Self-Test
Review the Results
Interpreting the Results
Firmware Upgrade
Equipment Required for the Restore or Upgrade
Firmware Installation
Lists of Replaceable Parts
Introduction
How to Obtain Parts
Replaceable Parts Lists
A Performance Test Record
Advertisement
Quick Links
1
Table of Contents
2
Introduction and Specifications
3
General Specifications (96040A and 96270A)
4
Frequency Reference Input/Output Specifications (96040A and 96270A)
5
Performance Test
Download this manual
96000 Series
RF Reference Source
Service Manual
September 2014
© 2014 Fluke Corporation. All rights reserved. Specifications are subject to change without notice.
All product names are trademarks of their respective companies.
Table of
Contents
Previous
Page
Next
Page
1
2
3
4
5
Advertisement
Table of Contents
Need help?
Do you have a question about the 96000 Series and is the answer not in the manual?
Ask a question
Questions and answers
Related Manuals for Fluke 96000 Series
Measuring Instruments Fluke 96000 Series Operator's Manual
(168 pages)
Measuring Instruments Fluke 96 Service Manual
Scopometer. philips pm93; pm95; pm97 (267 pages)
Measuring Instruments Fluke 96040A Service Manual
Rf reference source (198 pages)
Measuring Instruments Fluke 96270A Service Manual
Rf reference source (198 pages)
Measuring Instruments Fluke 922 User Manual
Airflow meter (34 pages)
Measuring Instruments Fluke 902 User Manual
Hvac clamp meter (32 pages)
Measuring Instruments Fluke 902 Calibration Information Manual
Hvac clamp meter (13 pages)
Measuring Instruments Fluke 9040 User Manual
Phase rotation indicator (14 pages)
Measuring Instruments Fluke 985 Getting Started Manual
Airborne particle counter (18 pages)
Measuring Instruments Fluke 9142 User Manual
Field metrology well (40 pages)
Measuring Instruments Fluke 9144-A-156 User Manual
Field metrology well (42 pages)
Measuring Instruments Fluke 902 FC User Manual
Hvac true-rms clamp meter (32 pages)
Measuring Instruments Fluke 374 FC User Manual
Clamp meters (32 pages)
Measuring Instruments Fluke 972ES User Manual
Temperature humidity meter (24 pages)
Measuring Instruments Fluke 9143-A-156 User Manual
Field metrology well (42 pages)
Measuring Instruments Fluke 9143-A-P-156 User Manual
Field metrology well (42 pages)
This manual is also suitable for:
96040a
96270a
Table of Contents
Print
Rename the bookmark
Delete bookmark?
Delete from my manuals?
Login
Sign In
OR
Sign in with Facebook
Sign in with Google
Upload manual
Upload from disk
Upload from URL


Need help?
Do you have a question about the 96000 Series and is the answer not in the manual?
Questions and answers