Advertisement
Assembly
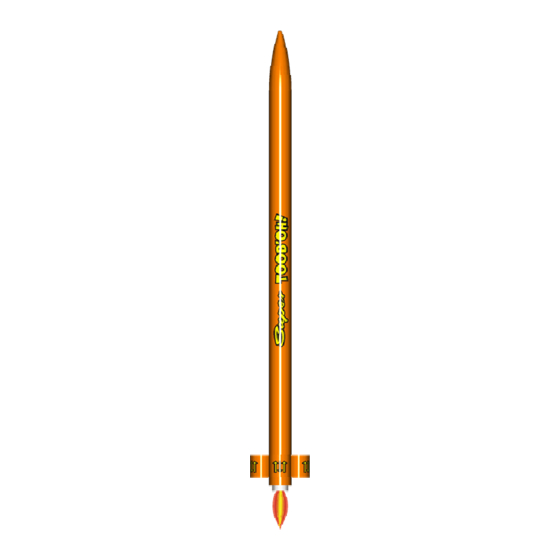
Instructions
Parts Included:
1 Nose Cone
1 Lower Body Tube
1 Payload Tube
6 Fin Tubes
1 Thrust Ring
2 Centering Rings
1 Motor Spacer Tube (White)
1 Motor Hook
2 Launch Lugs
1 Coupler
2 Bulkheads
1 Screw Eye
1 Kevlar Shock Cord (yellow)
1 Elastic Shock Cord (white)
1 Parachute kit
1 Decal Sheet
Materials Not Included:
Pencil
Yellow Wood or White Glue
Masking Tape
Motor Mount and
Shock Cord Assembly
Step 1 –
Tie a single knot at the end of the
yellow kevlar shock cord.
Step 2 –
Insert the flat end of the metal
motor hook into the pre-cut slot ¼" from the
end of the motor tube.
Step 3 –
Slightly expand the inside of the 2
larger centering rings by twisting on the end
of the nose cone. Important: Don't expand
the smaller trust ring.
Step 4 –
While holding the motor hook in
the slot, apply glue around the motor tube
between the marks. Push the expanded end
of the centering rings over the motor hook
with the knotted end of the kevlar shock cord
through the rear centering ring until the rings
are between the marks on the motor tube.
Step 5 –
Apply glue around the outside of
the thrust ring and insert into the motor tube
at the end where the motor hook is inserted.
Push in until against the motor hook and flush
with the end of the motor tube.
Step 6 –
Loop the yellow kevlar shock cord
through the thrust ring end of the motor tube.
The rings should be positioned as shown.
Advertisement
Table of Contents

Related Manuals for Model Rockets SuperTooboh


Summary of Contents for Model Rockets SuperTooboh
- Page 1 through the rear centering ring until the rings Motor Mount and are between the marks on the motor tube. Shock Cord Assembly Step 1 – Tie a single knot at the end of the yellow kevlar shock cord. Assembly Step 2 – Insert the flat end of the metal Instructions motor hook into the pre-cut slot ¼”...
- Page 2 Inserting and Attaching Attaching the Step 3 – Apply glue in a thin line along the length of the first fin tube pair in 2 places and the Motor Mount Launch Lug and Fins the launch lug. Refer to the fin tube layout guide on this page for glue locations between Step 1 –...
- Page 3 Step 4 – Assembling the Attaching the Parachute Apply glue in a thin line along the length of the second fin tube pair in 3 places. Payload Section and Payload Section Refer to the fin tube layout guide on this page for glue locations between the lower body tube and the fin tubes.
- Page 4 Step 4 – Flying Your Rocket Insert the rocket motor with the nozzle/igniter end facing the rear of the Finishing Your Rocket rocket. The motor should clip into place with Flight checklist: (Optional) the motor hook retaining the motor. If the rocket motor is too tight, you can remove a □...
Need help?
Do you have a question about the SuperTooboh and is the answer not in the manual?
Questions and answers