
Related Manuals for IAdea XDS-178-A9


Summary of Contents for IAdea XDS-178-A9
- Page 1 USER GUIDE Version 1.0.0 XDS-178-A9 IAdea 10.1” Signboard with Touch America 20 Fairbanks, Ste, 170 Irvine, CA 92618 California, U.S.A Taiwan 114, 3F, No. 21 Ln. 168, Xingshan Rd. Neihu Dist., Taipei, Taiwan...
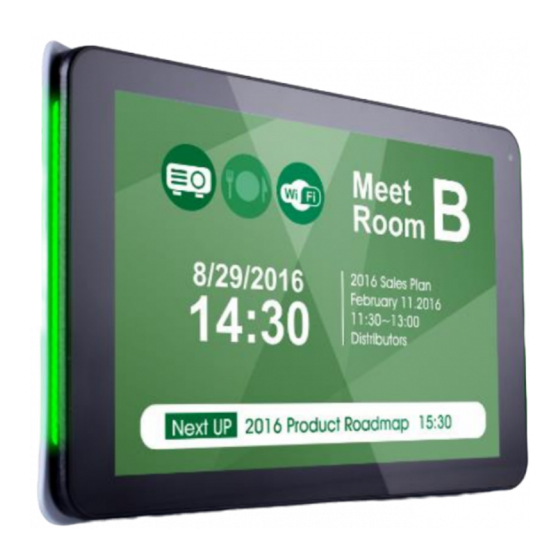
- Page 2 XDS-1078-A9 10.1” Signboard User Guide Package content Signboard Power and MicroSD card brackets Physical view and features Front View Copyright© 2019 IAdea Corporation...
- Page 3 XDS-1078-A9 10.1” Signboard User Guide Rear view Copyright© 2019 IAdea Corporation...
- Page 4 Fasten bracket onto the socket Securing Micro SD card Insert SD card bracket Fasten SD card bracket Installing the table stand Simply screw the supplied table stand into stand screw hole Support landscape and portrait setup Copyright© 2019 IAdea Corporation...
- Page 5 Plug power and network cable to signboard , and then install signboard with back cover carefully While install on indented wall or install inside custom casing/frame, follow below installation guide line to allow enough space for air flow: Copyright© 2019 IAdea Corporation...
- Page 6 XDS-1078-A9 10.1” Signboard User Guide Copyright© 2019 IAdea Corporation...
- Page 7 To change system language, select “(Current Language) ..” For system configurations, select “Advanced.” Important recommended configurations: 1. Set correct time, date, and time zone for properly scheduled playback. 2. Set password to prevent unauthorized access during setup menu. Copyright© 2019 IAdea Corporation...
- Page 8 1. Prepare a blank USB stick in FAT-32 format. 2. Create a folder named "DEBUG" (case insensitive) in the root of USB stick. 3. Make sure room panel is operating (see welcome screen or playing content). Copyright© 2019 IAdea Corporation...
- Page 9 Repeat step 1-4 again and make sure to wait until stop blinking. 6. Zip the "DEBUG" folder and send to IAdea Support Team. Reset system to factory default Factory resetting the room panel will result in removal of all saved contents, passwords, and configurations in settings.
- Page 10 Micro USB for ADB Power and Micro SD card bracket Supplied accessories Quick start guide IAdea PTS-101 table stand IAdea PGM-001 glass mount Optional accessories IAdea PTM-101 tilt mount IAdea PVK-102 table stand IAdea PWM-011 & PWM-041 window mount Copyright© 2019 IAdea Corporation...
-
Page 11: Warranty
260 x 162 x 28 mm (10.23 x 6.37 x 1.02 inches) System dimension System weight 727 g (1.5 lbs) Certifications CE / FCC / RoHS 1-year limited parts & labor* (varies based on region, Warranty contact sales for more details) Copyright© 2019 IAdea Corporation...
Need help?
Do you have a question about the XDS-178-A9 and is the answer not in the manual?
Questions and answers