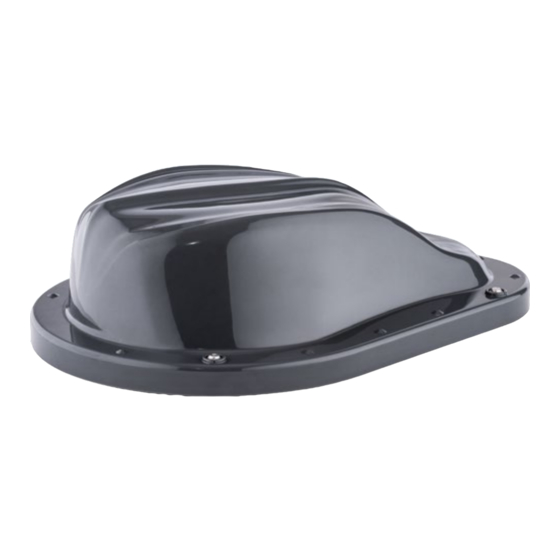
Ten-Haaft Oyster Connect Extended Operating Instructions
Hide thumbs
Also See for Oyster Connect:
- Operating instructions manual (74 pages) ,
- Mounting instruction (24 pages) ,
- Operator's manual (19 pages)
Table of Contents
Advertisement
Quick Links
Advertisement
Table of Contents

Summary of Contents for Ten-Haaft Oyster Connect
- Page 1 CONNECT EXTENDED OPERATING INSTRUCTIONS - PROVISIONALLY - www.ten-haaft.com...
-
Page 2: Table Of Contents
3.4 Enter the SIM PIN and change APN settings You can find the latest version of these operating instructions there as well. 4. Starting a new WLAN connection https://ten-haaft.com/infomaterial-bedienungsanleitungen-oyster/ 4.1 Starting a new WLAN connection provisionally provisionally 4.2 Using open WiFi or HOTSPOTs... -
Page 3: Basic Settings
2. BASIC SETTINGS 3. COMMISSIONING OF THE MOBILE CONNEC TIONS / LTE CONNECTION 3.1 Insert the SIM card into the outdoor unit 2.1 IMPORTANT INFORMATION - The term Outdoor Unit stands for the antenna unit mounted on the roof Figure. Your Oyster®... -
Page 4: Switching On The Indoor Unit
3. COMMISSIONING OF THE MOBILE CONNEC 3. COMMISSIONING OF THE MOBILE CONNEC TIONS / LTE CONNECTION TIONS / LTE CONNECTION 3.2 Switching on the indoor unit The term Indoor Unit stands for the control unit installed inside the vehicle. Only a single red LED may be visible on the indoor unit. It indicates the standby mode. Now switch on the Oyster®... -
Page 5: Enter The Sim Pin And Change Apn Settings
3. COMMISSIONING OF THE MOBILE CONNEC 3. COMMISSIONING OF THE MOBILE CONNEC TIONS / LTE CONNECTION TIONS / LTE CONNECTION LAN: Use the supplied LAN cable to connect the front socket of the indoor unit to your computer's LAN socket. 3.4 Enter the SIM PIN and change APN settings This connects your device to your private Oyster®... -
Page 6: Starting A New Wlan Connection
3. COMMISSIONING OF THE MOBILE CONNEC 4. STARTING A NEW WLAN CONNECTION TIONS / LTE CONNECTION In the lower left corner of the web page, you can follow the system’s status feedback live. 4.1 Starting a new WLAN connection - Go to the start page of the configuration website. (See chapter 3.3, page 7) On the right screen side you see a window with the title “Outdoor WLAN”. -
Page 7: Using Open Wifi Or Hotspots
4. STARTING A NEW WLAN CONNECTION 5. OPTIONAL SETTINGS If in WLAN mode, an attempt is always made to switch back to the last successfully used WLAN. If this is The LTE/WLAN LED will now flash red to indicate the change to WLAN mode. not within range, the LED on the indoor unit indicates this by flashing red. - Page 8 5. OPTIONAL SETTINGS 5. OPTIONAL SETTINGS After a setting has been changed, operate the button belonging to the respective network Save 2,4 GHz Settings Save 5 GHz Settings Activate After the button is pressed, the changes become effective. * Important note: If you change the password, pairing via the QR code stickers no longer works. Then all previously connected devices must be manually reconnected to the network.
-
Page 9: Service
6. SERVICE 6. SERVICE 6.1 Software update (after initial startup) - The Oyster® Connect will now check whether there is a newer software on the ten Haaft Update Server. - If the software already installed on your system is up to date, the message „No need to update“ will appear at You must be connected to the internet either via LTE or an external WiFi. -
Page 10: Explanation Of Terms
6. SERVICE 6. SERVICE 6.3 Changing standard login password LAN Cable Connecting cable with 8-pin RJ45 plugs on both ends for establishing a wired network. The cable should have The login data for the protected area of the website are preset at the factory to: "CAT6"... -
Page 11: Appendix
6. SERVICE 7. APPENDIX 7.1 Declaration of conformity CE SIM card This is the small chip card you receive from your mobile communications operator. It is inserted into the appro- priate card reader of the outdoor unit. The SIM card size for the Oyster® Connect is a "Mini-SIM". WLAN Stands for "Wireless Local Area Network". - Page 12 NOTES NOTES...
- Page 13 Haaft GmbH Office hours: Neureutstraße 9 Monday – Friday 8:00 a.m. – 12:00 p.m. 75210 Keltern 1:30 p.m. – 4:30 p.m. Germany Telephone: +49 (0) 7231 / 58588-0 Telefax: +49 (0) 7231 / 58588-119 E-mail: service@ten-haaft.com www.ten-haaft.com 06/2021 · 3.150.0059...


Need help?
Do you have a question about the Oyster Connect and is the answer not in the manual?
Questions and answers