Advertisement
Quick Links
Advertisement

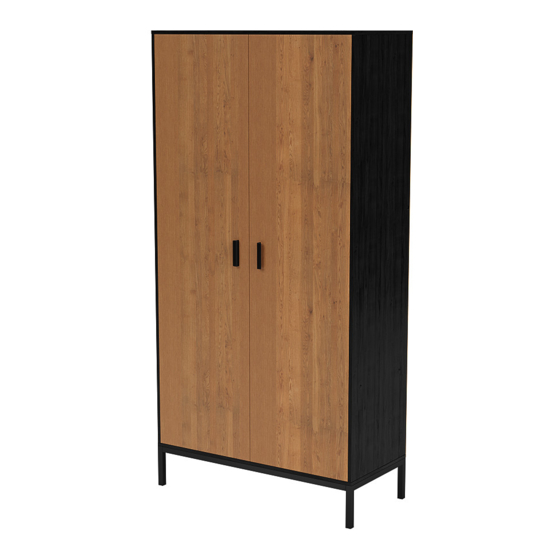
Summary of Contents for fantastic furniture Sonoma Robe 2 Door
- Page 1 Version 1.0 Sonoma Robe 2 Door fantasticfurniture.com.au...
- Page 2 Love it? Share it! Fantastic buy! Share how it looks at home on Instagram for your chance to win a $250 Fantastic Furniture Gift Card! @fantasti cfurni ture Weight Limit: 20kgs per shelf fantasticfurniture.com.au...
-
Page 3: Assembly Checklist
Assembly Checklist Read through the instructions Make sure you have all the required tools. Never use power tools unless instructed. carefully before you begin. Unless instructed, do not fully tighten Identify and lay out all of the components before you begin assembly. screw s until the item is fully assembled. -
Page 4: What You Need
What You Need to assemble the product Back Panel (P7) Back Panel (P7) Top Panel (P3) Back Support Panel Other tools you need (P6) Phillips Head screwdriver;Hammer Side Panel(R) (P2) Door Panel Box 1: (P10) Back Support Panel (P6) Top Panel (P3) Door Panel Bottom Panel (P4) (P10) - Page 5 Step 1 You will need 16X Screws 8X Hinges (H5) (H4) Fix 4 x Hinges (H4) to Door Panel (P10) using 8 x Screws (H5) by tightening with the Phillps Head Screwdriver. Repeat for 2nd Door Panel ( P10). Step 2 You will need Insert 12 x Plastic Dowels (H3) to Panels (P6x2, P5) one by one.
- Page 6 Step 3 You will need 2X Screws 8X Plastic Dowels (H5) (H3) 2X Hanger Rod Phillps head Holder (H11) Screwdriver Step 4 You will need Page 6...
- Page 7 Step 5 You will need 1X Door Stopper Phillps head Screwdriver Step 6 (H2) Page 7 fantasticfurniture.com.au...
- Page 8 Step 7 You will need You will need 50X Nails (H8) Step 8 You will need 8X Screws 1X Allen Key (H9) (H10) Page 8 fantasticfurniture.com.au...
- Page 9 Step 9 6X Screws 1X Allen Key (H9) (H10) (H9) (H9) (P9) (P8) (H9) (P4) (H9) (H9) (P9) (H9) (P4) (P8) (H9) (P9) (H10) Fix assembled base frame to assembled unit using 6 x Screws (H9) ,by tightening with Allen Key (H10). Step 10 (H12) You will need...
- Page 10 Step 11 You will need 32X Screws Phillps head (H5) Screwdriver (H5)X4 (P10) (P2) (H5)X4 (P1) (P10) (P10) (H5)X4 (H5) (P2) (H5)X4 Fix Door Panels (P10x2) to Side Panels (P1,P2) using 32 x Screws (H5) by tightening with the Phillips Head Screwdriver. fantasticfurniture.com.au Page10...
- Page 11 Step 12 TO ADJUST YOU DOORS TO MAKE THE GAPS MORE EVEN (OPTIONAL) Side panel You will need STEP 12.1 Open the door. Phillps head Screwdriver Door Bottom panel MOVE DOOR UPWARD OR DOWNWARD STEP 12.2 Unscrew 2 screws in round Tighten 2 screws in holes loosen 2 screws in Adjust the door panels...
- Page 12 Step 13 You will need (H16) 1 x Wall Strap 1 x Wall Strap (H15) Screw (H16) (H17) (H15) Phillps head 1 x Washer (H17) Screwdriver Attach the Wall Strap (H15) to Top Panel (P3) with 1 x Washer (H17) and 1 x Wall Strap Screw (H16) by tightening with the Phillips Head Screwdriver.
-
Page 13: Job Complete
Step 15 You will need OPTIONAL STEP TO LEVEL WARDROBE ON UNEVEN FLOOR 1 x Levelling Wedge (H18) (H18) Insert the levelling wedge (H18) under the wardrobe at the point where the floor is lowest. Push in until wardrobe is level,then snap off the (H18) excess wedge sections.


Need help?
Do you have a question about the Sonoma Robe 2 Door and is the answer not in the manual?
Questions and answers