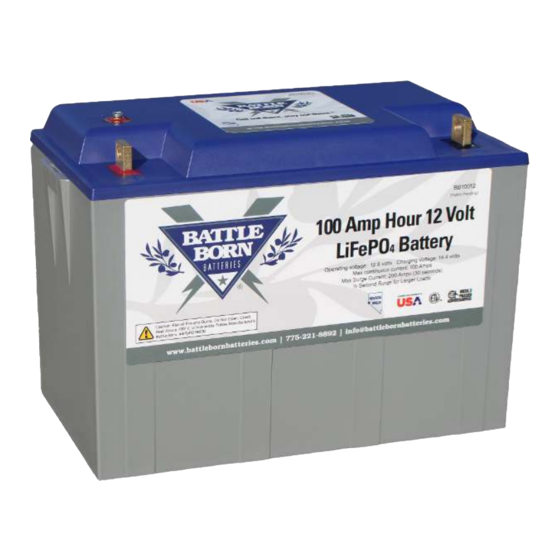
Summary of Contents for Dragonfly Energy Battle Born Batteries BB10012H
- Page 1 Dragonfly Energy Battle Born Batteries Heat Enable Instruction Guide Dragonfly Energy Corp. Phone: 855-292-2831 Email: info@battlebornbatteries.com...
-
Page 2: Table Of Contents
Please read the accompanying battery manual prior to this guide. Thank you for investing in a Battle Born Batteries system and welcome to the Battle Born Batteries family. This guide provides important information on how to install the heat-enable function on your Battle Born batteries. If you have purchased with us before, you will find this guide useful as a reference tool. -
Page 3: What Is In The Box
What's in the Box? Upon arrival, please verify your heated battery includes the items listed below. See Figure 1 and Figure 2. 1 - SPST Rocker Switch (Figure 1) • 1 - 25’ 18 AWG wire terminated with 0.187 QD and #8 ring lug (Figure 1) •... -
Page 4: User Note
User Note: To enable the heating circuit on your battery a connection from the heat-enable post to the positive terminal needs to be made. The heater will automatically activate when the internal temperature drops below approximately 35°F (1.6°C) and will shut off when the internal temperature exceeds approximately 45°F (7.2°C). If the battery has been exposed to below-freezing temperatures for a long period of time without the heater enabled, it will take 2 to 4 hours for the internal components of the battery to heat up enough for the battery to accept a charge. -
Page 5: Enabling The Heat Function For Multiple Batteries
Step Two: Enabling the Heat Function To enable the heat function on the battery, remove the screw and place the other end of your jumper wire onto the post. It is important that you do not over-tighten this connection. The connection should be tightened just enough to engage the lock washer feature on the ring terminal itself, so that vibration does not rattle the connection loose. -
Page 6: Installing The On/Off Switch
Installing the ON/OFF Switch The Heat Battery Kit provides the components for you to install a remote switch for enabling/disabling the heat function of the battery, however it is not a requirement. If you have multiple batteries, we suggest that you configure your daisy chain first, then, instead of installing the jumper from the stud to the positive terminal you install the switch. -
Page 7: Installing The On/Off Switch Continued
Installation Steps Continued: Route the other end of the wires from the Heat Battery Kit to your battery bank. Place the 5/16” ring lug between the nylok nut and the washer, as seen in Figure 12. Be sure to tighten and torque all terminal connections to 10 ft-lbs. - Page 8 Notice: Product improvements and enhancements are continuous; therefore, the specifications and information contained in this document may change without notice. Dragonfly Energy Corp. shall not be liable for errors contained herein or for incidental or consequential damages in connection with the furnishing, performance, or use of this material.


Need help?
Do you have a question about the Battle Born Batteries BB10012H and is the answer not in the manual?
Questions and answers