Sign In
Upload
Download
Table of Contents
Contents
Add to my manuals
Delete from my manuals
Share
URL of this page:
HTML Link:
Bookmark this page
Add
Manual will be automatically added to "My Manuals"
Print this page
×
Bookmark added
×
Added to my manuals
Manuals
Brands
Lifebreath Manuals
Fan
HRV Series
Installation manual
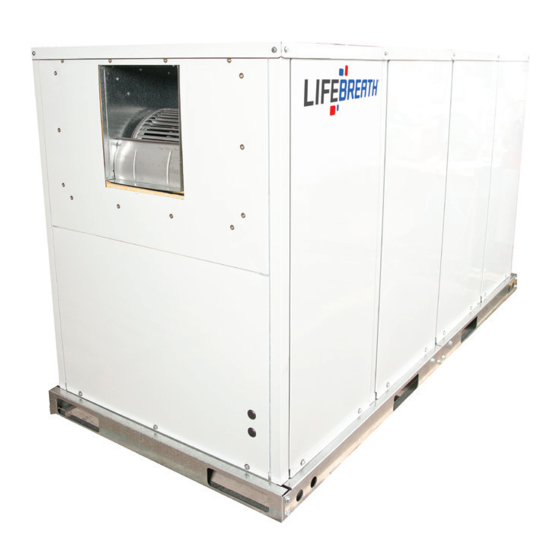
Lifebreath HRV Series Installation Manual
Commercial heavy duty heat recovery ventilator
Hide thumbs
Also See for HRV Series
:
Homeowner's manual
(18 pages)
1
2
Table Of Contents
3
4
5
6
7
8
9
10
11
12
13
14
15
16
17
18
19
20
21
22
23
24
25
26
27
28
29
30
31
32
33
34
35
36
37
38
39
40
41
42
43
44
45
46
page
of
46
Go
/
46
Contents
Table of Contents
Bookmarks
Table of Contents
Table of Contents
Mounting the 1500/2000/2500 Indoor Models
Mounting the 1500 Rooftop Models
Mounting the 2000 Rooftop Models
Mounting the 2500 Rooftop Models
Roof Curb Assembly Instructions
Ducting the System
Dimensional Drawings
Stale Air Return and Fresh Air Supply System
Weatherhoods
Drain Connections
Function and Controls
Main Wall Control
Timers and Repeaters
Dehumidistat
Aircom Relays & Interlocking to a Furnace/Air Handler
Adjusting the Air Flow (1500 Units)
Adjusting the Airflow (2000 Units)
Adjusting the Airflow (2500 Units)
Fan Defrost (All Units)
Balancing the Airflows
Service and Maintenance (1500 Units)
Service and Maintenance (2000 Units)
Service and Maintenance (2500 Units)
Wiring Diagrams (1500I-ECM/E-ECM)
Wiring Diagrams (2000IFD/EFD-208)
Wiring Diagrams (2000IFD/EFD, -208SP)
Wiring Diagrams (2000IFD/EFD-460)
Wiring Diagrams (2000IFD/EFD-575)
Wiring Diagrams (2500IFD/EFD)
Wiring Diagrams (2500IFD/EFD-208)
Warranty
Advertisement
Quick Links
1
Mounting the 1500/2000/2500 Indoor Models
2
Ducting the System
3
Stale Air Return and Fresh Air Supply System
4
Function and Controls
5
Main Wall Control
6
Service and Maintenance (1500 Units)
7
Wiring Diagrams (1500I-Ecm/E-Ecm)
Download this manual
Table of
Contents
Previous
Page
Next
Page
1
2
3
4
5
Advertisement
Table of Contents
Need help?
Do you have a question about the HRV Series and is the answer not in the manual?
Ask a question
Questions and answers
Related Manuals for Lifebreath HRV Series
Fan Lifebreath HRV Series Homeowner's Manual
Heat recovery ventilator (18 pages)
Heating System Lifebreath 1500I-ECM Installation Instruction
Interior/outdoor, exterior rooftop design, exterior horizontal ducting design (28 pages)
Heating System Lifebreath 1500I-ECM Installation Instruction
Heat recovery ventilator interior/outdoor (27 pages)
Fan Lifebreath 2500IFD Operation And Installation Manual
Air exchanger (20 pages)
Air Handlers Lifebreath 2500IFD Installation Manual
Heat recovery ventilators (hrvs) (16 pages)
Fan Lifebreath Air Purifier 155MAX Operation And Installation Manual
Heat recovery ventilator (32 pages)
Fan Lifebreath 100 FN Operation And Instruction Manual
Lifebreath heat recovery ventilator owner's operation & instruction manual (20 pages)
Fan Lifebreath 1000RHC Operation And Installation Manual
Heat recovery ventilator (26 pages)
Fan Lifebreath RNC 88 Installation Manual
Heat recovery ventilators (56 pages)
Fan Lifebreath 155MAX series Operation And Installation Manual
Max series 5 speed electronics lifestyle max digital control included (36 pages)
Fan Lifebreath Air Purifier 155ECM Operation And Installation Manual
Heat recovery ventilator contains controlair 15 (36 pages)
Fan Lifebreath 150MAX Installation Manual
Heat recovery ventilator (13 pages)
Fan Lifebreath METRO 120ERV Installation, Operation And Maintenance Manual
Heat recovery ventilators & energy recovery ventilators (44 pages)
Fan Lifebreath CONTROLAIR 15 155MAX Operation And Installation Manual
Heat recovery ventilator (32 pages)
Fan Lifebreath RNC series Owner's Manual
(24 pages)
Fan Lifebreath 120ERV Instalation Instructions
Heat recovery ventilator (28 pages)
This manual is also suitable for:
1500i-ecm
2000ifd
2000ifd-208
2000ifd-208sp
2000ifd-460
2000ifd-575
...
Show all
2500ifd
2500ifd-208
1500e-ecm
2000efd
2000efd-208
2000efd-208sp
2000efd-460
2000efd-575
2500efd
2500efd-208
Table of Contents
Save PDF
Print
Rename the bookmark
Delete bookmark?
Delete from my manuals?
Login
Sign In
OR
Sign in with Facebook
Sign in with Google
Upload manual
Upload from disk
Upload from URL


Need help?
Do you have a question about the HRV Series and is the answer not in the manual?
Questions and answers