Subscribe to Our Youtube Channel
Summary of Contents for Stern NARA 3002 Series
- Page 1 ElECTRoNIC FlUSH VAlVE FoR FlUSH VAlVES NARA 3002 E/P/PE NoblE 3032 E/P/PE I n s ta l l at I o n a n d m a I n t e n a n c e g u I d e...
- Page 2 The tradenames, trademarks, logos and service marks presented in this document, including their design, are the property of Stern Engineering Ltd or other third parties and you are not permitted to use them without the prior written consent of Stern Engineering Ltd or such third party as may own them.
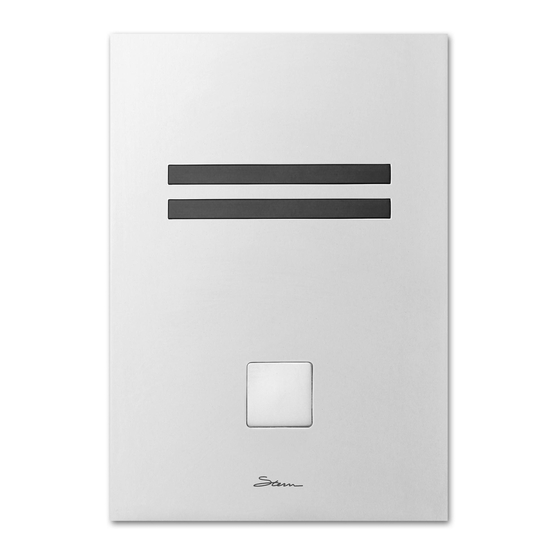
- Page 3 ThE sysTEm Nara 3002 sErIEs Nara 3002 sErIEs Pack coNTENTs Nara is a touch-free electronic flush valve for w.C. operated by a self-adjusting infrared sensor. Familiarize yourself with the part names and confirm that the parts are included: The w.C. will start flushing when the user walks away. If the user was present in front of the w.C.
- Page 4 abouT ThE sysTEm NoblE 3032 sErIEs NoblE 3032 sErIEs Pack coNTENTs Noble is a touch-free electronic flush valve for w.C. operated by a self-adjusting infrared sensor. Familiarize yourself with the part names and confirm that the parts are included: The w.C. will start flushing when the user walks away. If the user was present in front of the w.C. for less than one minute, a reduced flush will take place for removal of liquid waste.
-
Page 5: Pre-Installation Info
INsTallaTIoN PrE-INsTallaTIoN INfo CheCk COntentS Remove all parts from the packaging and check each part against the Pack Contents sTEP 1 – INsTallINg ThE flush valvE section. make sure all parts are accounted for before discarding any packaging material. If Cut an adequate opening in any parts are missing, do not attempt to install the electronic flush valve until you the wall, based on the relevant... - Page 6 INsTallaTIoN INsTallaTIoN sTEP 1 – INsTallINg ThE flush valvE sTEP 2 – coNNEcTINg ThE PowEr sourcE After completion of wall and tile works following the Rough-in por- Connect the Flush Valve to the tion of the installation, secure the Shutoff Valve. Panel Support Frame to the wall using the 8 screws provided.
- Page 7 INsTallaTIoN INsTallaTIoN sTEP 2 – coNNEcTINg ThE PowEr sourcE open the Shutoff Valve. Nara 3002: Connect the Panel Assembly to the Panel Support Frame, and tighten the Allen screw on the bottom of the Panel Assembly. Allen screw Connect the solenoid connector on the Panel Assembly (A) to the matching connector on the Flush Valve (C).
- Page 8 sETTINgs aDjusTmENT wITh rEmoTE coNTrol sETTINgs aDjusTmENT wITh rEmoTE coNTrol DETECTIoN RANgE: If necessary, use the remote control to adjust the sensor range as follows: Press the RANgE button. wait until a quick flashing of the red light of the sensor eye is perceived. Then, press + to increase one level and –...
-
Page 9: Maintenance
For surface cleaning use oNly soap and water, If a defect is found in normal use, y. Stern Engineering ltd. will, at its discretion, repair, then wipe dry with clean cloth or towel. when cleaning bathroom tile, the flush valve provide a replacement part or product, or make appropriate adjustments. -
Page 10: Troubleshooting
TroublEshooTINg TroublEshooTINg ProblEm INDIcaTor causE soluTIoN ProblEm INDIcaTor causE soluTIoN The red lED indicator in the sensor flashes The self cleaning needle came out Replace battery. continuously when the low battery. of the piston orifice or is displaced. user steps within the The orifice delivers more water than sensor’s range. - Page 11 777 Passaic Avenue, Clifton Nj,07012, USA Tel: +1-973 773 8011 | Fax: +1-973-779-8768 Toll Free: 1-800-4364410 info@sternfaucets.com | sternusa@sternfaucets.com 02.17 01500323...


Need help?
Do you have a question about the NARA 3002 Series and is the answer not in the manual?
Questions and answers