Advertisement
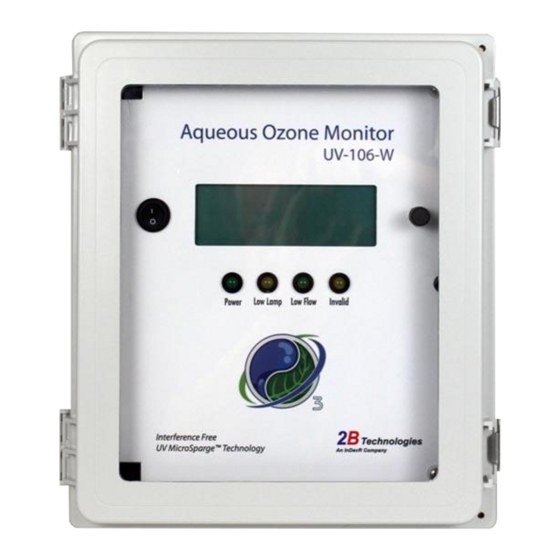
UV-106W-Aqueous Ozone Monitor™
1) Mount the instrument upright. If there is no structure to mount the instrument to, set it on a block
on the bench-top to keep it level and provide access to the ports on the bottom.
2) Attach the electrical inputs and outputs:
a. Power (required): Use the included AC-12V DC power pack and attach it to the barrel
connector on the cable
b. Serial (optional): Attach one end of the included serial cable to the serial connector on
the cable and the other end through the USB to serial converter to a computer. Open the
desired terminal program (we recommend TeraTerm) and select the appropriate COM
port.
i. The settings on this COM port should be: 38400 baud rate, 8-bits, no parity, 1
stop bit.
c. 4-20mA (optional): The purple wire is the positive side of the 4-20mA output and the
white wire is the ground. See manual for setting the range on this output
2
B
Technologies, Inc.
Quick Start Guide
Advertisement
Table of Contents

Related Manuals for 2B Technologies UV-106W


Summary of Contents for 2B Technologies UV-106W
- Page 1 Technologies, Inc. UV-106W-Aqueous Ozone Monitor™ Quick Start Guide 1) Mount the instrument upright. If there is no structure to mount the instrument to, set it on a block on the bench-top to keep it level and provide access to the ports on the bottom.
- Page 2 d. 0-2.5V (optional): The orange wire is the positive side of the 0-2.5V output and the white wire is the ground. See manual for setting the range on this output. 3) Attach the tubing connections: a. Drain: Attach tubing from the drain outlet to waste. b.
Need help?
Do you have a question about the UV-106W and is the answer not in the manual?
Questions and answers