Sign In
Upload
Download
Table of Contents
Contents
Add to my manuals
Delete from my manuals
Share
URL of this page:
HTML Link:
Bookmark this page
Add
Manual will be automatically added to "My Manuals"
Print this page
×
Bookmark added
×
Added to my manuals
Manuals
Brands
Washtech Manuals
Washer
3 Series
Service manual
Washtech 3 Series Service Manual
Passthrough warewasher
Hide thumbs
Also See for 3 Series
:
Service manual
(35 pages)
1
2
Table Of Contents
3
4
5
6
7
8
9
10
11
12
13
14
15
16
17
18
19
20
21
22
23
24
25
26
27
28
29
30
31
32
33
34
35
36
page
of
36
Go
/
36
Contents
Table of Contents
Troubleshooting
Bookmarks
Table of Contents
Table of Contents
Safety Instructions
Installation
Installation Diagram
Installation Checklist
Maintenance Checklist
Operating Instructions
Dishwashing Procedures
Troubleshooting Chart
Components
Location and Access
Timer
Rinse Thermostat
Wash Thermostat
Solenoid Valve
Pressure Switch
Wash Pump
Detergent Pump
Assembly & Electrical Diagrams
Wiring Tray Assembly
Control Panel Assembly
Wash Assembly
Rinse Assembly
Rinse Tank Assembly
Solenoid Valve Assembly
Schematic Diagram
Wiring Diagram
Spare Parts
Accessories
Appendices
Rinse Aid Injector Kit
Drain Pump Kit
Revisions
Advertisement
Quick Links
1
Troubleshooting Chart
2
Wiring Diagram
3
Spare Parts
Download this manual
PW
2
Series
3
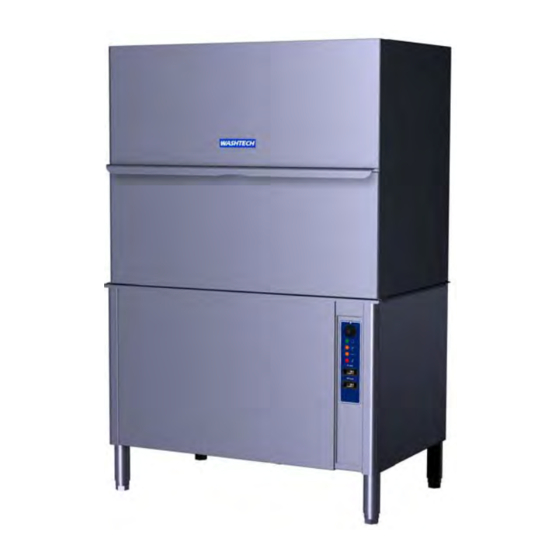
PASSTHROUGH WAREWASHER
Service Manual
Table of
Contents
Previous
Page
Next
Page
1
2
3
4
5
Advertisement
Table of Contents
Need help?
Do you have a question about the 3 Series and is the answer not in the manual?
Ask a question
Questions and answers
Related Manuals for Washtech 3 Series
Dishwasher Washtech 3 Series Service Manual
Passthrough dishwasher (35 pages)
Washer Washtech TCW-7022 Installation & Maintenance Manual
60 lb. washer-extractor parts list (28 pages)
Washer Washtech Starline UD Operator's Manual
(12 pages)
Washer Washtech PW2C Operator's Manual
Wide body front loaded warewasher c/w heat recovery unit (16 pages)
Washer Washtech TW Operator's Manual
Undercounter traywasher (16 pages)
Washer Washtech AL8C Operator's Manual
Passthrough warewasher c/w heat recovery unit (16 pages)
Washer Washtech PW1C Operator's Manual
Front loading warewasher c/w heat recovery unit (16 pages)
This manual is also suitable for:
Pw2
Table of Contents
Print
Rename the bookmark
Delete bookmark?
Delete from my manuals?
Login
Sign In
OR
Sign in with Facebook
Sign in with Google
Upload manual
Upload from disk
Upload from URL


Need help?
Do you have a question about the 3 Series and is the answer not in the manual?
Questions and answers