Advertisement
Assembly Instructions (English)
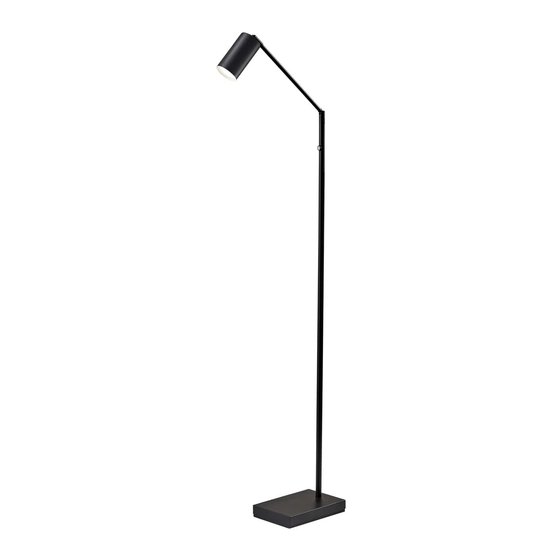
ASSEMBLY INSTRUCTION FOR
Colby LED Floor Lamp
Model# 4275-01
1. Screw poles (A), (B), (C) and (D) together.
2. Remove the bushing (E) from the base and
throw away.
3. Insert tube (D ) to base (F) & washer (G), then
tighten it with nut (H) using wrench (I). You
may need to pull any excess cord gently
through the poles so that these two parts fit.
Note: The lamp should face forward in the
same direction as the switch, with the cord
coming out of the back of the base.
GENERAL PRODUCT INFORMATION:
This product is suitable
for dry locations only.
---------------------------------------------------------------
IMPORTANT SAFETY INSTRUCTIONS:
This portable lamp has a polarized plug as a feature to
reduce the risk of electric shock (one blade is larger
than the other). This plug will fit in a polarized outlet
only one way. If the plug does not fit fully in the
outlet, reverse the plug. If it still does not fit, contact a
qualified electrician.Do not use with an extension cord
unless the plug can be fully inserted.
ALTER THE PLUG .
th
353 West 39
Street, 2
Tel: (212) 736 4440 Fax: (212) 736 4806
4275-01
1.0
DO NOT
nd
Floor, New York, NY 10018
www.adessohome.com
Advertisement
Table of Contents

Subscribe to Our Youtube Channel
Related Manuals for Adesso Colby 4275-01


Summary of Contents for Adesso Colby 4275-01
- Page 1 ASSEMBLY INSTRUCTION FOR 4275-01 Colby LED Floor Lamp Model# 4275-01 1. Screw poles (A), (B), (C) and (D) together. 2. Remove the bushing (E) from the base and throw away. 3. Insert tube (D ) to base (F) & washer (G), then tighten it with nut (H) using wrench (I).
- Page 2 INSTRUCCIONES DE ENSAMBLAJE PARA 4275-01 Colby Lámpara LED de Piso Modelo# 4275-01 1. Enrosque juntos los postes (A), (B), (C) y (D). 2. Retire el casquillo (E) de la base y deséchelo. 3. Inserte el tubo (D) y la arandela (G) en la base (F), luego apriételo con la tuerca (H) usando la llave (I).
Need help?
Do you have a question about the Colby 4275-01 and is the answer not in the manual?
Questions and answers