Table of Contents
Advertisement
Advertisement
Table of Contents

Summary of Contents for Technika 95HTSS-5
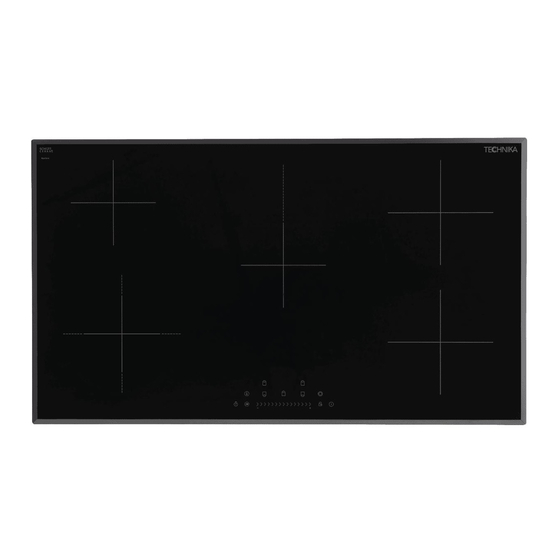
- Page 1 Instructions for Use and Installation 90cm ceramic cooktop 95HTSS-5...
-
Page 2: Table Of Contents
SAFETY WARNINGS Contents PLEASE READ THE FOLLOWING INSTRUCTIONS CAREFULLY BEFORE USING THE APPLIANCE. For your safety ..................3 Product overview ..................8 The control panel ..................9 Installation Electrical Shock Hazard Using the touch controls ................9 • Disconnect the appliance from the mains electricity supply before carrying Choosing the right cookware .............. - Page 3 Hot Surface Hazard • This appliance is to be properly installed and earthed only by a suitably qualified person. • WARNING: Accessible parts may become hot during use. Young children • This appliance should be connected to a circuit which incorporates an should be kept away isolating switch providing full disconnection from the power supply.
- Page 4 • Do not store items of interest to children in cabinets above the appliance. • Care should be taken to avoid touching heating elements. Children climbing on the cooktop could be seriously injured. • This appliance is not intended for use by persons (including children) with •...
-
Page 5: Product Overview
Read all the safety instructions carefully before use and keep this Instruction / Installation Manual for future reference. Product Overview Top View 95HTSS-5 1. ON/OFF 4. Child lock key 7. Keep warm key 2. Slide-touch control 5. -
Page 6: Choosing The Right Cookware
Using your Hob Choosing the right Cookware To start cooking 1. Touch the ON/OFF key, all the indicators show “– “ Do not use cookware with jagged edges or a curved base. 2. Place a suitable pan on the cooking zone that you wish to use. -
Page 7: Keep Warm Function
Keep Warm function Using the Extendable Zone Function To activate the Keep Warm function Where fitted, an extendable zone is indicated by dotted lines on the cross. 1. Select the zone with the keep warm function (front left zone). 2. Touch the keep warm key, the zone indication will show “ ”... -
Page 8: Start / Pause Function
Locking the Controls (Child lock) Start / Pause function You can lock the controls to prevent unintended use (for example children • 1. Touch the Start / Pause key ,all heating zones will stop working and all zone accidentally turning the cooking zones on). indicators will show“... - Page 9 Using the Timer as a Minute Minder Using the timer to switch off one or more cooking zones 1. Make sure the cooktop is turned on, and the heating zone 1. Select the heating zone that you wish to set the timer for. selection key is not activated (Timer and power level indicators display “-“) Note: You can also set the minute minder whilst the cooking zone is on as long as the power level indicator is not blinking.
-
Page 10: Cooking Guidelines
If the timer is set on more than one zone: Cooking Guidelines ke care when frying as the oil and fat heat up very quickly. At extremely high 1. When you set the timer for several cooking zones, red dots of the relevant cooking temperatures oil and fat will ignite spontaneously and this can present a serious zones are indicated. -
Page 11: Heat Settings
For stir-frying Care and Cleaning 1. Choose a ceramic compatible flat-based wok or a large frying pan. 2. Have all the ingredients and equipment ready. Stir-frying should be quick. If cooking What? How? Important! large quantities, cook the food in several smaller batches. Everyday soiling on glass •... -
Page 12: Troubleshooting
Be sure the thickness of the work surface is at least 30mm. and suitable for • persists, contact the Technika service department. the application. The touch controls The controls are locked. - Page 13 • The work surface is made of a suitable material. If the hob is installed above an oven, the oven has a built-in cooling fan. • 95HTSS-5 • Installation is completed by a suitably qualified person. • The installation will comply with all clearance requirements and applicable local standards and regulations.
-
Page 14: Electrical Connection
If the appliance fails to operate correctly, after checking that you have followed the user instructions correctly, disconnect the appliance and contact the Technika Service The symbol on the product indicates that it may not be treated as normal household waste. - Page 15 Actual product only should be used to derive cut out sizes. All Technika Appliances must be installed by a qualified person/s with adherence to the relevant electrical, plumbing and gas safety codes, with compliance being issued as required by state or national legislation.


Need help?
Do you have a question about the 95HTSS-5 and is the answer not in the manual?
Questions and answers