Snapmaker A250 Quick Start Manual
Emergency stop button
Hide thumbs
Also See for A250:
- Quick start manual (58 pages) ,
- User manual (178 pages) ,
- Quick start manual (54 pages)
Advertisement
Quick Links
Advertisement

Related Manuals for Snapmaker A250


Summary of Contents for Snapmaker A250
- Page 1 Emergency Stop Button QUICK START GUIDE A250 & A350 MAKE SOMETHING WONDERFUL...
- Page 2 CONTENTS Before You Start How to Assemble How to Use...
- Page 3 This language version of the guide is verified by the manufacturer (Original Instruction). No part of this publication, including pictures, may be reproduced or made public, whether by printing, photocopying, and microfilm or by any other means whatsoever, without the prior written permission of Snapmaker. Quick Start Guide...
- Page 4 The conditions or methods of assembly, handling, storage, use, maintenance, or disposal of this product are beyond our control. For this reason, Snapmaker is not responsible or liable for any loss, injuries, damage, or expense arising out of or in connection with the assembly, handling, storage, use, maintenance, or disposal of this product.
- Page 5 1.3 Safety and Compliance Do not expose the machine to rain or wet conditions. Do not operate the machine on an unsound or uneven table or workbench. Do not leave the machine unattended while it is on. Keep away from the machine when it is in operation. Do not operate the machine while tired or under the influence of drugs, alcohol, or medication.
-
Page 6: Emergency Stop Button
Tells you practical advice. Direction Ensure the highlighted part is facing the right way. 1.5 Specifications Emergency Stop Button Dimensions 48 width × 40 depth × 68 height (mm), without conversion plate 48 width × 48 depth × 78 height (mm), with conversion plate Weight 0.2 kg... -
Page 7: Table Of Contents
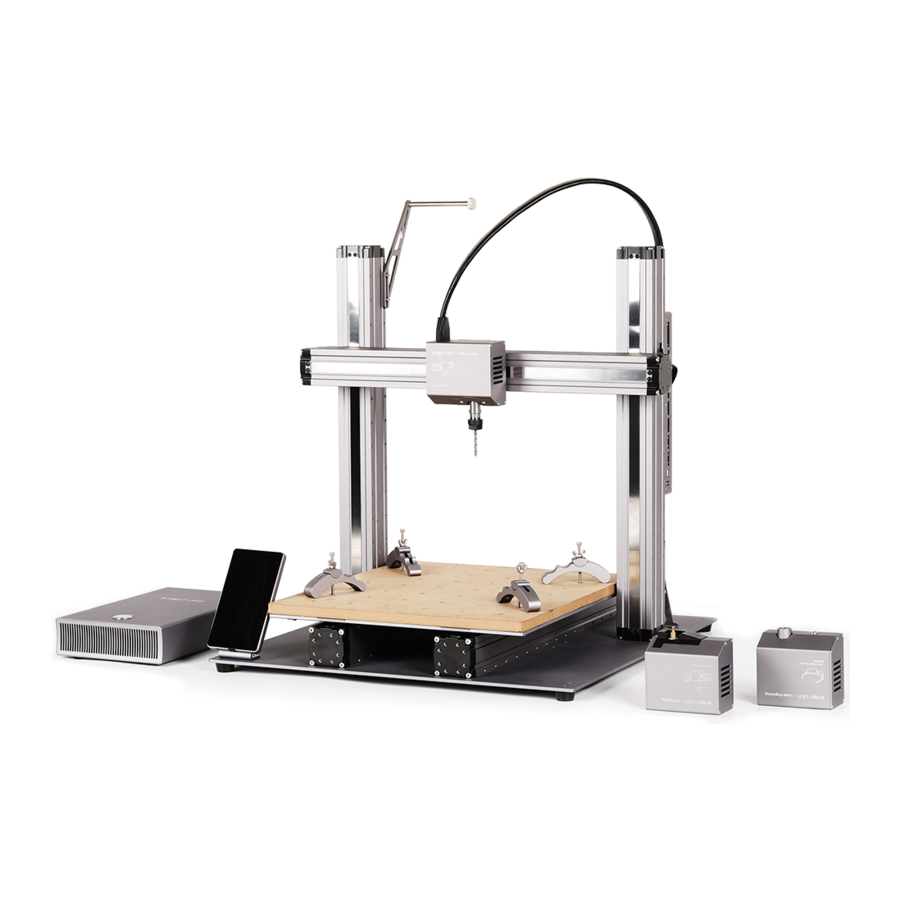
1.6 Parts List This guide takes Snapmaker 2.0 A350 as a demonstration. All steps and illustrations demonstrated apply to the assembly and use of the Emergency Stop Button on A250 and A350. 2000 mm Cable × 1 500 mm Cable ×... - Page 8 Update > Check for Updates > Update Now > Complete. : Download our firmware from https:// snapmaker.com/product/snapmaker-2/ downloads > Insert the USB Disk into the Controller > Turn on the machine > Swipe left on the Touchscreen > Tap Files > Tap USB >...
-
Page 9: Conversion Plate
2 How to Assemble You can assemble the Emergency Stop Button on the machine or the Enclosure. If you want to assemble on the Enclosure, see page 11. Do not assemble the Emergency Stop Button on your desktop. Otherwise, you may fail to press the button in time when an emergency occurs. On the Machine Attach the Conversion Plate to the top of the Z Axis. - Page 10 Attach the Emergency Stop Button to the Conversion Plate. M4 × 49 Hex Socket Head Screw × Emergency Stop Button ×...
- Page 11 Connect the Emergency Stop Button to the Controller via the short cable. 500 mm Cable × Controller × Addon 3 Do not connect or disconnect any cables when the machine is turned on. Quick Start Guide...
- Page 12 Congratulations You are now ready to use!
-
Page 13: Sliding Nut
On the Enclosure Insert the Sliding Nuts into the 48CA Beam on the right of the Enclosure. Sliding Nut × Turn off the machine before assembly. Quick Start Guide... - Page 14 Attach the Conversion Plate into the Sliding Nuts. Conversion Plate × M4 × 10 Hex Socket Head Screw ×...
- Page 15 Attach the Emergency Stop Button to the Conversion Plate. Emergency Stop Button × M4 × 49 Hex Socket Head Screw × Quick Start Guide...
- Page 16 Insert one end of the long cable into the Emergency Stop Button. Thread the other end through the Snap Bushing on the Back Panel.
- Page 17 Insert the other end of the long cable into either of the Expansion Ports of the Enclosure Converter. Do not connect or disconnect any cables when the machine is turned on. Quick Start Guide...
-
Page 18: Cable Clip
Lock the cable with Cable Clips, and press the Clips into the groove of the 48CA Beam. Cable Clip ×... - Page 19 Congratulations You are now ready to use! Quick Start Guide...
- Page 20 How It Works: Emergency Stop The Emergency Stop Button applies to any hazardous situations that might arise while you are using Snapmaker 2.0 products. If you press the Emergency Stop Button, the red LED light flashes, a warning pops up on the Touchscreen, and all current machine operations will be stopped immediately.
- Page 21 How It Works: Operation Resumption To resume operation, perform the following steps: SETP 1 Turn off the machine, and handle the emergency. STEP 2 Release the Emergency Stop Button clockwise. STEP 3 Restart the machine. The green LED light flashes, and the Touchscreen returns to the Home Screen.
- Page 22 How It Works: Status Detection The LED light on the Emergency Stop Button indicates the current status. The Emergency Stop Button is connected and not activated. The Emergency Stop Button is connected and activated. The Emergency Stop Button fails to be connected.
- Page 23 Resources This guide is subject to change. For the latest version of our Quick Start Guide: https://support.snapmaker.com/hc/en-us For the latest version of our User Manual: https://support.snapmaker.com/hc/en-us For any general information or technical support: support@snapmaker.com For any sales inquiries: sales@snapmaker.com For product purchases: https://shop.snapmaker.com...
- Page 24 Original Instruction Y.3.B.A.0035-01 V1.0.0...
Need help?
Do you have a question about the A250 and is the answer not in the manual?
Questions and answers